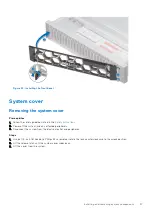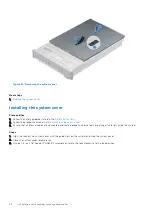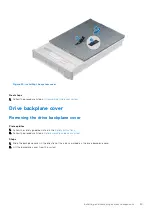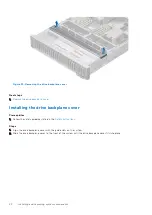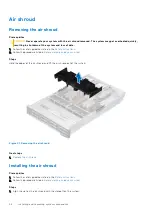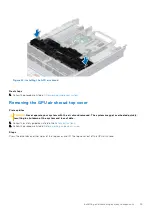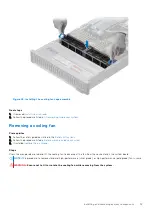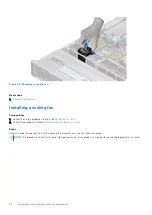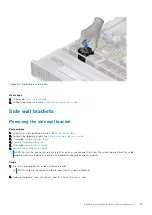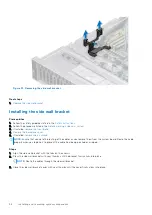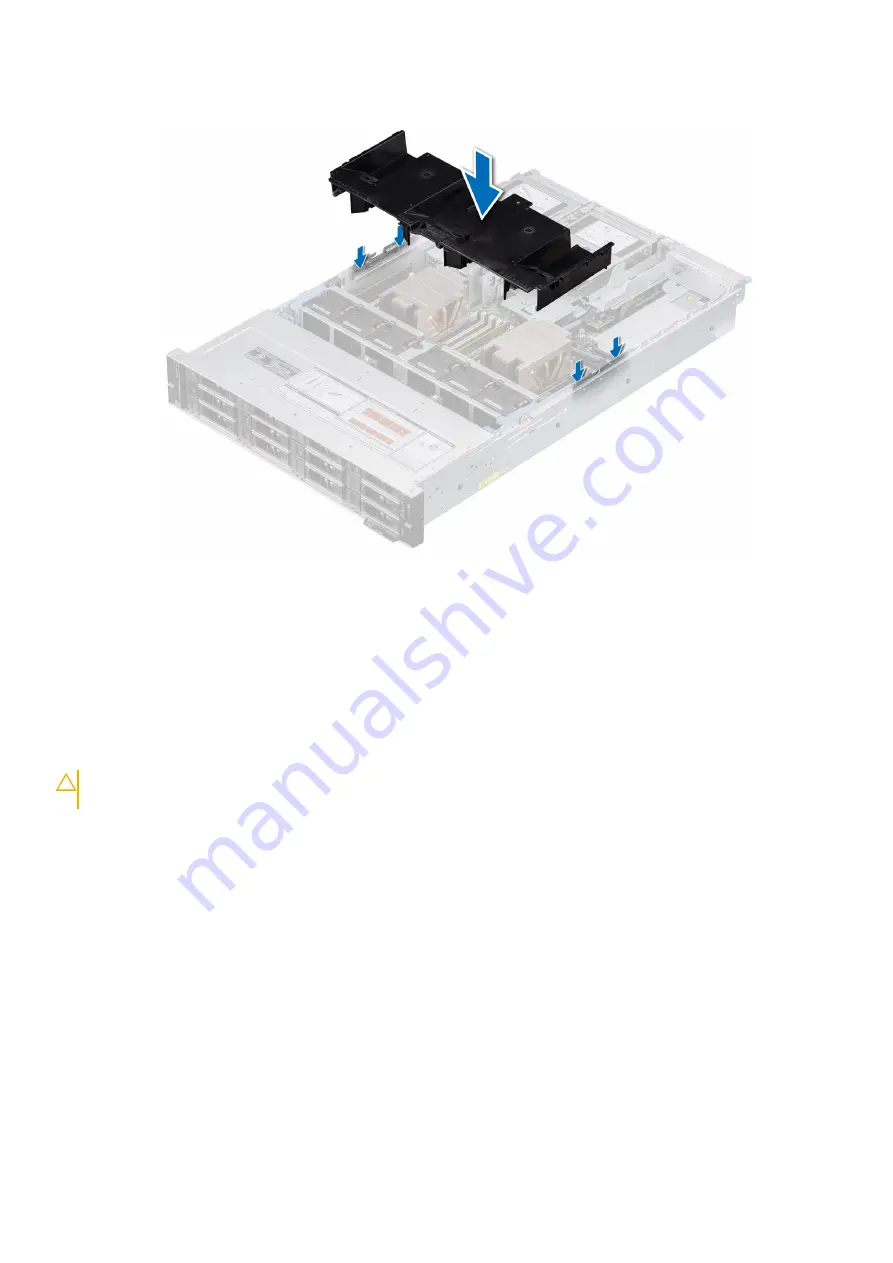
2. Lower the air shroud into the system until it is firmly seated.
Figure 42. Installing the air shroud
Next steps
1. Follow the procedure listed in
After working inside your system
.
Removing the GPU air shroud
Prerequisites
CAUTION:
Never operate your system with the air shroud removed. The system may get overheated quickly,
resulting in shutdown of the system and loss of data.
1. Follow the safety guidelines listed in the
.
2. Follow the procedure listed in
Before working inside your system
Steps
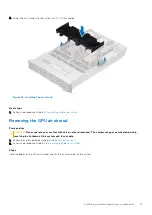
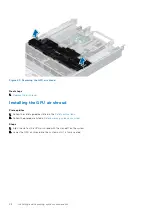
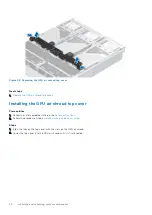
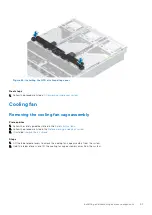
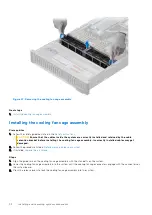
Hold the edges of the GPU air shroud, and lift the air shroud out of the system.
Installing and removing system components
47
Содержание E68S
Страница 19: ...Figure 14 Service information System overview 19 ...
Страница 28: ...Cable routing Figure 18 12x 3 5 inch Figure 19 8 x 3 5 inch 28 Installing and removing system components ...
Страница 30: ...Figure 22 24 x 2 5 inch with NVMe Figure 23 16 x 2 5 inch 30 Installing and removing system components ...
Страница 31: ...Figure 24 8 x 2 5 inch with NVMe Figure 25 8 x 2 5 inch with NVMe Installing and removing system components 31 ...

