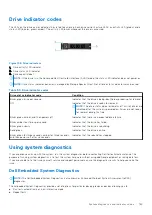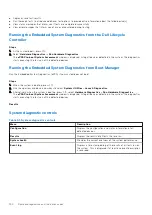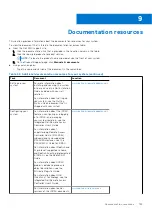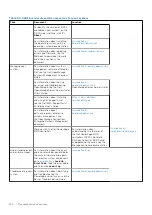
●
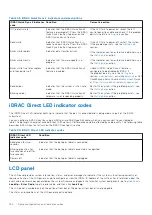
The LCD backlight is white during normal operating conditions.
●
If there is an issue, the LCD backlight turns amber and displays an error code followed by descriptive text.
NOTE:
If the system is connected to a power source and an error is detected, the LCD turns amber regardless of
whether the system is powered on or off.
●
When the system powers off and there are no errors, the LCD enters the standby mode after five minutes of inactivity.
Press any button on the LCD to power it on.
●
If the LCD panel stops responding, remove the bezel and reinstall it.
.
●
The LCD backlight remains off if LCD messaging is powered off using the iDRAC utility, the LCD panel, or other tools.
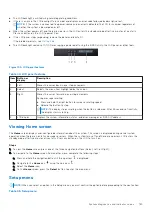
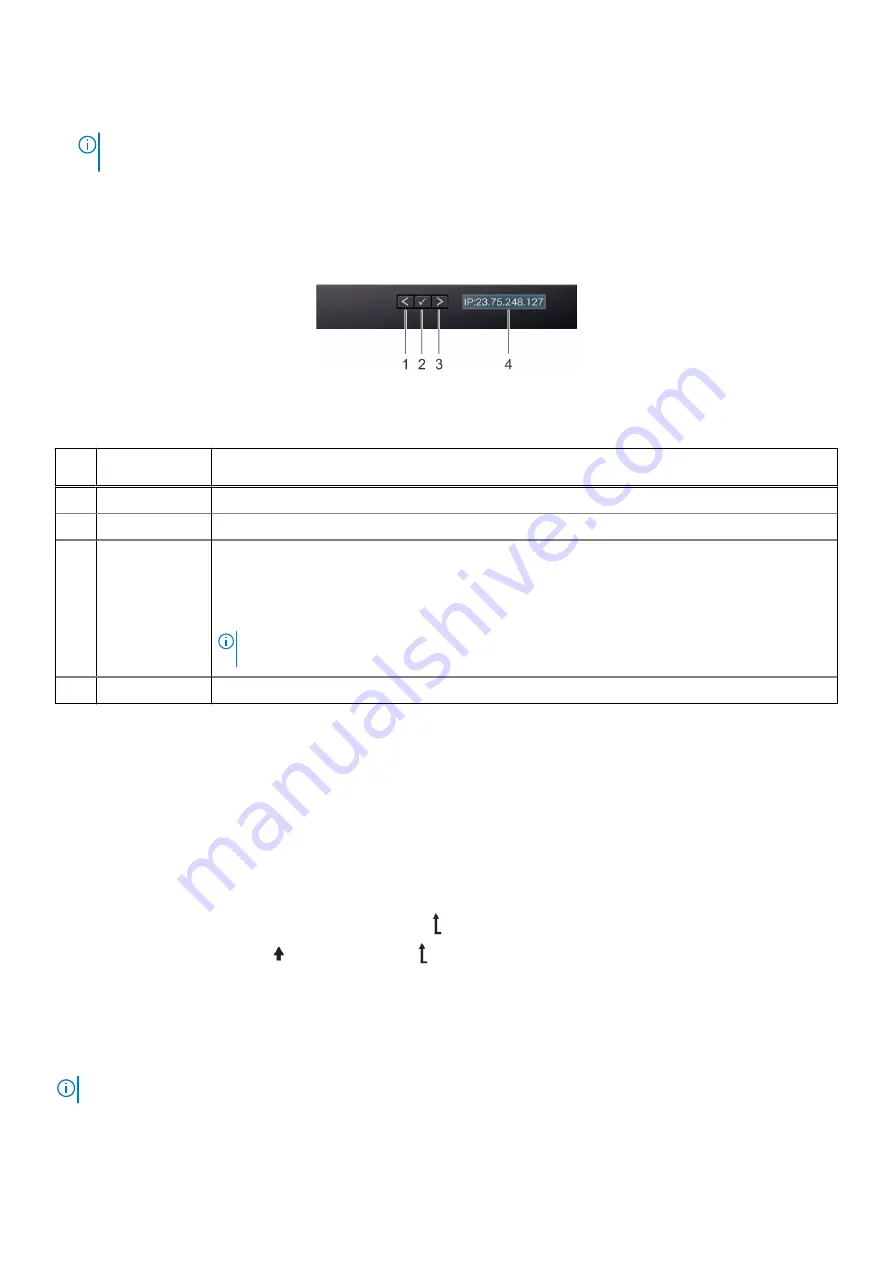
Figure 155. LCD panel features
Table 44. LCD panel features
Item Button or
display
Description
1
Left
Moves the cursor back in one-step increments.
2
Select
Selects the menu item highlighted by the cursor.
3
Right
Moves the cursor forward in one-step increments.
During message scrolling:
●
Press and hold the right button to increase scrolling speed.
●
Release the button to stop.
NOTE:
The display stops scrolling when the button is released. After 45 seconds of inactivity,
the display starts scrolling.
4
LCD display
Displays the system information, status, and error messages or iDRAC IP address.
Viewing Home screen
The
Home
screen displays user-configurable information about the system. This screen is displayed during normal system
operation when there are no status messages or errors. When the system turns off and there are no errors, LCD enters the
standby mode after five minutes of inactivity. Press any button on the LCD to turn it on.
Steps
1. To view the
Home
screen, press one of the three navigation buttons (Select, Left, or Right).
2. To navigate to the
Home
screen from another menu, complete the following steps:
a. Press and hold the navigation button till the up arrow
is displayed.
b. Navigate to the
Home
icon
using the up arrow
.
c. Select the
Home
icon.
d. On the
Home
screen, press the
Select
button to enter the main menu.
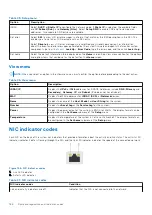
Setup menu
NOTE:
When you select an option in the Setup menu, you must confirm the option before proceeding to the next action.
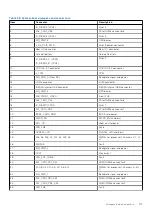
Table 45. Setup menu
System diagnostics and indicator codes
185
Содержание E68S
Страница 19: ...Figure 14 Service information System overview 19 ...
Страница 28: ...Cable routing Figure 18 12x 3 5 inch Figure 19 8 x 3 5 inch 28 Installing and removing system components ...
Страница 30: ...Figure 22 24 x 2 5 inch with NVMe Figure 23 16 x 2 5 inch 30 Installing and removing system components ...
Страница 31: ...Figure 24 8 x 2 5 inch with NVMe Figure 25 8 x 2 5 inch with NVMe Installing and removing system components 31 ...

