Maintenance ■ Pick and Place Probe
- 114 -
Data I/O ■ 096-0465-001C
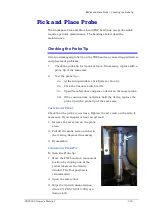
A spare Probe Assembly
comes with the
Self-Service Spares Kit.
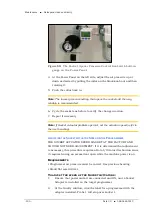
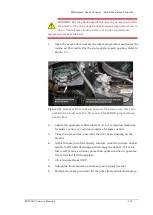
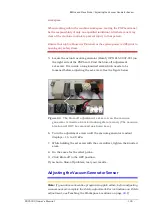
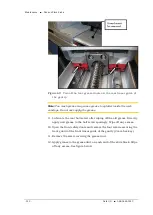
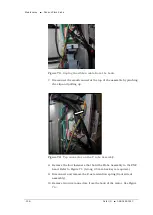
Figure 69:
The Y-axis gantry ball screw and guide block, with cover
(left) and without.
3.
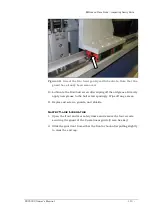
Apply grease directly to the linear guide. Wipe off any excess.
4.
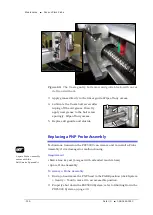
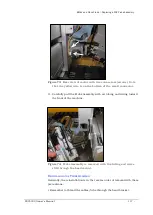
Lubricate the Y-axis ball screw after
wiping off the old grease. Directly
apply new grease to the ball screw
sparingly. Wipe off any excess.
5.
Replace all guards and shields.
Replacing a PNP Probe Assembly
Technicians trained on the PSV5000 can remove and re-install a Probe
Assembly if it is damaged or malfunctioning.
Requirement
• Metric hex key set (Long set with extended reach is best)
• Spare Probe Assembly
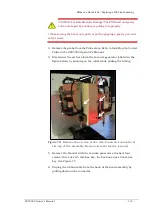
To remove a Probe Assembly
1.
End a job and move the PNP head to the PARK position (click System
> Gantry > Tool) to move it to an accessible position.
2.
Properly shut down the PSV5000 System; refer to Shutting Down the
PSV5000 System on page
Содержание PSV5000
Страница 12: ......
Страница 36: ......
Страница 160: ......
Страница 161: ...Electrical Schematics for PSV5000 and Equipment ...
Страница 162: ......
Страница 163: ......
Страница 164: ......
Страница 165: ......
Страница 166: ......
Страница 167: ......
Страница 168: ......
Страница 169: ......
Страница 170: ......
Страница 171: ......
Страница 172: ......
Страница 173: ......
Страница 174: ......
Страница 175: ......
Страница 176: ...PROGRAMMABLE MEDIA EXPERTS ...

