Setup ■ Setting Up Input and Output Media
- 52 -
Data I/O ■ 096-0465-001C
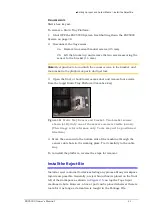
9c.
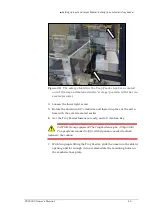
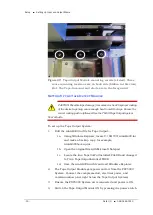
Use the Cover Tape Position Adjuster if needed. Turning it
clockwise moves the cover tape position toward the sprocket
side of the tape.
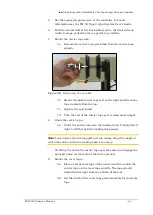
9d.
Using blue tabbing tape, attach the cover tape to the carrier
tape. Thread both through the cover tape Guide Sealer
Assembly. Run the machine to advance the carrier and
cover tapes through the sealer.
P
REPARE THE
S
EAL
Note:
Disable the pressure seal by loosening the seal roller pressure
screws until the seal rollers are no longer in contact with the cover tape.
Normally the heat switch is in on position. If not, turn on the heat switch.
To prepare the heat seal
1.
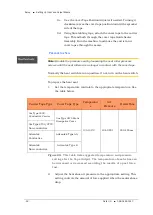
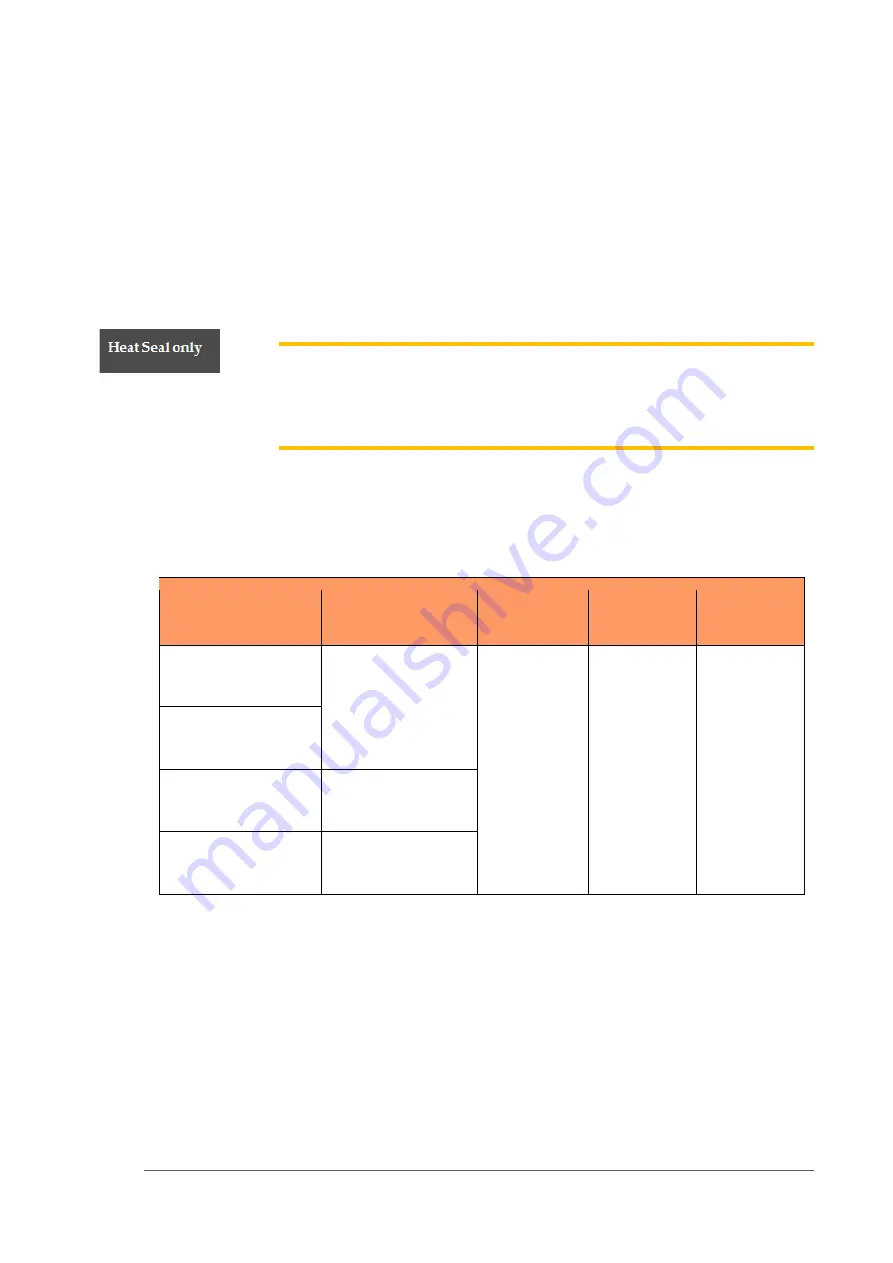
Set the temperature controls to the appropriate temperature. See
the table below.
Carrier Tape Type
Cover Tape Type
Temperatur
e
Air
Pressure
Dwell Time
3m Type 3000
Conductive Carrier
3m Type 2675 Static
Dissipative Cover
135-155°C
40-60 PSI
250-400 ms
3m Type 2701/2703
Non-conductive
Advantek
Conductive
Advantek Type AA
Advantek
Non-conductive
Advantek Type S
Figure 29:
This table lists suggested temperature and pressure
settings for the Tape Output. The temperature of each shoe can
be increased or decreased according the results of a peel force
test.
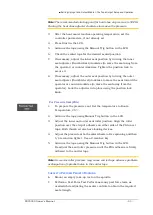
2.
Adjust the heat shoe air pressure to the appropriate setting. This
setting controls the amount of force applied when the sealer shoes
drop.
Содержание PSV5000
Страница 12: ......
Страница 36: ......
Страница 160: ......
Страница 161: ...Electrical Schematics for PSV5000 and Equipment ...
Страница 162: ......
Страница 163: ......
Страница 164: ......
Страница 165: ......
Страница 166: ......
Страница 167: ......
Страница 168: ......
Страница 169: ......
Страница 170: ......
Страница 171: ......
Страница 172: ......
Страница 173: ......
Страница 174: ......
Страница 175: ......
Страница 176: ...PROGRAMMABLE MEDIA EXPERTS ...

