34
•
CamExpert Quick Start
X64 Xcelera-HS PX8 User's Manual
Saving a Camera File
Use CamExpert to save a camera file (*.ccf ) usable with any Sapera demo program or user
application. An example would be a camera file which sets up parameters for a free running
camera (i.e. internal trigger) with exposure settings for a good image with common lighting
conditions.
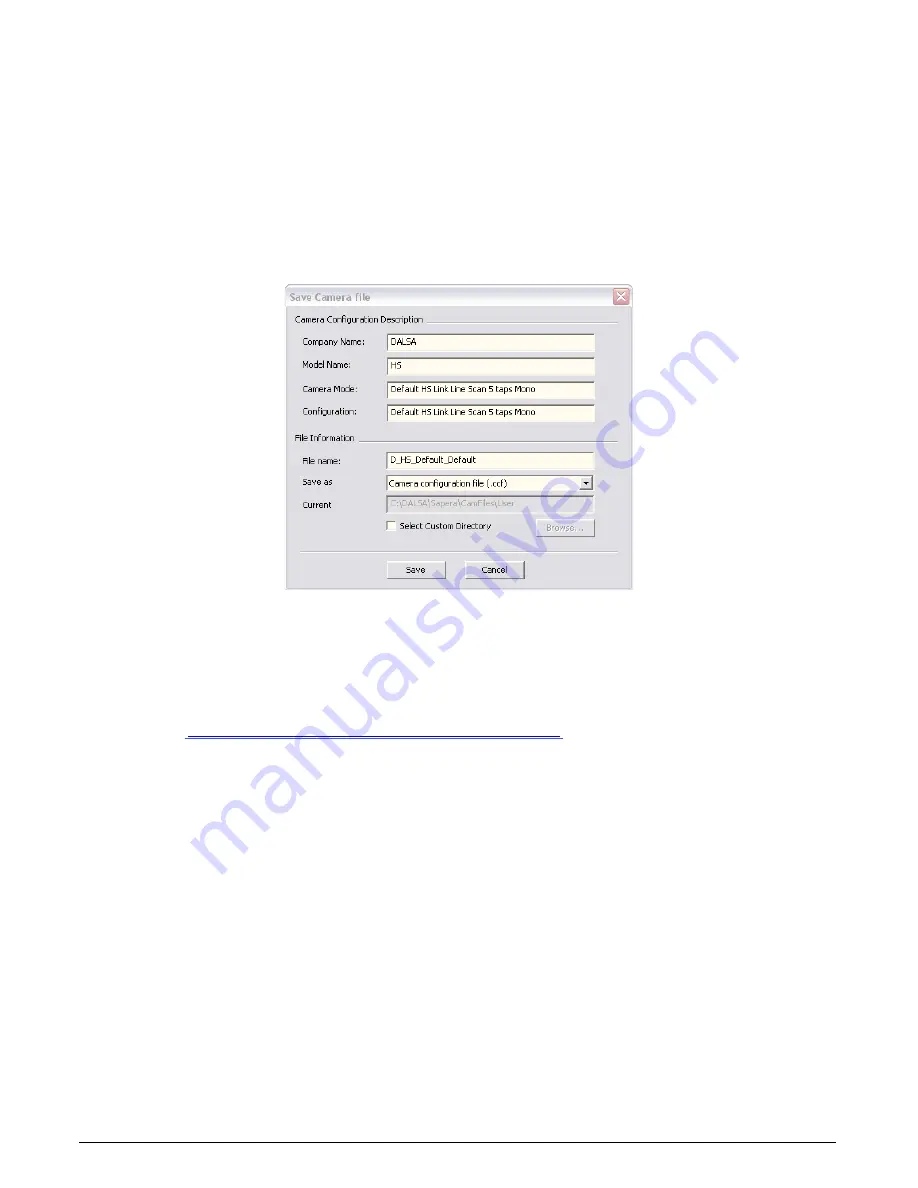
When CamExpert is setup as required, click on File•Save As to save the new .ccf file. The dialog
that opens allows adding details such as camera information, mode of operation, and a file name
for the .ccf file. The following image is a sample for a Teledyne DALSA HS-Link camera. Note the
default folder where user camera files are saved.
Figure 13: Saving a New Camera File (.ccf)
Camera Interfacing Check List
Before interfacing a camera from scratch with CamExpert:
•
Confirm that Teledyne DALSA has not already published an application note with camera
http://www.teledynedalsa.com/imaging/support/
•
Confirm that the correct version or board revision of X64 Xcelera-HS PX8 is used. Confirm
that the required firmware is loaded into the X64 Xcelera-HS PX8.
•
Confirm that Sapera does not already have a .cca file for your camera installed on your hard
disk. If there is a .cca file supplied with Sapera, then use CamExpert to automatically
generate the .ccf file with default parameter values matching the frame grabber capabilities.
•
Check if the Sapera installation has a similar type of camera file. A similar .cca file can be
loaded into CamExpert where it is modified to match timing and operating parameters for
your camera, and lastly save them as Camera Configuration file (.ccf).
•
Finally, if your camera type has never been interfaced, run CamExpert after installing
Sapera and the acquisition board driver, select the board acquisition server, and manually
enter the camera parameters.


