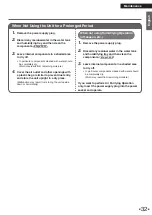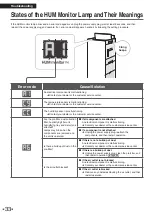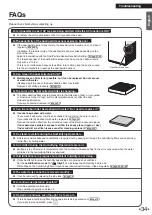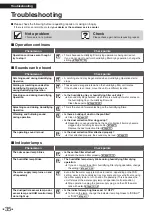
31
Maintenance
Maintenance
Attention
Be sure to operate with the dust collection filter and carbon filter attached.
If the unit is operated without the filters attached, malfunction may result.
Dust collection filter
Replacement
About replacement timing
•
When the filter replacement lamp lights up
¼
There is about 1 month remaining before replacement
is necessary.
•
When the filter replacement lamp blinks
¼
Replace the dust collection filter with a new one.
Please consider replacing the carbon filter at the
same time.
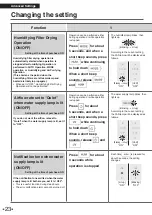
After replacing the dust collection filter with a new one,
press and hold
for about 2 seconds to reset the
filter replacement alert.
(Two short beeps will sound, and the filter replacement
lamp will turn off.)
About purchase and disposal
¼
Refer to “Replacement Parts”.
►
Page 40
Note
•
The replacement timing of the dust collection filter
depends on how it is used and the usage environment.
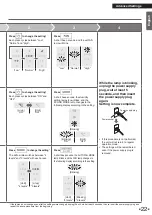
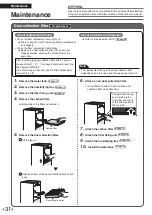
1.
Remove the water tank.
►
Page 15
2.
Remove the humidifying tray.
►
Page 13
3.
Remove the filter fixing unit.
►
Page 14
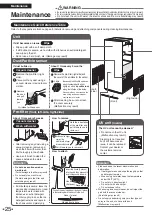
4.
Remove the carbon filter.
Hold the side of the filter and remove it.
Carbon filter
5.
Remove the dust collection filter.
1 Lift the tag up.
2
Hold the bottom of the dust collection filter and pull
it out.
Dust collection filter
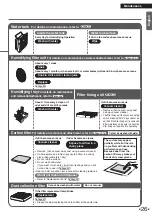
6.
Attach a new dust collection filter.
•
If it is difficult to attach, hold down the dust
collection filter while attaching.
The side with the tag
and marking is the
front side, and the tip
of the arrow points to
the top side
7.
Attach the carbon filter.
►
Page 14
8.
Attach the filter fixing unit.
►
Page 14
9.
Attach the humidifying tray.
►
Page 28
10.
Install the water tank.
►
Page 15
01_EN_3P672685-2A.indd 31
2021/12/13 13:56:07
Содержание MCKB70YSAU
Страница 2: ...1...

