Compsee
21
Apex-0698-Part 2: Apex-trak
Part 2
Apex-Trak General Procedures
Three procedures are performed identically from Asset Inventory, Item Track, and Physical Inventory main menus:
Quit the current inventory or tracking program and display the main menu.
Set options.
Transfer data from the Apex II to a PC.
Table 4-1 lists and describes the Apex-Trak General Procedures.
Table 4-1. Apex-Trak General Procedures
General
Operation
Description
Quit
Exits the main menu for the current program and displays the Apex II main menu.
Set options
Set Field/ Printer/Upload options; erase data, or return to the current program’s main menu.
Field
Options
Changes field name. If no data has been collected in the current program, the field length may
also be changed.
Printer
Options
Changes settings to print/not print location tags; print/not print item tags; and edit the tag headers
for the current program
Upload
Options
Change settings to transfer data via RS-232 directly to the PC or RS-232 via a keyboard wedge.
Erase Data
File
Deletes all the data in the current program. Usually performed after a successful upload.
Quit
Exits the options menu and displays the main menu for the current program.
Transfer data
Transfers data to the PC in one of three ways:
a. With the Compsee LinkMaster Program.
b. With another communications utility program, such as ProComm.
c. With Compsee keyboard wedges.
Quit the Current Program
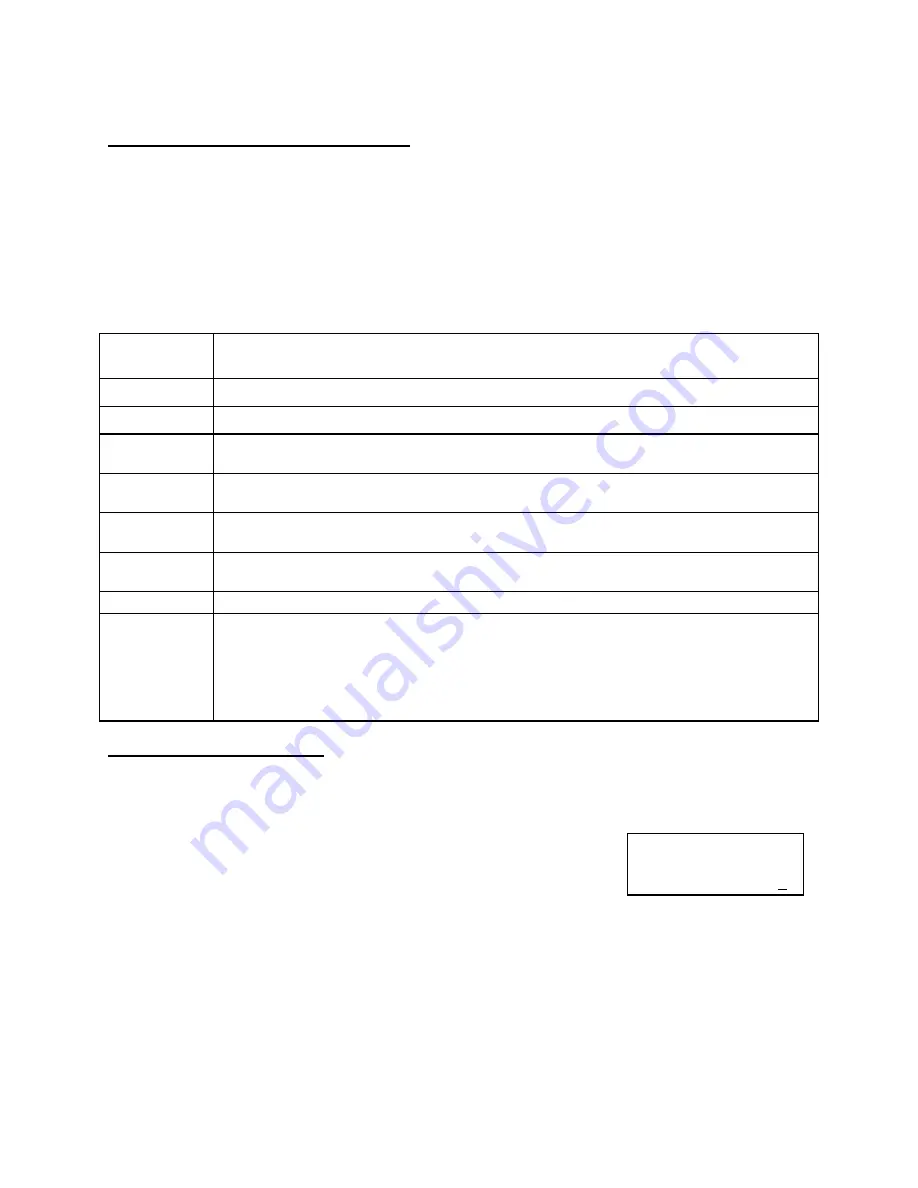
Perform this action from the Asset Inventory (AI), Item Track (IT), or Physical Inventory (PI) main menus (shown
below).
Each of these menus is longer than the LCD screen. You can quit whether the Q)uit option is displayed or not.
Press <Q>.
The Apex II main menu is displayed.
= = = A p e x I I = = =
A ) s s e t I n v e n t
I ) t e m T r a c k
P ) h y s i c a l I n v e n t

