Compsee
17
Apex-0698-Part 2: Apex-trak
Part 2
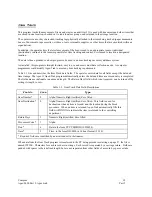
Press the first letter of the desired option and proceed to the location identified in the following table.
If You Press
This Key
Proceed to
Page
A 36
I 43
P 49
S 18
F 19
R 19
C 20
Q 14
Access Asset Inventory, Item Track, or Physical Inventory
Perform one of the following actions, depending on which program you wish to access from the main menu:
a.
Press the <A> key to access Asset Inventory (page 36).
b.
Press the <I> key to access Item Track (page 43).
c.
Press the <P> key to access Physical Inventory (page 49).
Note
The Physical Inventory program is the easiest to learn. If you are a novice, press <P>.
Physical Inventory procedures are described in Chapter 7.
Navigating Through Apex-Trak Menus and Options
When navigating down the Apex-Trak menus, press the alpha key associated with your menu choice.
When navigating up the Apex-Trak program:
Press the <Q> key if a menu is currently displayed. For example, use <Q> to display the Apex-Trak main
menu when you are currently in the Asset Inventory main menu described on page 36.
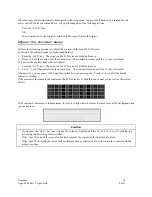
Press the <ALT> key and then the <Q> key if a data entry or non-menu option screen is currently displayed.
For example, use <ALT><Q> to display the Asset Inventory menu when the Data Collection screen, described
on page 37, is currently displayed.
If you press an invalid option, the Apex II beeps.
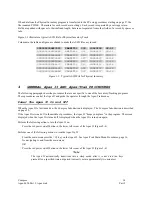
When a menu is displayed, press either one of the arrow keys to display more of the menu. For example, use the
arrow keys to scroll through the main menu as described on page 16.
When a non-menu option screen is displayed, press either one of the arrow keys to move the selection indication,
either a greater than symbol (>) or parentheses (), to another option.

