41CPE112 Addressable Fire Alarm Panel – Installation and Programming Manual
25
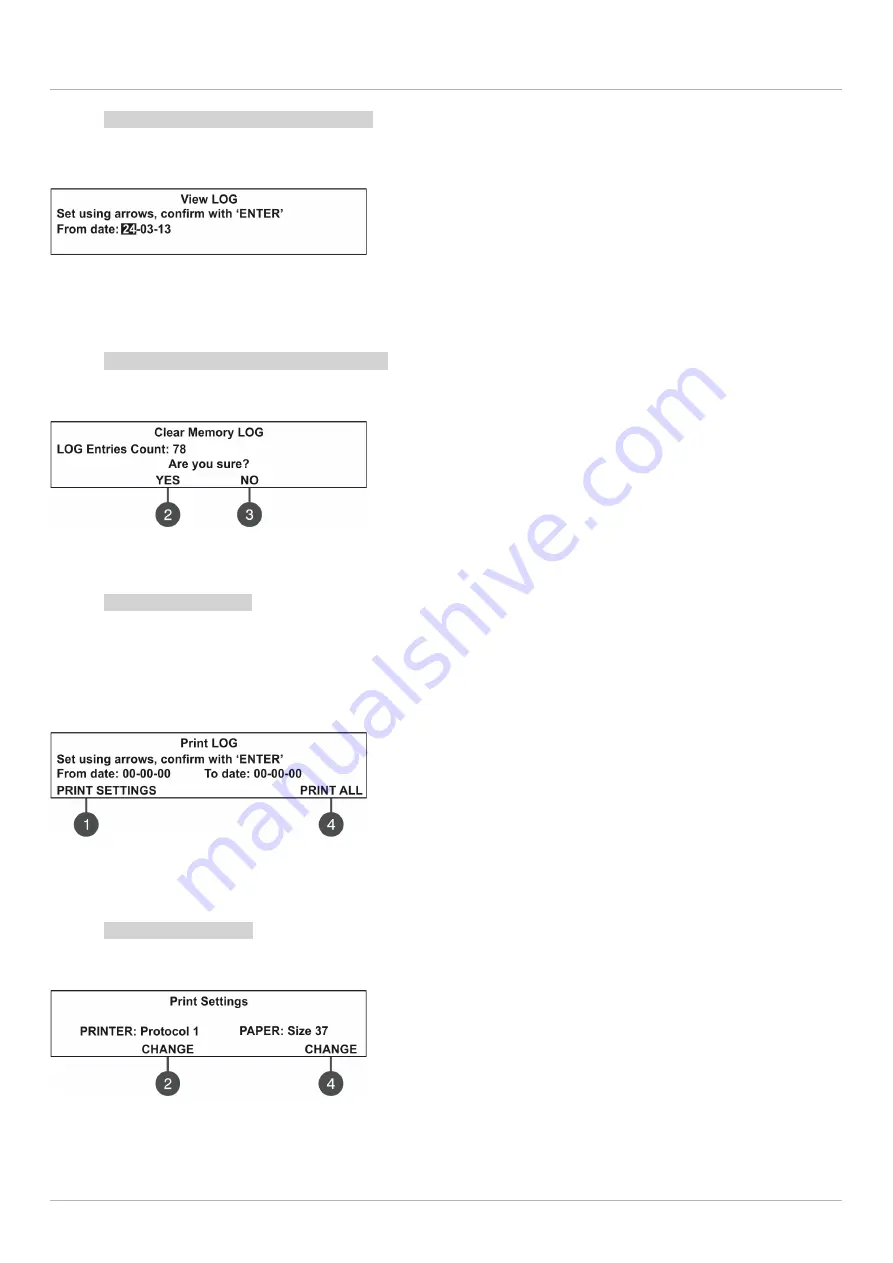
7.1.2 Review of List of Events by Date
From the main screen of VIEW LOG menu press
(2) FROM
button. In “FROM” submenu the installer can extract a list
of events by date. Set in sequence the day, the month and the last two digits of the year. The edited digit is flashing.
Scroll between the fields using the left and the right arrows.
In
“From date”
field enter the new date using the buttons:
-
UP arrow
for increasing the number
-
DOWN arrow
for decreasing the number
-
LEFT/ RIGHT arrows
for changing the editing field
Then press the ENTER button – at the screen is displayed the first event for the entered date with time.
Exit to the main screen of VIEW LOG menu is realized with CANCEL button.
7.1.3 Deleting the Events in the LOG file
From the main screen of VIEW LOG menu press
(3) CLEAR
button. In “CLEAR”* menu the installer can delete the
entire system events list. The screen displays the total number of recorded events.
The system will ask for confirmation.
To delete all records in the LOG file press
(2) YES
button.
Exit to the main screen of VIEW LOG menu is realized with CANCEL
or (3) NO button.
Note:
The ‘CLEAR’ submenu is not available in the Maintenance access level (2).
7.1.4 Printing Events
Attention: To print the system events you have to connect printer to the ‘PRINTER’ terminal on the main board.
Check your printer connection before entering this menu!
Use only printer models recommended from the manufacturer!
From the main screen of VIEW LOG menu press
(4) PRINT
button. The screen displays two fields for setting a time
interval for the extract. Two additional submenus for printer settings are available also.
In the fields
“From date”
and
“To date”
enter the time interval for
printing. You can use also the functional digit buttons to select:
1 – PRINT SETTINGS
. Press to enter in submenu for printer settings
– see also item 1.1.5.
4 – PRINT ALL
. Press for direct printing of all recorded events in the
system LOG file.
Press the ENTER button to start printing. The system will ask for confirmation before starting the printing.
7.1.5 Printer Settings
From the main screen of PRINT LOG menu press
(1) PRINT SETTINGS
. The screen displays the available printer
settings.
Use the respective functional buttons to change the settings of the respective submenu.
2 –
Press the button to change the used printing protocol:
Protocol 1: Kafka printer
Protocol 2: Datecs printer
4 –
Press the button to change the size of the used paper. The
possible size formats are: 37/ 57/ 80 mm.
Confirm all changes with pressing ENTER button.
Exit to the main screen of VIEW LOG menu is realized with CANCEL button.


