83
•
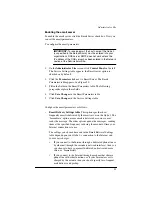
Secondary DNS server address
This is the IP address of your
secondary DNS server. A secondary DNS server can provide
redundant DNS service to your computers. If the primary DNS
server is turned off, then your Qube 2 can use the secondary
DNS server with no loss of performance.
Note:
Your primary DNS server and secondary DNS server
cannot not be on the same server.
•
Default gateway
This is the IP address of the network
gateway, such as your router or firewall. A gateway address is
required to connect to systems outside the local network. It may
be left empty if you do not wish to access outside networks. If
you are using a modem, the word modem is entered in this field.
•
IP forwarding
If this feature is enabled, IP packets from one
network interface can be routed to another.
3.
Modify the one or all of the interface settings.
•
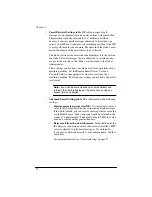
IP address
This is the IP address of the primary interface
which connects to your Intranet. This field must be filled in.
•
Subnet mask
This is the subnet mask of the primary interface.
The normal subnet mask for a class C network is 255.255.255.0.
Yours may differ depending on the size of your network.
•
Network Address Translation (NAT)
If this feature is
enabled, network traffic on the internal network (the primary
network interface) sent through the Qube 2 is masqueraded as if
it were coming from the external interface (the modem or
secondary network interface).
For more information, see “Network Address Translation
(NAT)” on page 84.
•
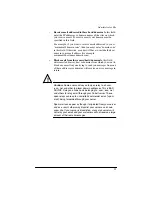
Media Access Control (MAC) address
The MAC address is
the ethernet hardware address of the primary network interface.
This hardware address is unique to every ethernet device; it
cannot be changed.
4.
Click
Save Changes
.
Содержание Cobalt Qube 2
Страница 1: ...Cobalt QubeTM 2 User Manual...
Страница 6: ...vi...
Страница 20: ...Chapter 1 6 Figure 3 Administrator Site screen Figure 4 Public Site screen...
Страница 26: ...Chapter 1 12...
Страница 45: ...Setting up the Qube 2 31 Figure 15 shows the online registration page Figure 15 Online registration page...
Страница 46: ...Chapter 2 32 Figure 16 shows the Public Site screen on the Qube 2 Figure 16 Public site on the Qube 2...
Страница 68: ...Chapter 3 54...
Страница 70: ...Chapter 4 56 Figure 17 Administrator Site screen...
Страница 72: ...Chapter 4 58 Figure 18 shows the Administrator Settings table Figure 18 Administrator Settings table...
Страница 76: ...Chapter 4 62 Figure 19 shows the User Defaults table Figure 19 User Defaults table...
Страница 78: ...Chapter 4 64 Figure 20 shows the Add New User table Figure 20 Add New User table...
Страница 81: ...Administrator Site 67 Figure 21 shows the Email Settings table for a user Figure 21 Email Settings table...
Страница 87: ...Administrator Site 73 Figure 24 shows the Add New Group table Figure 24 Add New Group table...
Страница 184: ...Appendix B 170...
Страница 206: ...Appendix E 192...
Страница 218: ...Appendix F 204...


