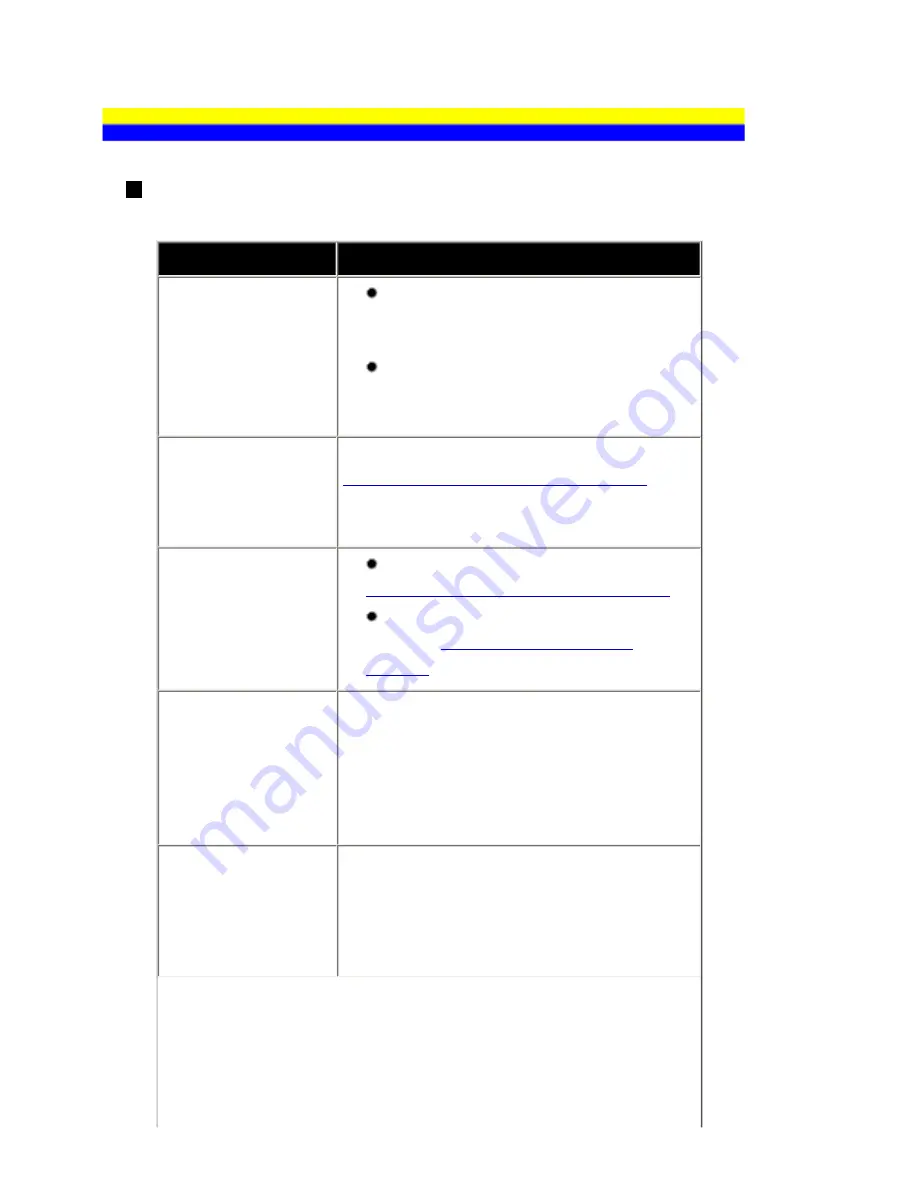
Problems Receiving Faxes
Cannot Receive a Fax, Cannot Print a Fax
Cause
Action
The machine is not
powered on.
You cannot receive faxes if the power is
turned off. Press the
ON/OFF
button to turn
the power on.
After a power failure or disconnecting of
the power cord, press the
ON/OFF
button to
turn the power on.
The machine's
memory is full.
Either print or delete documents in memory (see
Printing or Deleting a Document in Memory
) to
free up memory. Then ask the sender to resend
the fax.
There was an error
during reception.
Check the LCD for an error message. See
An Error Message Is Displayed on the LCD
.
Print the Activity report and check for an
error. See
Printing the Activity Report
Manually
.
The telephone line is
not correctly
connected.
Check that the telephone line is connected
correctly to the Telephone Line Jack and that the
telephone (or another external device such as an
answering machine or a computer modem) is
connected correctly to the External Device Jack.
Refer to your setup sheet.
A paper size other
than A4, Letter or
Legal* is loaded.
If a paper size other than A4, Letter or Legal* is
loaded, incoming faxes are not printed and are
stored in memory. Change the paper to A4,
Letter or Legal* size, then press the
OK
button
on the machine.
198
Содержание PIXM MX300 Series
Страница 21: ...21 ...
Страница 32: ...32 ...
Страница 35: ...in the machine 35 ...
Страница 43: ...43 ...
Страница 98: ...98 ...
Страница 102: ...Note If you are unsure of the transaction number print the memory list See Printing a List of Documents in Memory 102 ...
Страница 114: ... 5 Repeat the procedure until you finish inputting the pattern number for column R 114 ...
Страница 119: ...Note If it is difficult to pick the best pattern pick the setting that produces the least noticeable white streaks 119 ...
Страница 121: ... 5 Repeat the procedure until you finish inputting the pattern number for column R then click Send 121 ...
Страница 132: ...132 ...
Страница 157: ... 8 Press the OK button The desired language is displayed on the LCD 9 Press the Stop Reset button 157 ...
Страница 160: ...160 ...
Страница 211: ...Recommended printing area 211 ...
Страница 220: ...220 ...
Страница 222: ...222 ...


