Print Head Deep Cleaning
If print quality does not improve by standard Print Head Cleaning, try Print Head Deep Cleaning,
which is a more powerful process. Note that cleaning the Print Head causes used ink to be absorbed
in the ink absorber. Print Head Deep Cleaning consumes more ink than standard Print Head
Cleaning, so perform this procedure only when necessary.
1
Make sure that the machine is turned on.
2
Start Print Head Deep Cleaning.
(1)
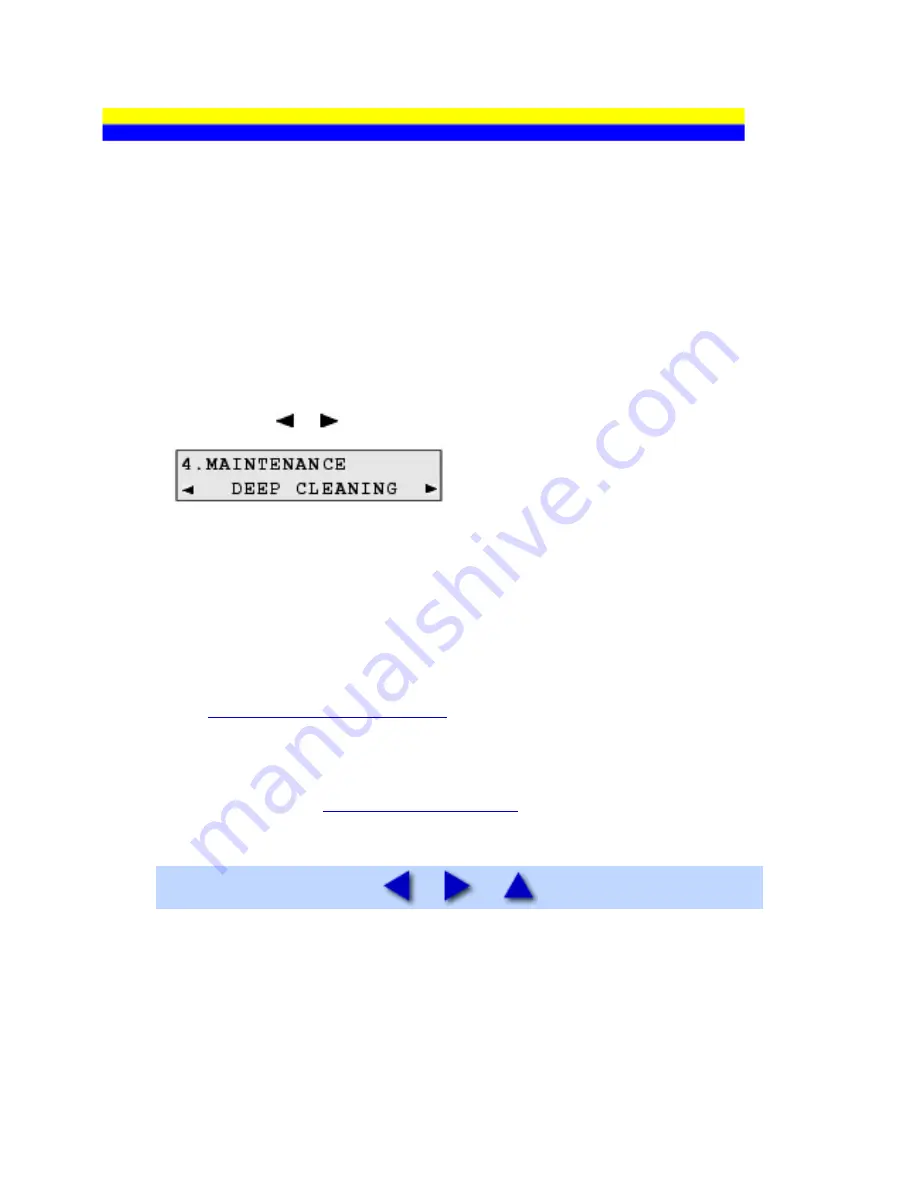
Press the
Menu
button repeatedly until
MAINTENANCE
appears.
(2)
Press the or button to select
DEEP CLEANING
, then press the
OK
button.
Print Head Deep Cleaning starts.
Do not perform any other operations until Print Head Deep Cleaning finishes. This takes
about one minute.
3
Confirm the condition of the Print Head.
(1)
Print the nozzle check pattern to check the print head condition.
See
Printing the Nozzle Check Pattern
.
(2)
If the problem is not resolved, perform Print Head Deep Cleaning again.
(3)
If this does not solve the problem, a FINE Cartridge may have run out of ink. Replace it
with a new one. See
Replacing a FINE Cartridge
.
111
Содержание PIXM MX300 Series
Страница 21: ...21 ...
Страница 32: ...32 ...
Страница 35: ...in the machine 35 ...
Страница 43: ...43 ...
Страница 98: ...98 ...
Страница 102: ...Note If you are unsure of the transaction number print the memory list See Printing a List of Documents in Memory 102 ...
Страница 114: ... 5 Repeat the procedure until you finish inputting the pattern number for column R 114 ...
Страница 119: ...Note If it is difficult to pick the best pattern pick the setting that produces the least noticeable white streaks 119 ...
Страница 121: ... 5 Repeat the procedure until you finish inputting the pattern number for column R then click Send 121 ...
Страница 132: ...132 ...
Страница 157: ... 8 Press the OK button The desired language is displayed on the LCD 9 Press the Stop Reset button 157 ...
Страница 160: ...160 ...
Страница 211: ...Recommended printing area 211 ...
Страница 220: ...220 ...
Страница 222: ...222 ...


