126
Advanced Guide
Basic Guide
1
Camera Basics
2
Auto Mode /
Hybrid Auto Mode
3
Other Shooting Modes
Tv, Av, and M Mode
6
Playback Mode
7
Wi-Fi Functions
8
Set-Up Menu
9
Accessories
10
Appendix
Index
4
P Mode
5
Tv, Av, M, and C Modes
Before Use
●
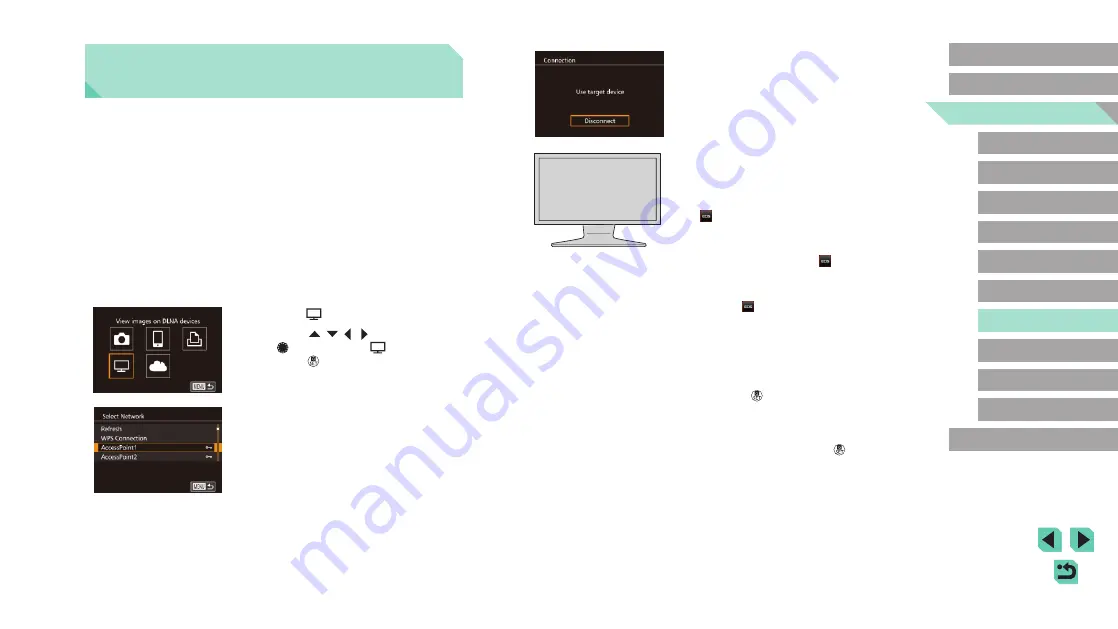
Once the media player is accessible,
this screen is displayed. The screen will
darken after a period of time.
●
Perform operations on the media player
once connected. For details on controlling
the media player, refer to its instruction
manual.
4
Display the media player settings
screen on your TV set.
●
Use your media player to bring up
[
EOS M3] on the TV screen.
●
A different icon may be displayed
depending on the media player.
Locate the icon labeled [
EOS M3].
5
Display images.
●
Choose [
EOS M3], the memory card
(SD or other card), the folder, and then
the image to view.
●
Select an image to display it on the TV.
For details, refer to the media player’s
instruction manual.
●
Press the [
] button to close the
connection with the camera. If the screen
is darkened, press any button to bring
up the second screen shown in step 3
above, and then press the [
] button.
Viewing Images Using a Media
Player
You can view images in your camera’s memory card on a TV or other
device.
This function requires a DLNA-compatible TV set, game system,
smartphone, or other media player. In this manual, the term “media player”
is used to refer to any such device.
Follow these instructions only after the media player is connected to an
access point. For information about settings and configuration, refer to the
documentation provided with the device.
1
Access the Wi-Fi menu.
●
Follow step 2 of “Adding a Smartphone
Using the Wi-Fi Menu” (
display the Wi-Fi menu.
2
Choose [ ].
●
Press the [
][
][ ][ ] buttons or turn
the [
] dial to choose [
], and then
press the [
] button.
3
Establish a connection with an
access point.
●
Connect to the access point as described
in steps 4 – 6 of “Using WPS-Compatible
Access Points” (


