Browser Remote: Controlling the Camcorder from a Network Device
154
3 Select [On] and then press the joystick.
•
will appear on the top of the screen. When the icons turn white, the camcorder is ready to accept
commands from the Browser Remote application.
• With Camera Access Point connections, you need to actively connect the Wi-Fi enabled device to the
camcorder.
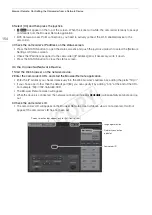
4 Check the camcorder’s IP address on the status screen.
• Press the STATUS button to open the status screens and push the joystick up/down to select the [Network
Settings 4/9] status screen.
• Check the IP address assigned to the camcorder ([IP Address]) and, if necessary, write it down.
• Press the STATUS button to close the status screen.
On the Connected Network Device
1 Start the Web browser on the network device.
2 Enter the camcorder’s URL and start the Browser Remote application.
• Enter the IP address you checked previously into the Web browser’s address bar, adding the prefix “http://”.
• If you chose a port other than the default port [80], you can specify it by adding “:nnn” at the end of the URL.
For example “http://192.168.0.80:095”.
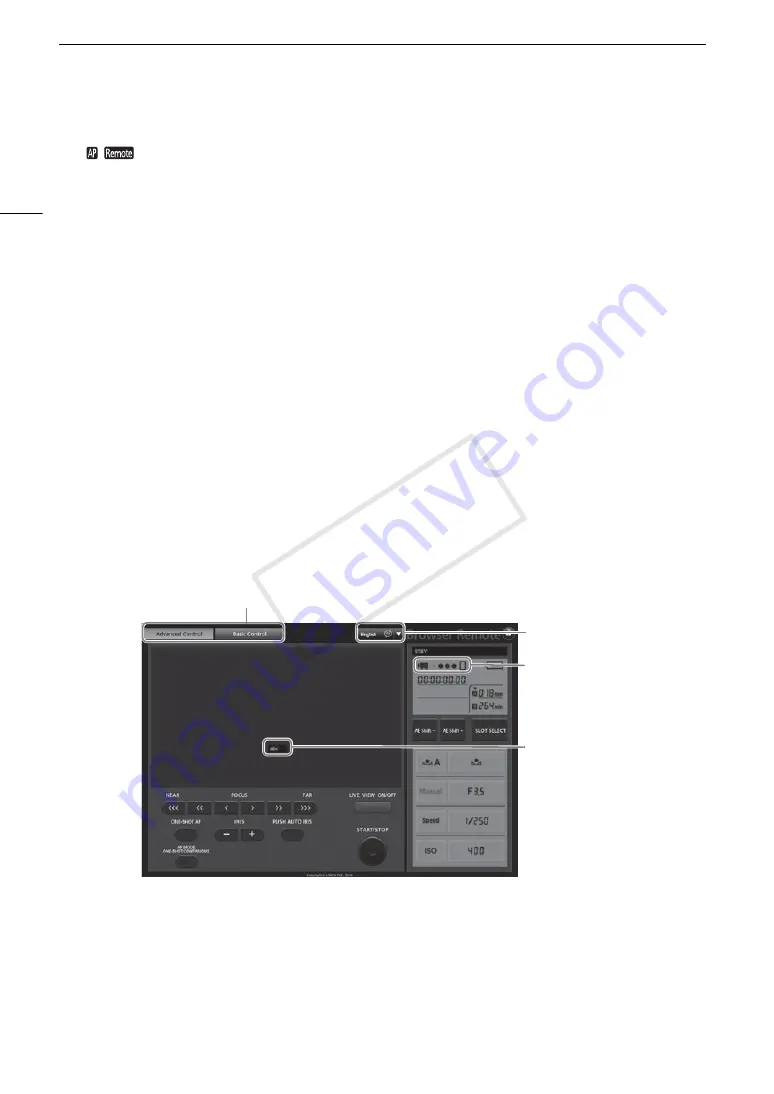
• The Browser Remote screen will appear.
• While the device is connected, the network connection indicator (
‹‹‹‹
) will repeatedly illuminate and go
out.
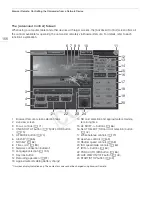
3 Check the camcorder’s ID.
• The camcorder’s ID will appear on the Browser Remote screen while live view is not activated. It will not
appear if the camcorder's ID has not been set.
Language selection
Camcorder ID
Network connection
indicator
Screen selection tabs appear only for [Full Control User]
COP
Y
Содержание EOS C100 Mark II
Страница 1: ...Instruction Manual HD Camcorder PUB DIE 0463 000 COPY ...
Страница 12: ...12 COPY ...
Страница 46: ...Adjusting the Black Balance 46 COPY ...
Страница 106: ...Using Accessories 106 COPY ...
Страница 124: ...Saving and Loading Camera Settings 124 COPY ...
Страница 144: ...Saving Clips to a Computer 144 COPY ...
Страница 162: ...Playback via Browser 162 COPY ...
Страница 168: ...Photo Operations 168 COPY ...


