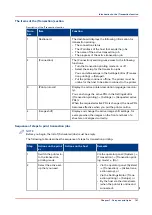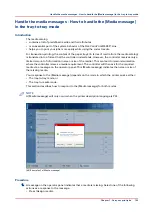
Continue with step 2 when you select this option.
• Press [Continue].
The controller will use the PCL default media and continue the print job.
Note that this might be an incorrect media.
• Press [Cancel stream].
The print job is stopped. You can now solve the problem. It is most likely that you can solve the
problem on the host.
NOTE
Steps 2 and 3 apply only when you chose to assign a media.
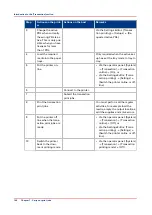
2.
From the list of media, select the media that will be used as the media the controller is asking for
and press [OK].
Note that this might be an incorrect media.
The media will now be displayed with the name that is defined in the media catalog.
3.
Select the paper tray where you want to load the required media and press [OK].
4.
Load the media.
5.
Close the paper tray.
6.
Press [OK].
Now you can assign other media or continue the print job.
Handle the media messages - How to handle the [Media message] in the tray-
to-media mode
Procedure
1.
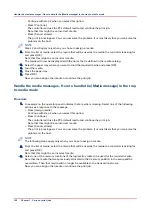
A message on the operator panel indicates that a media is missing. Select one of the following
actions as a response to the message.
• Press [Assign media].
Continue with step 2 when you select this option.
• Press [Continue].
The controller will use the PCL default media and continue the print job.
Note that this might be an incorrect media.
• Press [Cancel stream].
The print job is stopped. You can now solve the problem. It is most likely that you can solve the
problem on the host.
NOTE
The following steps apply only when you chose to assign a media.
2.
From the list of media, select the media that will be used as the media the controller is asking for
and press [OK].
Note that this might be an incorrect media.
3.
Select one of the memory locations of the logical-tray table to be used for the required media.
Note that the media that was previously allocated to that memory position in the setup will be
overwritten. Then that media will no longer be available to the transaction stream.
Now you can assign other media or continue the print job.
Handle the media messages - How to handle the [Media message] in the tray-to-media mode
156
Chapter 7 - Carry out print jobs
Содержание 6160
Страница 1: ...Operation guide Océ VarioPrint 6000 Line ...
Страница 7: ...Chapter 1 Preface ...
Страница 11: ...Chapter 2 Introduction ...
Страница 13: ...Chapter 3 Power information ...
Страница 19: ...Chapter 4 Main parts ...
Страница 31: ...Chapter 5 Adapt printer settings to your needs ...
Страница 49: ...Chapter 6 Media handling ...
Страница 85: ...Chapter 7 Carry out print jobs ...
Страница 162: ...Exchange all setups between printers 162 Chapter 7 Carry out print jobs ...
Страница 163: ...Chapter 8 Remote Service ORS optional ...
Страница 166: ...Remote Service 166 Chapter 8 Remote Service ORS optional ...
Страница 167: ...Chapter 9 Remote Monitor optional ...
Страница 169: ...Chapter 10 Optional finishers and other devices ...
Страница 189: ...Chapter 11 Counters ...
Страница 194: ...Find the meter readings 194 Chapter 11 Counters ...
Страница 195: ...Chapter 12 Keeping the printer running ...
Страница 209: ...Appendix A Miscellaneous ...
Страница 212: ...Product specifications 212 Appendix A Miscellaneous ...
Страница 220: ...Index 220 ...
Страница 221: ......

