41
VIEWING THE TEXT
Layouts that are too long to fit in the screen can be scrolled by clicking the Arrange button
to view the left, the center, then the right side of the layout with each click of the button.
☞
If the label view (or text box) has been moved away from the tool bar, it will be docked before scrolling.
PRINTING
Before printing labels, certain print options can be selected.
1
Click the arrow beside the Print button
to display a drop-down menu.
2
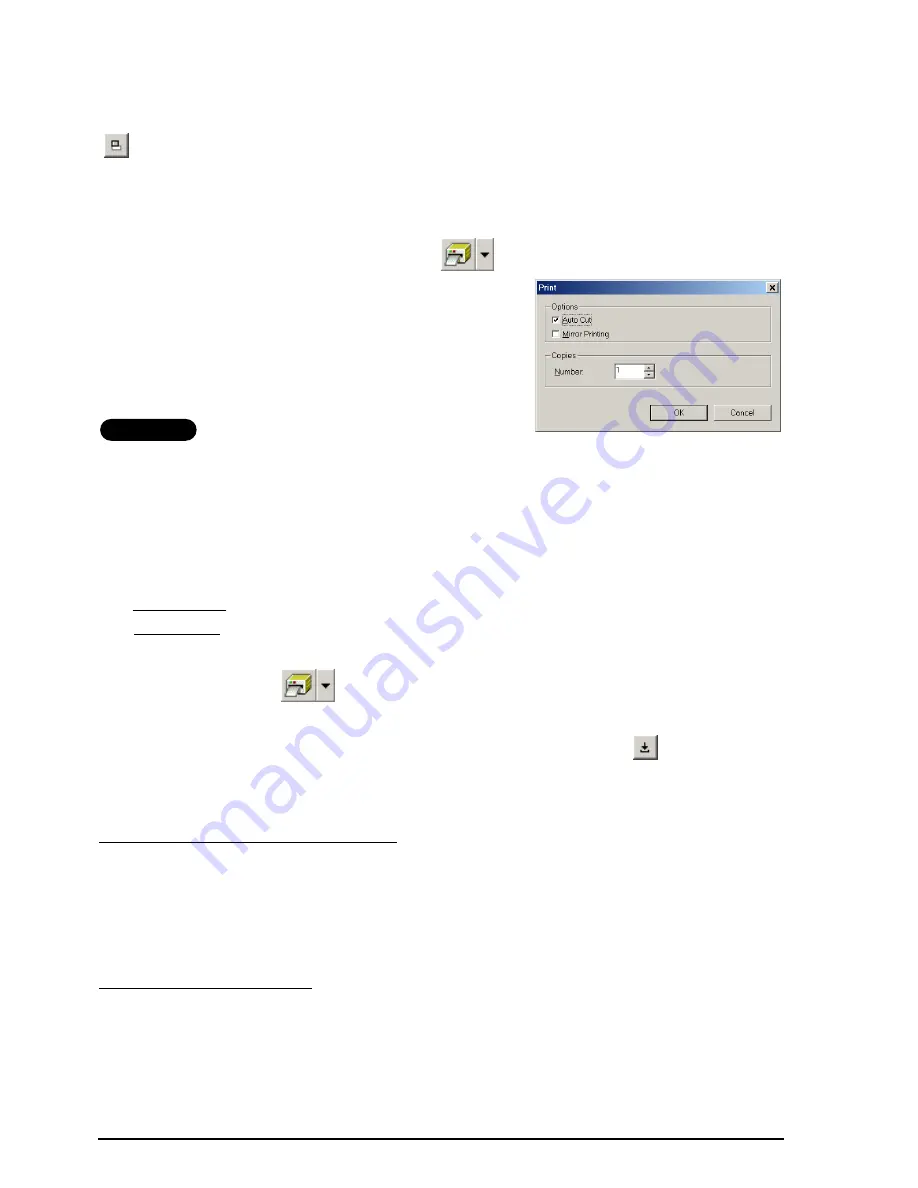
Click [Print Options]. The Print dialog box
appears.
3
Select the desired print settings.
Auto Cut:
This option allows you to select
whether or not to automatically cut off the
label after it is printed.
AV-Label
☞
When printing multiple copies of AV labels with the
Auto Cut
check box selected, each
label is cut off after it is printed. If the
Auto Cut
check box is cleared, the string of labels
are cut off only after they have all been printed.
Mirror Printing:
This option allows you to print the text in reverse so it’s perfect for
attaching to the inside of windows
®
(for TZ tape only)
.
Copies:
This option allows you to enter the number of copies to be printed.
4
Windows
®
: Click the OK button to start printing.
Macintosh: Click the Print button. The layout is printed.
☞
If you want to start printing without changing the print options simply click the
Print button
or click the arrow beside the Print button and click [Print].
HIDING/DISPLAYING P-TOUCH QUICK EDITOR (WINDOWS
®
ONLY)
P-touch Quick Editor can be hidden by clicking the Hide button
. Re-display P-touch
Quick Editor by clicking its icon in the system tray, at the right of the taskbar.
QUITTING P-TOUCH QUICK EDITOR
Do either of the following:
●
Right-click the P-touch Quick Editor icon in the system tray, and then click [Exit] in the
menu that appears.
●
Right-click in the label view (or text box), and then click [Exit] in the menu that appears.
Do either of the following:
●
Click [Quit] in the [File] menu
●
Hold down the Control key and click in the label view (or text box), and then click [Quit]
in the menu that appears.
On an IBM PC-compatible computer:
On a Macintosh computer:
Содержание P-touch 2600
Страница 7: ...vi ...
Страница 9: ...2 KEYBOARD LCD DISPLAY Power key Cursor keys Delete key Return key ...
Страница 120: ...113 5 Press r 6 Press _ 7 Press _ 3 B R e y n A D D R E S S 1 P R I N T M E N U 2 2 C O P I E S 1 2 C O P I E S ...
Страница 134: ...127 ...
Страница 139: ...GUÍA DE USUARIO ...
Страница 217: ...75 REFERENCE REFERENCIA ...
Страница 245: ...103 ...
Страница 250: ......


