


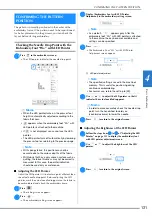


CONFIRMING THE PATTERN POSITION
133
B
asic
E
m
br
oi
der
y
4
■
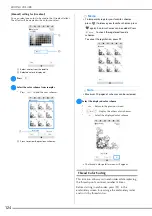
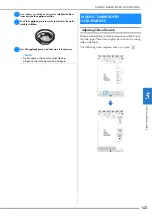
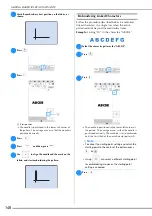
Aligning the Embroidering Position
a
Calibrate the position of the background image.
(page 132)
b
Press .
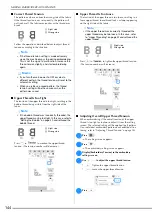
c
When the following message appears, press
.
d
Select the position to be set as the reference point.
e
Press .
When the following message appears, press
.
f
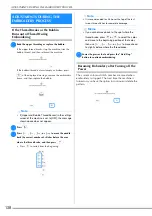
Remove the embroidery positioning sticker, and then
start embroidering.
*
To remove the embroidery positioning sticker more
easily, press
so that the embroidery frame
moves slightly forward and away from under the
needle. After the embroidery positioning sticker is
removed, press
.
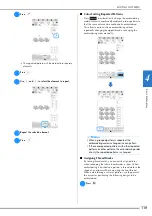
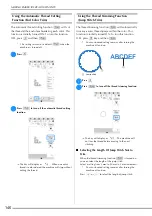
Checking the Pattern Position
The carriage moves and shows the pattern position.
Watch the embroidery frame closely to make sure the
pattern will be embroidered in the right place.
a
Press .
Memo
• The orientation of the pattern will change
depending on the orientation of the embroidery
positioning sticker.
Содержание 882-W70
Страница 2: ......
Страница 12: ...CONTENTS 10 ...
Страница 56: ...CHANGING THE PRESSER FOOT 54 ...
Страница 57: ...Chapter 2 Sewing Basics ...
Страница 73: ...Chapter 3 Various Stitches ...
Страница 106: ...MY CUSTOM STITCH 104 ...
Страница 107: ...Chapter 4 Basic Embroidery ...
Страница 141: ...Chapter 5 Advanced Embroidery ...
Страница 156: ...EMBROIDERY APPLICATIONS 154 ...
Страница 157: ...Chapter 6 My Design Center ...
Страница 176: ...STIPPLING 174 ...
Страница 177: ...Chapter 7 Appendix ...
Страница 193: ...ERROR MESSAGES 191 Appendix 7 ...
Страница 205: ......
Страница 206: ......
Страница 207: ......
Страница 208: ......
Страница 209: ......
Страница 210: ......
Страница 211: ......