13
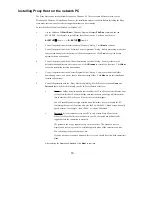
The following table describes the available options:
Option
Description
FastLink II (Remote Node)
Dial-in client
Installs the FastLink client
NetWare Client
Installs the Novell NetWare client with VLM support
NetWare Utilities
Installs NetWare Utilities, including LOGIN.EXE
Novell TCP/IP stack
Installs the Novell LAN Workplace TCP/IP stack,
PING.EXE, and TRACERT.EXE (trace route)
Installation Directory
Directory for FastLink II client and NetWare files
Proxy (Remote Control)
Master
Installs the Proxy Master
Installation Directory
Directory for Proxy Master files
The default is to install the FastLink II Dial-in Client, the Novell NetWare Files, Novell TCP/IP
Stack and the Proxy Master — these are the modules you’ll want to have on the PC that you’ll be
using remotely.
NOTE: To install the Proxy Host, run the SETUP program from the Proxy Host
diskette on the machine you want to take over.
Press
[Install]
to proceed with installation.
2
If you selected NetWare Client, and already have installed VLM support on your PC, you will be
prompted to either use the VLMs you have installed, or install newer ones.
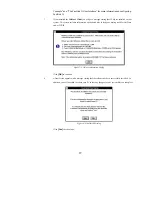
A dialog similar to the following will appear if VLMs are detected:
Figure 2: VLM Already Installed Dialog
Click
[Use Current VLM]
to use the existing VLMs from the installed directory, or
[Install New
VLM]
to install VLM 1.20B from the FastLink II diskettes.


