18
4.6.2
Prepare the Client Computer
4.6.2.1
Connect Ethernet Cable
Connect one end of an Ethernet cable to the LAN port on the eNB and the other end to
your computer. Initially, you will use this local connection to access the eNB GUI
application to verify the eNB’s status and to configure a few basic settings. Make sure
the client computer and the LAN interface are configured and attached to the same local
area network.
4.6.2.2
Client Setup
To establish the connection between the client computer and the eNB, please ensure the IP
addressing is set up correctly. Following is an example for a Windows 7 PC.
1.
Select
Start > Control Panel
, and in the pop-up window click on
Network and Internet
.
2.
Click on
View network status and tasks
, and then click on
Local Connectivity
.
3.
In the window labeled
Status of Local Connectivity
, click on
Properties
. This will open
the
Properties of Local Connectivity
window.
4.
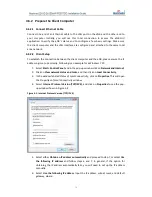
Select
Internet Protocol Version (TCP/IPV4)
, and click on
Properties
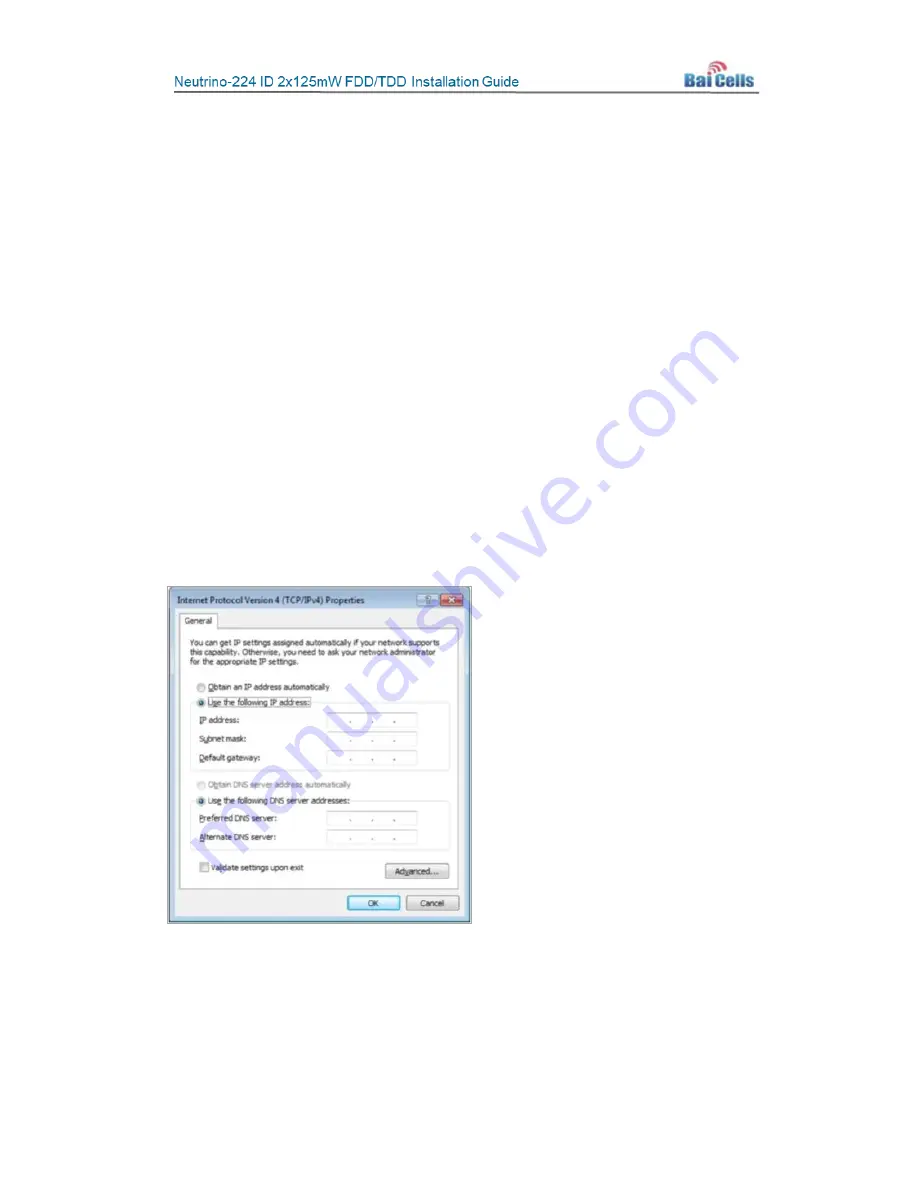
to see the pop-
up window shown in Figure 4-5.
Figure 4-5: Internet Protocol Version (TCP/IPV4)
5.
Select either
Obtain an IP address automatically
and proceed to step 7, or select
Use
the following IP address
and follow steps 6 and 7. In general, if the option for
obtaining the IP address automatically fails, you will need to set up the IP address
manually.
6.
Select
Use the following IP address
. Input the IP address, subnet mask, and default
gateway, where:
Содержание Neutrino-224
Страница 1: ...Neutrino 224 Indoor 2x125mW FDD TDD eNodeB Installation Guide December 2018 Version 1 7...
Страница 20: ...20 Figure 4 7 FDD eNB GUI Home Page Figure 4 8 TDD eNB GUI Home Page...
Страница 47: ...47 Figure 5 24 LTE Neigh Freq Settings 1 of 2 Figure 5 25 LTE Neigh Freq Settings 2 of 2...
Страница 64: ...64 Figure 5 38 Cell ReSelection Parameter Figure 5 39 Additional Measurement Parameter...


