16
3.
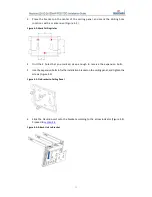
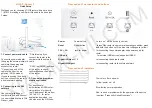
Place the bracket on the center of the ceiling panel, and mark the drilling hole
locations with a marker pen (Figure 4-2).
Figure 4-2: Mark Drilling Holes
4.
Drill the 3 holes that you marked, deep enough to receive the expansion bolts.
5.
Use the expansion bolts to fix the installation bracket on the ceiling panel, and tighten the
screws (Figure 4-3).
Figure 4-3: Fix Bracket to Ceiling Panel
6.
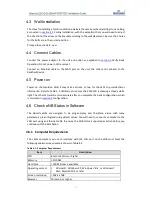
Slide the Neutrino unit onto the bracket according to the arrow indicator (Figure 4-4).
Proceed to
section 4.4
.
Figure 4-4: Attach Unit to Bracket
Содержание Neutrino-224
Страница 1: ...Neutrino 224 Indoor 2x125mW FDD TDD eNodeB Installation Guide December 2018 Version 1 7...
Страница 20: ...20 Figure 4 7 FDD eNB GUI Home Page Figure 4 8 TDD eNB GUI Home Page...
Страница 47: ...47 Figure 5 24 LTE Neigh Freq Settings 1 of 2 Figure 5 25 LTE Neigh Freq Settings 2 of 2...
Страница 64: ...64 Figure 5 38 Cell ReSelection Parameter Figure 5 39 Additional Measurement Parameter...

