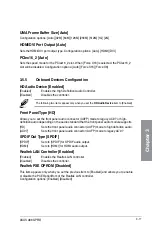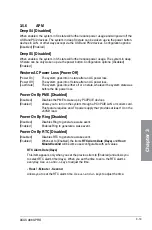
3-12
Chapter 3: BIOS setup
Chapter 3
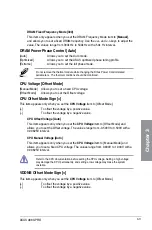
VDDNB Offset Voltage [Auto]
This item appears only when you set the
CPU Voltage
item to [Offset Mode] and
allows you to set the VDDNB Offset voltage. The values range from -0.500V to 0.500V
with a 0.00625V interval.
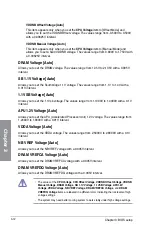
VDDNB Manual Voltage [Auto]
This item appears only when you set the
CPU Voltage
item to [Manual Mode] and
allows you to set a fixed VDDNB voltage. The values range from 0.800V to 1.750V with
a 0.00625V interval.
DRAM Voltage [Auto]
Allows you to set the DRAM voltage. The values range from 1.35V to 2.135V with a 0.005V
interval.
SB 1.1V Voltage [Auto]
Allows you to set the Southbridge 1.1V voltage. The values range from 1.1V to 1.4V with a
0.01V interval.
1.1VSB Voltage [Auto]
Allows you to set the 1.1Vsb voltage. The values range from 1.1000V to 1.4000V with a 0.1V
interval.
APU1.2V Voltage [Auto]
Allows you to set the APU (Accelerated Processor Unit) 1.2V voltage. The values range from
1.2000V to 1.8000V with a 0.01V interval.
VDDA Voltage [Auto]
Allows you to set the VDDA voltage. The values range from 2.5000V to 2.8000V with a 0.1V
interval.
NB VREF Voltage [Auto]
Allows you to set the NB VREF voltage with a 0.005V interval.
DRAM VREFCA Voltage [Auto]
Allows you to set the DRAM VREFCA voltage with a 0.005V interval.
DRAM VREFDQ Voltage [Auto]
Allows you to set the DRAM VREFDQ voltage with a 0.005V interval.
• The values of the
CPU Voltage
,
CPU Offset Voltage
,
VDDNB Offset Voltage
,
VDDNB
Manual Voltage
,
DRAM Voltage
,
SB 1.1V Voltage
,
1.1VSB Voltage
,
APU1.2V
Voltage
,
VDDA Voltage
,
NB VREF Voltage
,
DRAM VREFCA Voltage
, and
DRAM
VREFDQ Voltage
items are labeled in a different color, indicating the risk levels of high
voltage settings.
• The system may need better cooling system to work stably under high voltage settings.
Содержание A88X PRO
Страница 1: ...Motherboard A88X PRO ...
Страница 20: ...1 8 Chapter 1 Product Introduction Chapter 1 ...
Страница 60: ...2 40 Chapter 2 Hardware information Chapter 2 To uninstall the APU heatsink and fan assembly 5 3 1 4 2 ...
Страница 61: ...ASUS A88X PRO 2 41 Chapter 2 1 2 3 To remove a DIMM 2 3 4 DIMM installation B A A ...
Страница 63: ...ASUS A88X PRO 2 43 Chapter 2 DO NOT overtighten the screws Doing so can damage the motherboard A88X PRO 3 ...
Страница 64: ...2 44 Chapter 2 Hardware information Chapter 2 2 3 6 ATX Power connection 1 2 OR ...
Страница 65: ...ASUS A88X PRO 2 45 Chapter 2 2 3 7 SATA device connection OR 1 2 ...

