3-26
Chapter 3: BIOS setup
Chapter 3
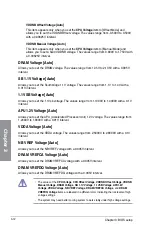
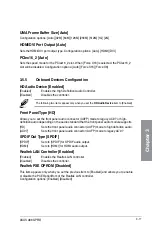
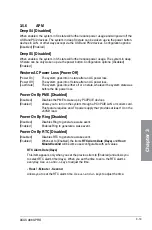
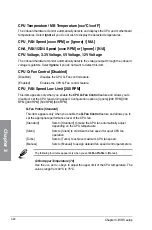
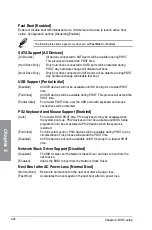
Fast Boot [Enabled]
Enable or disable boot with initialization of a minimal set of devices to launch active boot
option. Configuration options: [Disabled] [Enabled]
The following three items appear only when you set
Fast Boot
to [Enabled].
SATA Support [All Devices]
[All Devices]
All devices connected to SATA ports will be available during POST.
This process will extend the POST time.
[Hard Drive Only]
Only hard drives connected to SATA ports will be detected during
POST. Any hardware change will disable fast boot.
[Boot Drive Only]
Only boot drive connected to SATA ports will be detected during POST.
Any hardware change will disable fast boot.
USB Support [Partial Initial]
[Disabled]
All USB devices will not be available until OS bootup for a fastest POST
time.
[Full Initial]
All USB devices will be available during POST. This process will extend the
POST time.
[Partial Initial]
For a faster POST time, only the USB ports with keyboard and mouse
connections will be detected.
PS2 Keyboard and Mouse Support [Enabled]
[Auto]
For a faster BIOS POST time, PS/2 devices will only be available when
the system boots up. PS/2 devices will not be available and BIOS Setup
program will not be accessible via PS/2 devices when the system is
restarted.
[Full Initial]
For full system control, PS/2 devices will be available during POST at any
circumstances. This process will extend the POST time.
[Disabled]
All PS/2 devices will not be available until OS bootup for a fastest POST
time.
Network Stack Driver Support [Disabled]
[Disabled]
The BIOS skips over the Network Stack Driver and tries to boot from the
next device.
[Enabled]
Allows the BIOS to boot from the Network Stack Driver.
Next Boot after AC Power Loss [Normal Boot]
[Normal Boot] Returns to normal boot on the next boot after AC power loss.
[Fast Boot]
Accelerates the boot speed on the next boot after AC power loss.
Содержание A88X PRO
Страница 1: ...Motherboard A88X PRO ...
Страница 20: ...1 8 Chapter 1 Product Introduction Chapter 1 ...
Страница 60: ...2 40 Chapter 2 Hardware information Chapter 2 To uninstall the APU heatsink and fan assembly 5 3 1 4 2 ...
Страница 61: ...ASUS A88X PRO 2 41 Chapter 2 1 2 3 To remove a DIMM 2 3 4 DIMM installation B A A ...
Страница 63: ...ASUS A88X PRO 2 43 Chapter 2 DO NOT overtighten the screws Doing so can damage the motherboard A88X PRO 3 ...
Страница 64: ...2 44 Chapter 2 Hardware information Chapter 2 2 3 6 ATX Power connection 1 2 OR ...
Страница 65: ...ASUS A88X PRO 2 45 Chapter 2 2 3 7 SATA device connection OR 1 2 ...

