RS1500000 Rev. 0
28
Disassembly Procedures
To avoid risk of electrical shock, personal injury, or
death, disconnect power to unit before following any
disassembly procedures.
WARNING
!
Replacing Heat Exchanger No-Defrosting
Models
1. Disconnect line cord from electrical outlet.
2. Install service valve as close as possible to the tip of
process tube for easy pinch-off after recharging the
system.
3. Connect a hose to the service valve and capture the
charge.
NOTE:
Effective July 1, 1992, before opening any
refrigeration system it is the responsibility of the
service technician to capture the refrigerant for
safe disposal.
4. Remove butyl sealer from around tube entry hole.
5. Unsolder suction tubing at compressor stub or cut
tubing three inches (76 mm) from compressor stub.
6. Cut drier from condenser tubing. Then cut drier from
capillary tube.
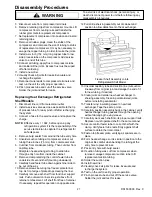
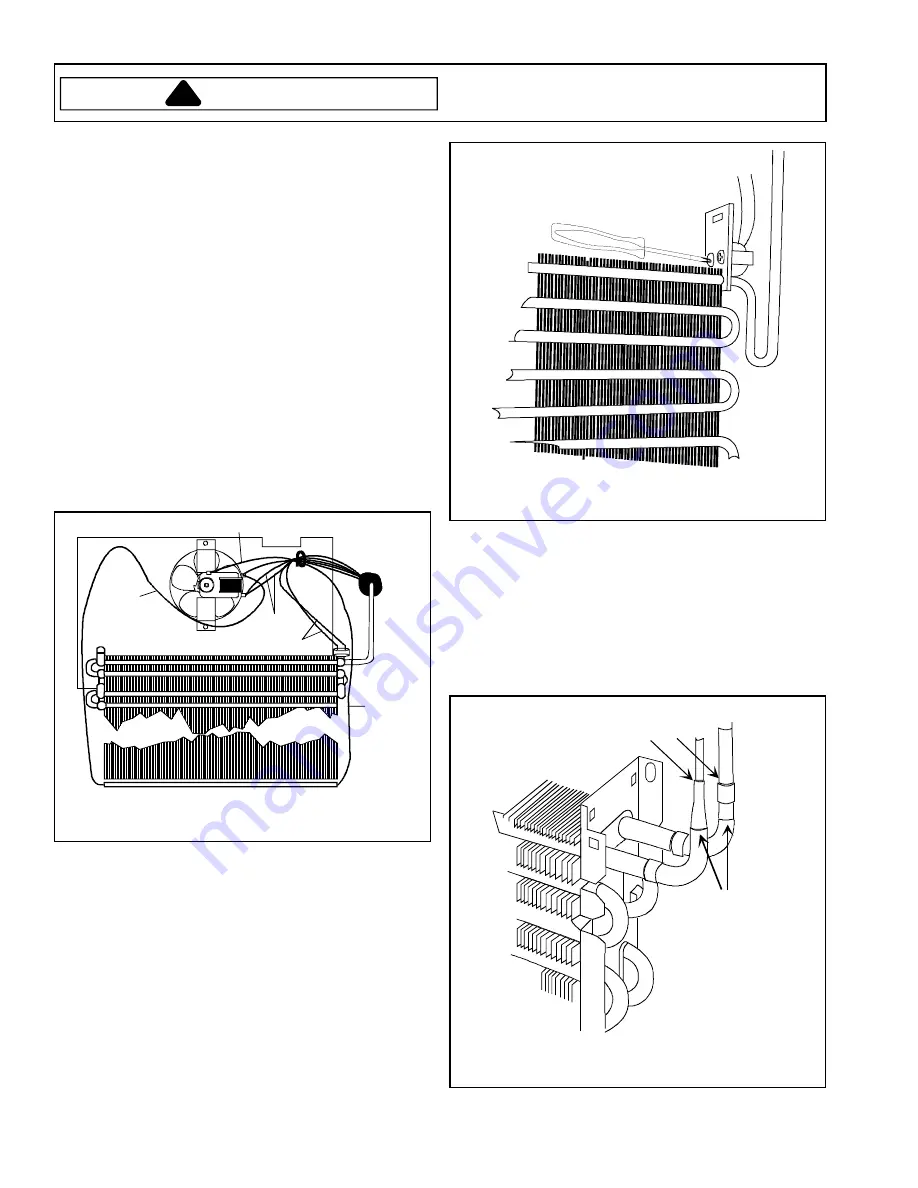
7. Remove screws securing freezer coil cover and
detach green grounding wire.
White
White
Orange
Green
Red
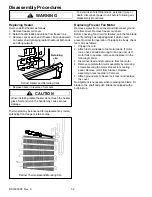
Circulating Fan and Wiring
With Coil Cover Removed
8. Remove styrofoam air block from each end of the
coil.
9. Disconnect defrost heater lead from spade terminal
on fan motor.
10.Spade connector is used to join the defrost heater
lead to the lead-in wire. Separate these two wires at
the spade connector. Release lead from the two clips
on coil mounting panel.
11. Disconnect heater lead from defrost thermostat.
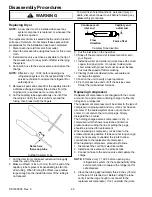
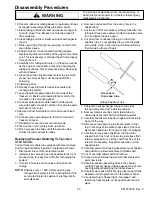
12.Remove defrost thermostat from coil header to
release the front tang. See following illustration.
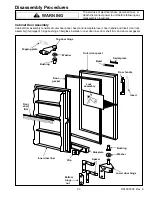
Removing Defrost Thermostat
No Defrost Models
13.Detach green grounding wire from freezer coil
header.
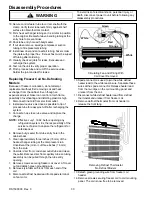
14.Remove screws securing freezer coil to coil mounting
panel. Coil is now free to be removed.
15.Straighten heat exchanger tubing to pass through the
opening in the cabinet back.
16.Pull entire assembly out of the cabinet.
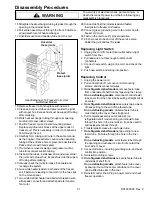
17.Unsolder cap tube and suction line from freezer coil,
careful not to overheat the epoxy joints.
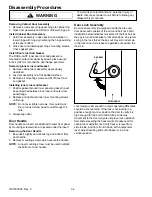
Protect
these joints
Unsolder
these joints
Heat Exchanger To Freezer Coil Joints
No-Defrost Models

