141
Chapter 12: MIDI Applications
Recording and playing back a mix automation
The operations of the channel faders,
[MASTER]
fader, and
[PAN]
controls on the top panel can be transmitted as
the Control Change messages. Recording and playing back these Control Change messages on the MIDI se-
quencer will enable you to automate mixing operations on the DPS16.
Follow the steps below to record and play a mix automation.
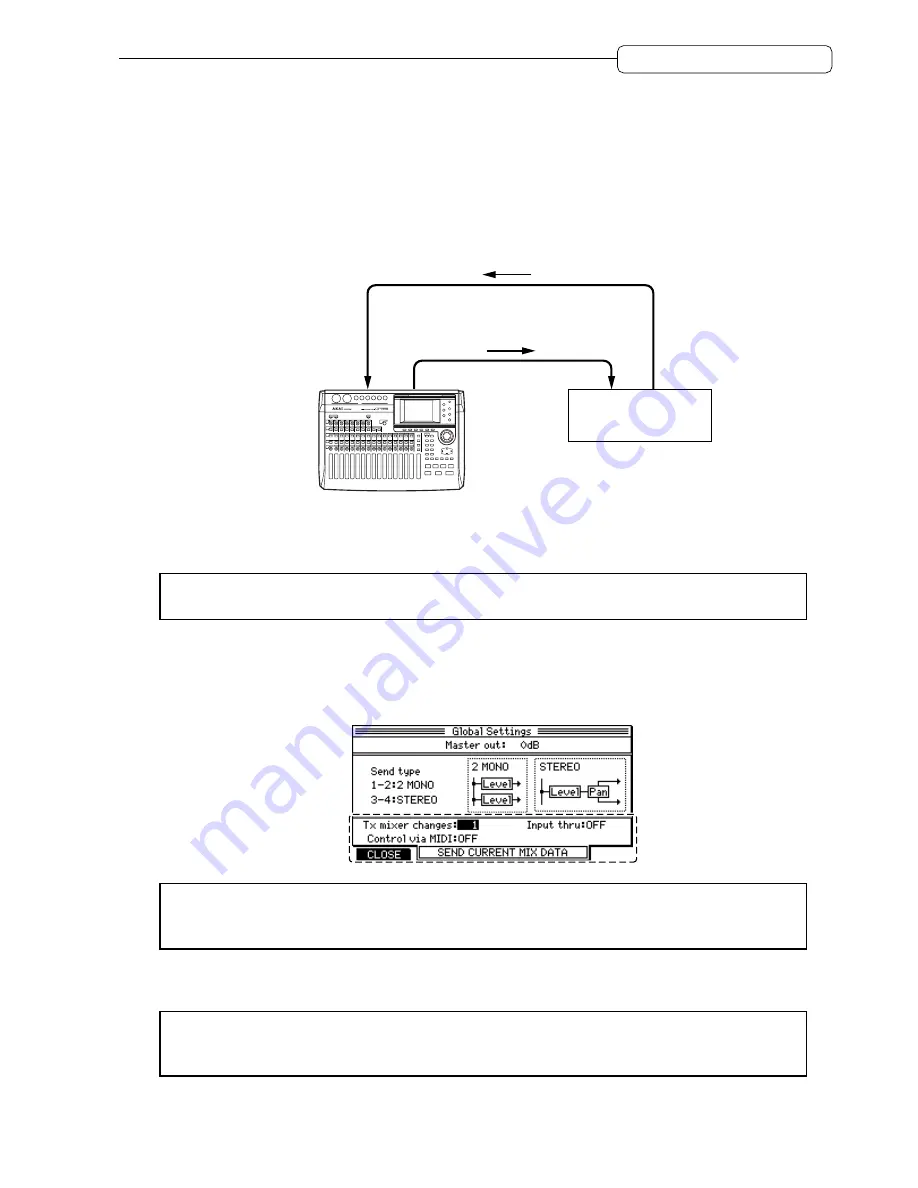
1. Use MIDI cables to connect the MIDI IN/OUT connectors of the DPS16 to the MIDI OUT/IN
connectors of a MIDI sequencer.
MIDI OUT
MIDI slave
MIDI OUT
MIDI sequencer
MIDI IN
MIDI IN
control change
MIDI clock
Song Position Pointer
control change
SHUTTLE
JOG
DPS16
MIDI master
2. Set up the DPS16 and the MIDI sequencer for a sync operation, following the instructions under
“Synchronizing an external device to the DPS16 (MIDI Clock)” on page 134.
➸
NOTE :
You can also use MTC to synchronize the DPS16 with a MIDI sequencer and record and play back
Control Change messages for mix automation.
3. Press the [F3] (
GLOBAL
) key in Mixer mode.
4. Select the DPS16 MIDI channels (1–16) that transmit and receive Control Change messages in the
Control via MIDI
field and
Tx mixer changes
field.
➸
NOTE :
Before recording or playing the mix operation on the MIDI sequencer, make sure that the Input
thru field on the screen shown in step 4 is set to “
OFF
”. If the field is set to “
ON
”, MIDI messages may loop
between the DPS16 and the MIDI sequencer. (See page 72 for more information on the Input thru field.)
5. Create a mix beginning at the start position of the song on the DPS16, and record the snapshot in the
top position of the MIDI sequencer. (See page 139.)
➸
NOTE :
When a mix automation is recorded, this snapshot will become the default value of the mix param-
eters. Therefore, this snapshot should be recorded in a position before the start point of the mix automation
recording.


