Hybrid Standalone NVR User Guide
6.
To make settings for multiple days, select the
icon to the left of several dates. The
icon changes to
, indicating that settings made to one date will follow to the other
selected dates.
7.
Click the
icon to delete a record type from one period.
8.
Click
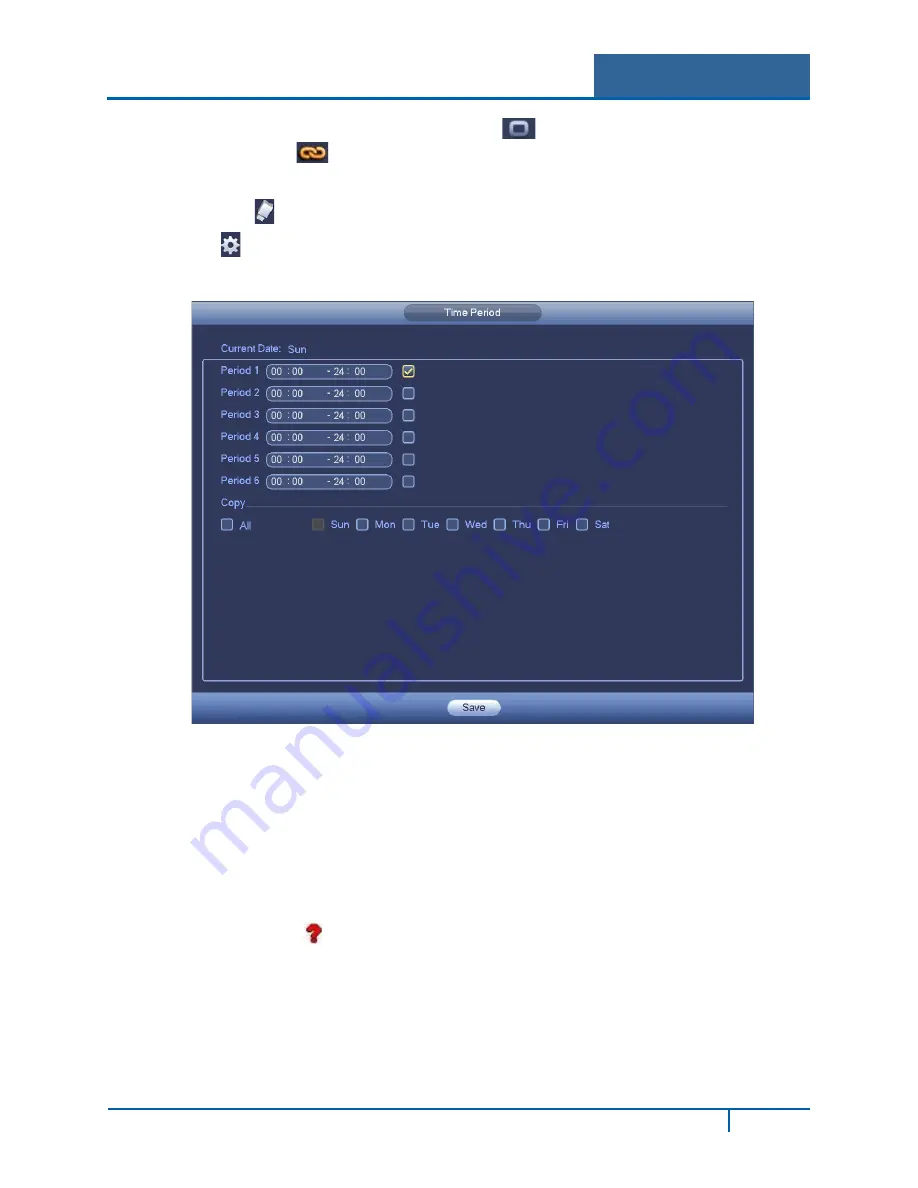
to set up the time period. The following dialog appears. Six periods appear for you
to set for each day.
Figure 3-39
a.
Select the box to the left of a time period to enable it.
b.
Set the start and end times for each motion detect period.
c.
When finished, select
Save
to return to the Detect screen.
9.
Select the desired alarm types: Alarm Out, Show Message, Record Channel, PTZ Activation,
Tour, Snapshot, Buzzer, Alarm Upload, or Send Email.
10.
Select the
Save
button to enact the current setup.
The Video Loss icon appears on the live video screen if the current channel has the Video
Loss alarm enabled.
Note:
•
There is no Detection Region, Sensitivity or Anti-dither setup for Video Loss.
•
Video Loss is only enabled during the time period set. It is disabled for Motion Detection and
Tampering.
NVR4200 Series User Guide
70


