Hybrid Standalone NVR User Guide
3.4.1.1
Motion Detection
The system can set a Motion Detection event to trigger an alarm and initiate recording. The Motion
Detect icon
appears on the live video screen if the current channel has the motion detect alarm
enabled. You first must set up the area on the screen that you want to be sensitive to motion
detection. You can up the motion detection zone using the mouse. You can also use keys on the front
panel of the NVR: FN and arrow keys to set the detection zone, the Enter key to accept the setting, or
the Esc key to exit without saving.
To set up Motion Detection:
1.
Open the Motion Detect screen by selecting
Main Menu > Setting > Video Detect
. The Video
Detect screen opens, as shown in Figure 3-28.
2.
In the
Channel
area, select the channel you want to set up from the drop-down list.
3.
Check the
Enable
checkbox to enable the Motion Detection feature for this channel.
4.
In the
Region
field, select the
Select
button. An interface opens for setting the motion
detection zone.
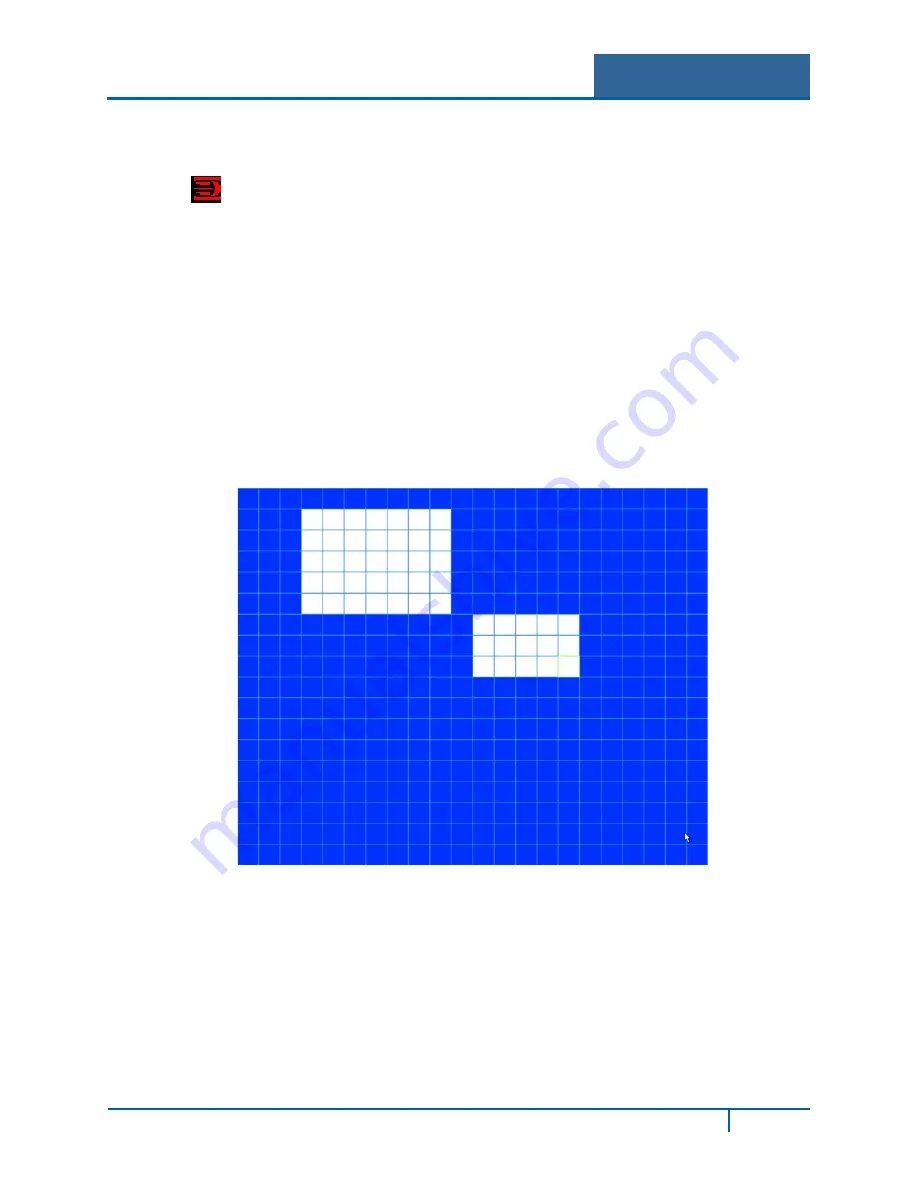
Figure 3-30
The blue zone is the armed (motion detection) zone; the clear zone is the disarmed zone. The
system only detects motion in the blue armed region. The default setup is the entire screen
(all blue).
5.
Set the motion detection zone, using one of the following methods. The currently selected
grid cell is highlighted in green.
NVR4200 Series User Guide
62


