212
Using cascade connections
LS9-16/32 Owner’s Manual
1
In the DISPLAY ACCESS section, press the
[SETUP] key repeatedly to access the SYS-
TEM SETUP screen.
2
In the MIXER SETUP field located at the
lower part of the SYSTEM SETUP screen,
move the cursor to the CASCADE IN button
and press the [ENTER] key to access the
CASCADE IN PATCH popup window.
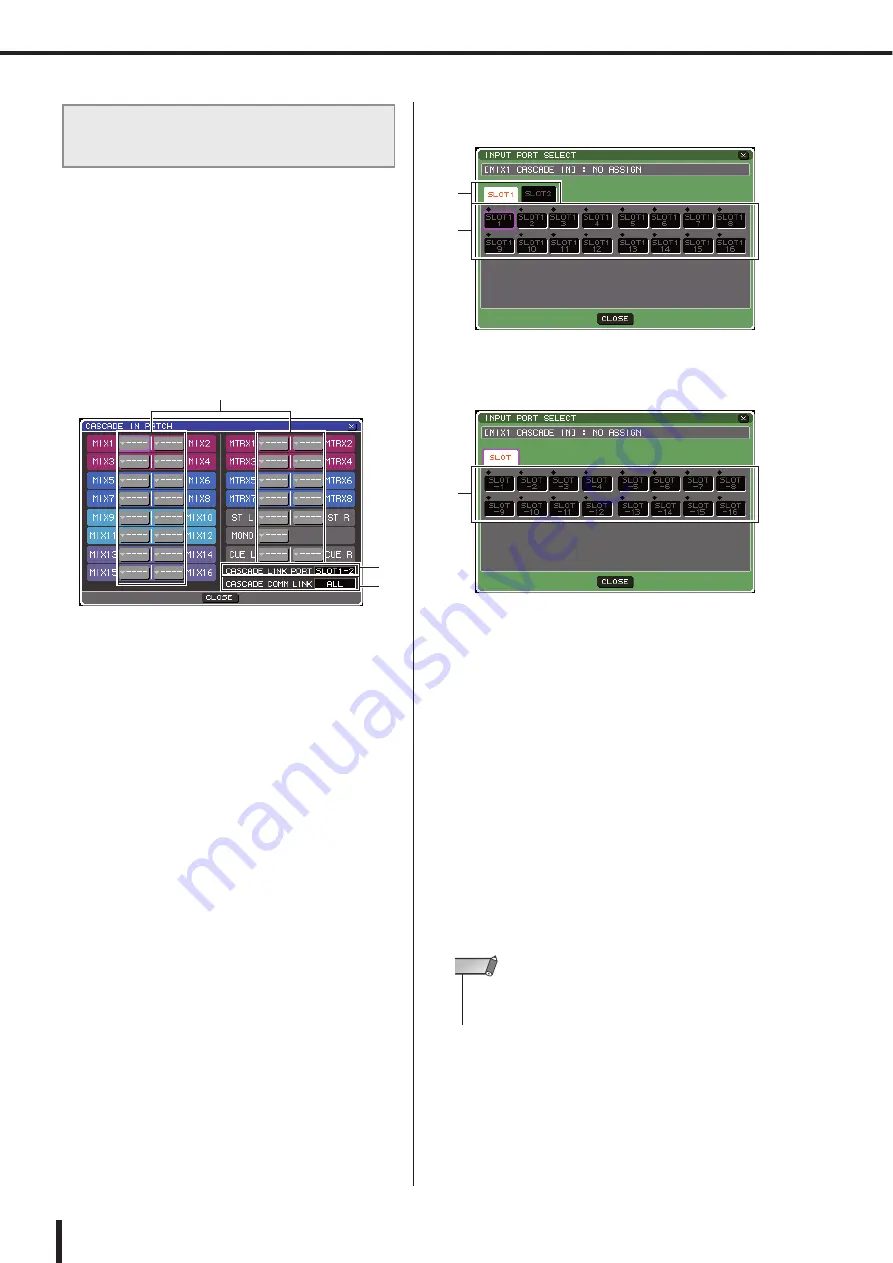
The CASCADE IN PATCH popup window contains
the following items.
1
Port select popup buttons
These buttons access the INPUT PORT SELECT
popup window, where you can select the input port
whose signal will be added to the bus.
B
CASCADE LINK PORT field
Here you can select the port that will transmit and
receive control signals when using the Cascade Link
function to link specific operations and parameter
changes between two LS9 consoles.
C
CASCADE COMM LINK field
Here you can select the parameters and events that will
be linked by the Cascade Link function.
3
Move the cursor to the port select popup
button for the bus whose port you want to
assign, and press the [ENTER] key.
The INPUT PORT SELECT popup window will
appear.
This popup window contains the following items.
[ INPUT PORT SELECT popup window for
the LS9-32 ]
[ INPUT PORT SELECT popup window for
the LS9-16 ]
This popup window contains the following items.
1
Port select buttons
Here you can select the input port whose signal will be
added to the selected bus.
B
Slot select tabs (LS9-32 only)
These tabs select slots 1/2.
4
Use the port select buttons {slot select tabs
and port select buttons} to select an input
port, move the cursor to the CLOSE button
and press the [ENTER] key.
The input port will be assigned to the bus you selected
in step 3. The signal input from this port will be mixed
with the signal of the corresponding bus inside the cas-
cade master.
5
Repeat steps 3 and 4 to assign input ports
to other buses.
Operations on the cascade master
LS9
1
2
3
2
1
1
• You can’t assign the same input port to two or more buses. If
you select a bus to which a signal route has already been
assigned, the previous assignment will be cancelled.
NOTE
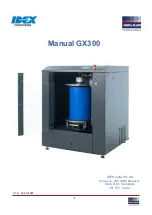
Summary of Contents for LS9 Editor
Page 1: ...Owner s Manual LS9 16 LS9 32 EN ...
Page 80: ...80 LS9 16 32 Owner s Manual ...
Page 90: ...90 LS9 16 32 Owner s Manual ...
Page 94: ...94 LS9 16 32 Owner s Manual ...
Page 286: ...286 LS9 16 32 Owner s Manual ...


