103
Creating an audio CD
10
8
Repeat steps 5–7 to select the songs that will
be written to track 2 and following.
Tip!
Tip!
• When you move the cursor to the NEW button and
press the [ENTER] key, a new song will be added at the
end of the existing songs.
• By using the INS button instead of the NEW button, you
can insert a new song immediately before the song that
is selected in the list.
• You can use the DEL button to delete the currently
selected song from the song list.
Note
Note
When you add a song to the song list, the same song will
always be initially selected. Change this as desired.
9
Move the cursor to the EXECUTE button and
press the [ENTER] key.
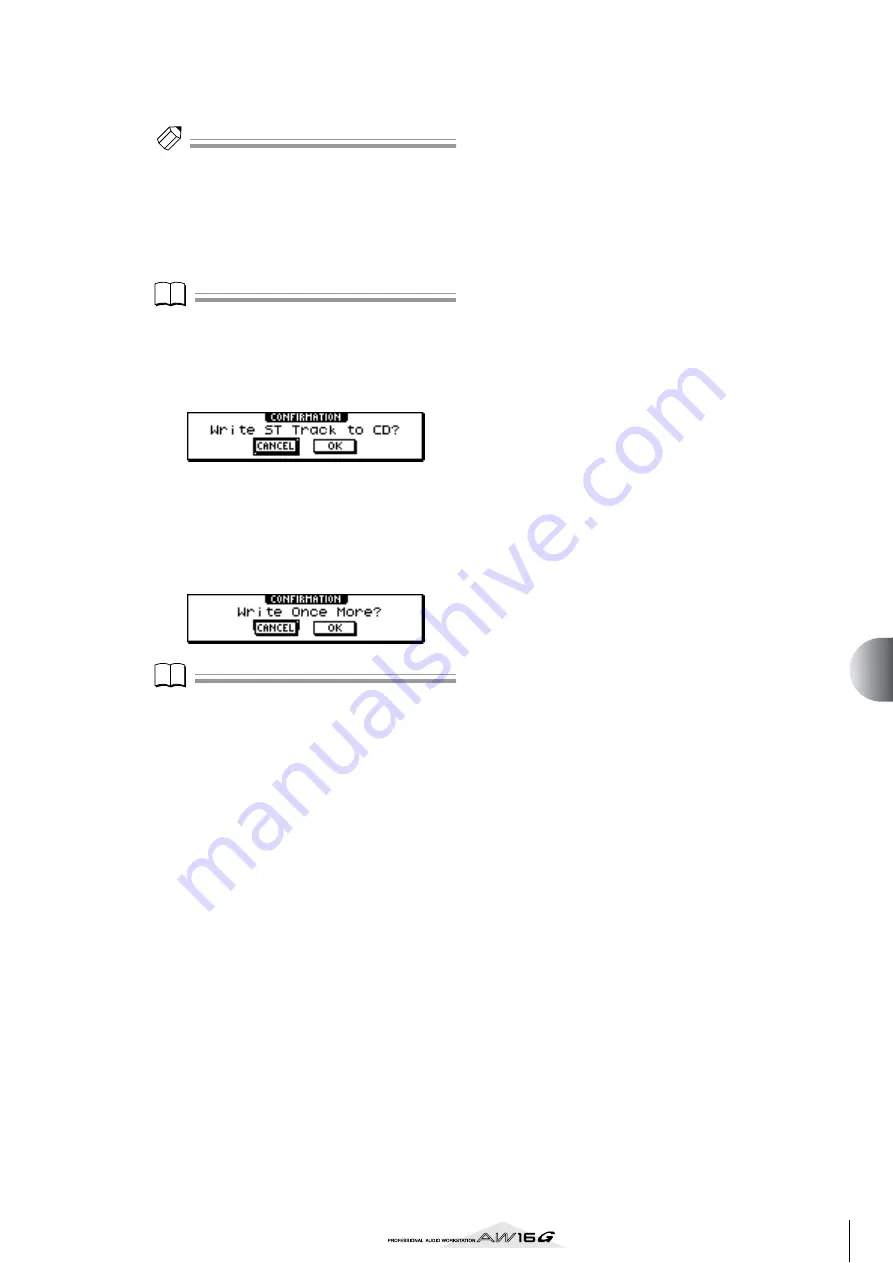
A popup window will ask you to confirm.
10
To begin writing, move the cursor to the OK
button and press the [ENTER] key.
While data is being written to the media, a popup
window will indicate “CD Writing...” When writing
is completed, the CD-R/RW media will be ejected,
and the following popup window will appear.
Note
Note
• If you enabled the writing test in “Basic settings for the
p. 99), a writing test will be per-
formed before the data is actually written. If a problem
occurs during the writing test, an error message will
appear.
• Copy-prohibit data will automatically be written into
the CD that is created.
11
If you want to create another CD with the
identical contents, insert a new volume of
media, and move the cursor to the OK but-
ton and press the [ENTER] key.
Writing will begin again.
Alternatively, you can move the cursor to the CAN-
CEL button and press the [ENTER] key to exit the
writing process.
Summary of Contents for AW 16G
Page 1: ...E Owner s Manual Owner s Manual Owner s Manual Keep This Manual For Future Reference ...
Page 8: ...Contents 8 ...
Page 26: ...Introducing the AW16G 26 ...
Page 32: ...Listening to the demo song 32 ...
Page 38: ...Recording to a sound clip 38 ...
Page 54: ...Track recording 54 ...
Page 136: ...Track editing 136 ...
Page 218: ...Appendix 218 Block diagram ...


