5
Network Scanning
90
Xerox WorkCentre 4250/4260 User Guide
2.
Select
Network Scanning
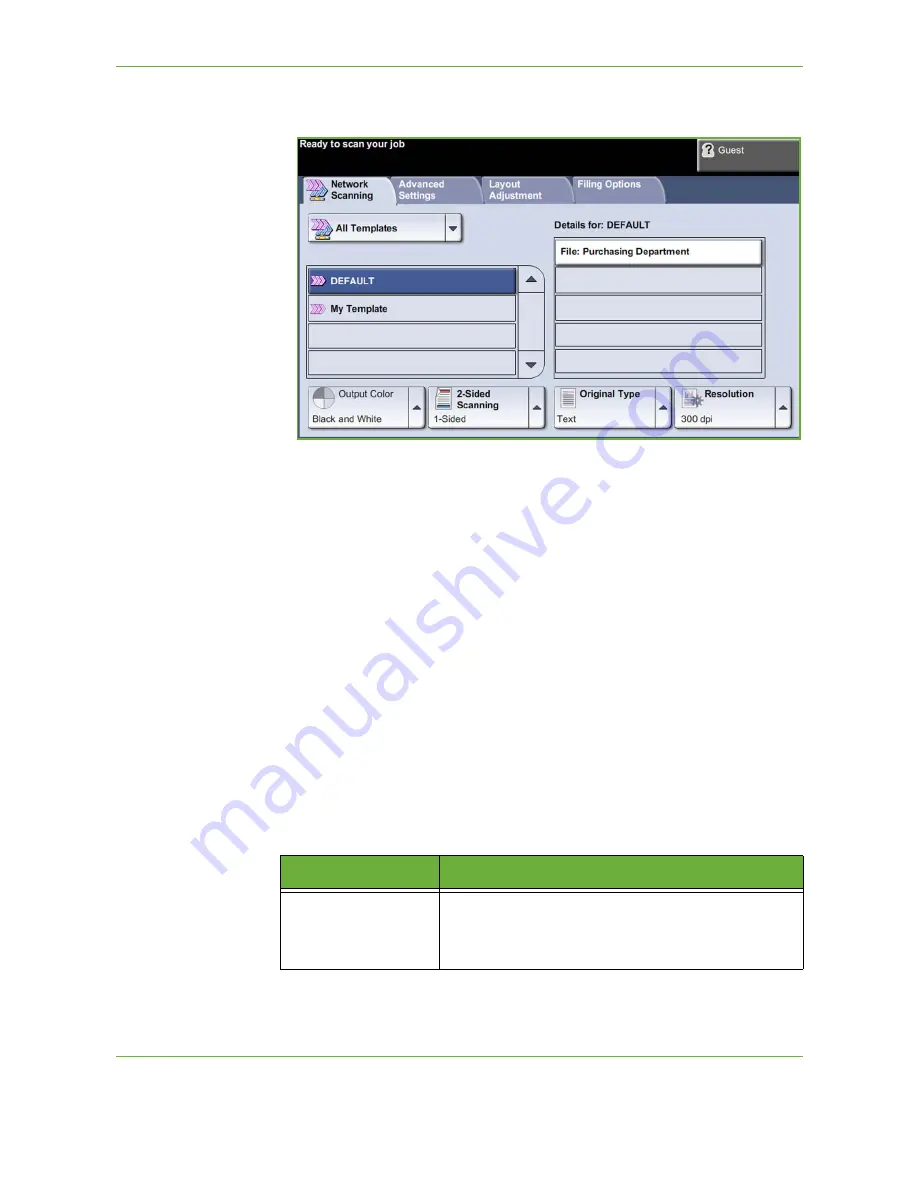
on the touch screen. Ensure that the
Network
Scanning
screen is displayed.
NOTE:
If an authentication feature is enabled, you may need an account before
using the machine. To get an account, or for more information, contact the
System Administrator.
2 Select Network Scanning Template
Network Scanning uses preset templates created by the System Administrator.
These templates already contain feature settings customized to the user. Use the
up/down
scroll buttons located to the right of the Template List on the
Network
Scanning
tab to move through the list and select a Template.
For more information on Network Scanning templates, refer to
Network Scanning
on page 94
.
3 Change Feature Settings
To temporarily change the template settings, perform the following:
1.
Press the
Clear All
button once on the control panel to cancel any previous
selections. The control panel returns to the default
Entry
screen.
2.
Select one of the following tabs for the feature required.
Feature
Description
Network Scanning
Use the features on this tab to select the required template.
Use this feature also to temporarily change the information
relating to your original, e.g. color scanning, 2 sided
originals, etc.
Summary of Contents for WorkCentre 4250C
Page 1: ...Xerox WorkCentre 4250 4260 User Guide...
Page 3: ......
Page 4: ......
Page 8: ...Table of Contents iv Xerox WorkCentre 4250 4260 User Guide...
Page 94: ...4 Fax 86 Xerox WorkCentre 4250 4260 User Guide...
Page 112: ...5 Network Scanning 104 Xerox WorkCentre 4250 4260 User Guide...
Page 150: ...8 Print Files 142 Xerox WorkCentre 4250 4260 User Guide...
Page 210: ...12 Maintenance 202 Xerox WorkCentre 4250 4260 User Guide...
Page 218: ...13 Specifications 210 Xerox WorkCentre 4250 4260 User Guide...
Page 226: ...14 Troubleshooting 218 Xerox WorkCentre 4250 4260 User Guide...
Page 230: ...Index 222 Xerox WorkCentre 4250 4260 User Guide...


