6
Xerox WorkCentre 4250/4260 User Guide
111
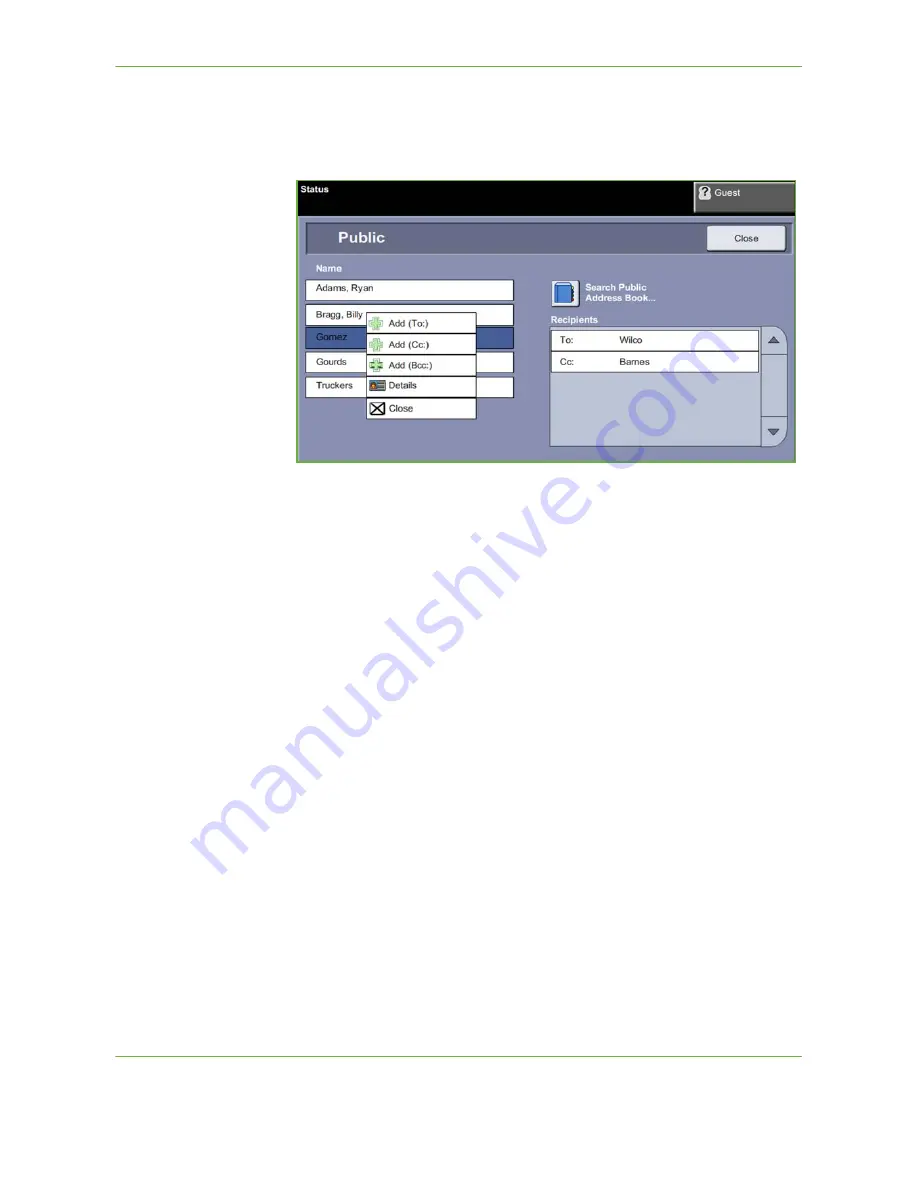
To add recipient addresses using the Address Books
1.
From the
screen choose the
Address Book
button. The
New Recipient
keypad screen will appear.
2.
Enter the first few characters of the recipient's name or e-mail address and
select the
Search
button. The Xerox device will return a list of names that
match your entry.
3.
Choose the desired recipient from the list returned and select the Add button.
4.
When all recipient addresses have been added, select the
Close
button.
NOTE:
If there are no matching entries:
1) Select the
Address Book
button to search the other address book. If one
or more matches are found based on the search criteria, the matches
display on the touch screen.
2) Use the
up/down
scroll buttons to locate the recipient.
3) Select the recipient in the list and select the
Add
button.
4) Repeat the above procedure to add more recipient addresses.
5) When all recipient addresses have been added, select the
Close
button.
The entered e-mail addresses will be shown in the A
ddress List
.
Optional information
From the
screen, select
Subject
to add a subject line that will appear in the
recipient’s e-mail inbox. Use the touchscreen keypad to enter the text.
Select
Message
to add a short message to accompany the scanned original. Use
the touchscreen keypad to enter the text.
Summary of Contents for WorkCentre 4250C
Page 1: ...Xerox WorkCentre 4250 4260 User Guide...
Page 3: ......
Page 4: ......
Page 8: ...Table of Contents iv Xerox WorkCentre 4250 4260 User Guide...
Page 94: ...4 Fax 86 Xerox WorkCentre 4250 4260 User Guide...
Page 112: ...5 Network Scanning 104 Xerox WorkCentre 4250 4260 User Guide...
Page 150: ...8 Print Files 142 Xerox WorkCentre 4250 4260 User Guide...
Page 210: ...12 Maintenance 202 Xerox WorkCentre 4250 4260 User Guide...
Page 218: ...13 Specifications 210 Xerox WorkCentre 4250 4260 User Guide...
Page 226: ...14 Troubleshooting 218 Xerox WorkCentre 4250 4260 User Guide...
Page 230: ...Index 222 Xerox WorkCentre 4250 4260 User Guide...


