


3.6 Printing Confidential Documents - Secure Print -
49
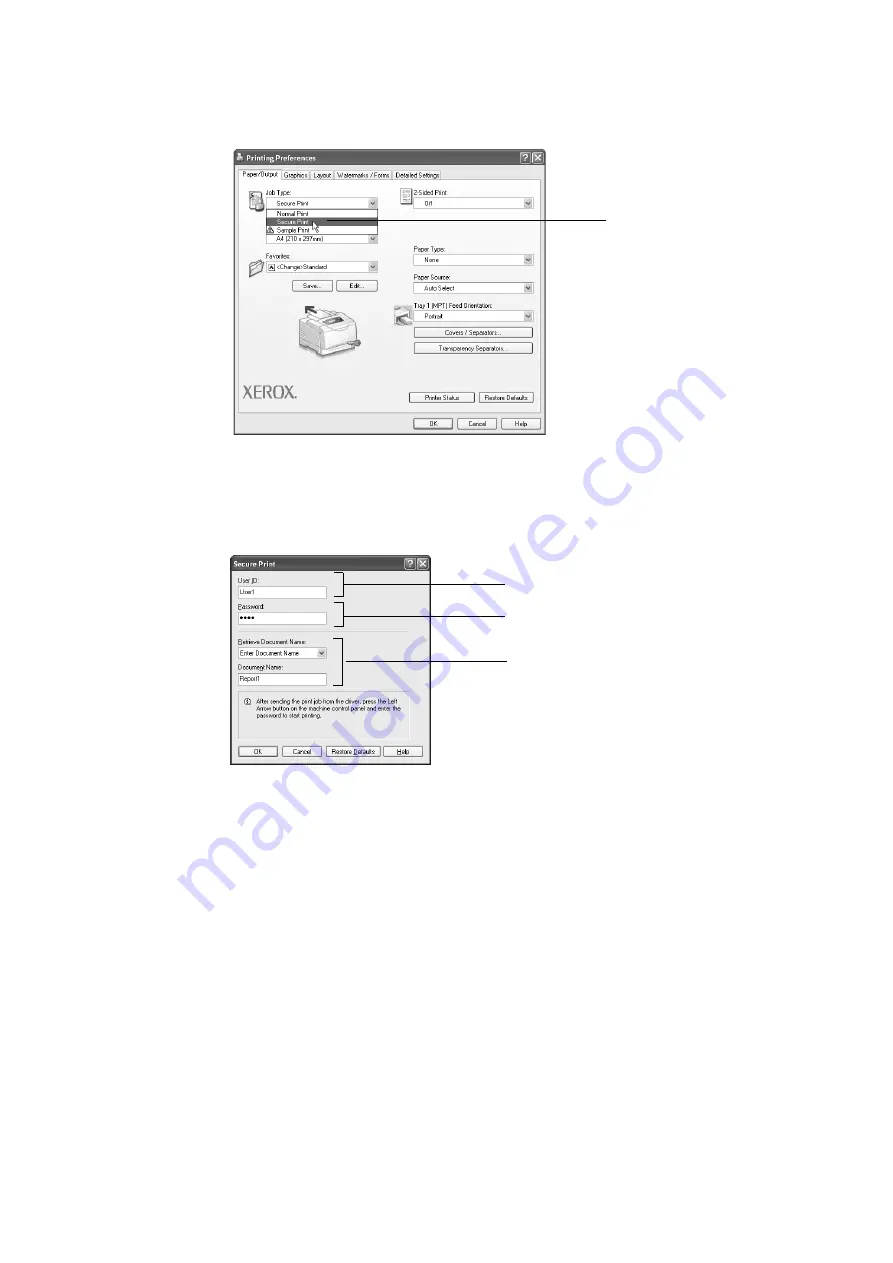
3. The [Paper/Output] tab appears.
From [Job Type], select [Secure Print] and click [Setting].
The [Secure Print] dialog box appears.
4. Enter your user ID into [User ID].
The user ID can be up to 8 alphanumeric characters.
5. As necessary, enter a password into [Password].
The password can be up to 12 numeric characters.
6. From [Retrieve Document Name], select [Enter Document Name] or [Auto Retrieve].
When [Enter Document Name] is selected, enter the desired document name in
[Document Name]. The document name can be up to 12 alphanumeric characters.
When [Auto Retrieve] is selected, the document name will be the name of the
document to be printed. If the printer cannot identify the name of the document, the
date and time that the document will be printed will be its name.
7. Click [OK] to close the [Secure Print] dialog box.
8. Click [OK] to close the [Printing Preferences] dialog box.
9. Click [Print] in the [Print] dialog box to start printing.
Summary of Contents for Phaser 5335
Page 1: ...Phaser5335 User Guide Version 1 0 December 2007...
Page 6: ...vi Contents...
Page 48: ...30 2 Basic Operation...
Page 74: ...56 3 Print...
Page 90: ...72 4 Paper...
Page 130: ...112 5 Control Panel Menus...
Page 156: ...138 6 Troubleshooting...
Page 216: ...198 A Appendix...
Page 224: ......
Page 229: ......
Page 230: ......


