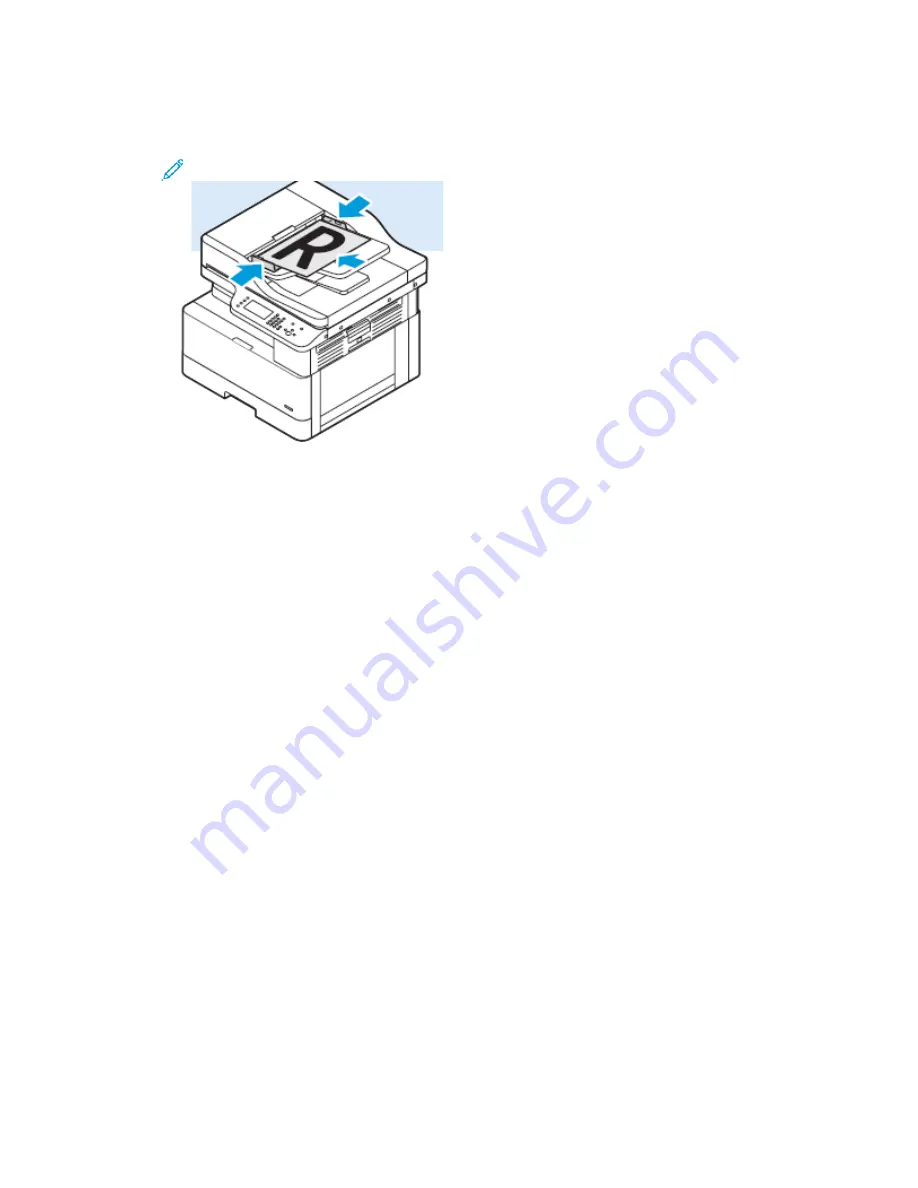
• For multiple or single pages, use the document feeder. Remove any staples and paper clips
from the pages, then place the pages face up in the document feeder.
Note:
For details, refer to
and
.
2. To clear previous settings, press the
Clear All
button.
3. Press the
Services Home
button.
4. On the printer control panel, touch
.
If the Scanning to an Email Address feature is grayed-out, contact your system administrator to
enable the feature. For details, refer to the
System Administrator Guide
at
.
5. Enter the Recipient information.
• To type the email address into the To field, select
Enter Recipient
, then use the touch screen
keypad. Touch
OK
.
• To select a contact or group from the Address Book, touch the
Device Address Book
icon.
From the list, select a recipient.
• If you created Favorites, to select a Favorite, touch
Favorites
. From the list, select an Email
Favorite.
For details about using the Address Book, and managing and creating Favorites, refer to
6. Touch the
Right Arrow
icon.
7. Adjust the email features as needed:
• To save the scanned document with a specific file name, touch
Attachment
, then use the
touch screen keypad and enter a new name. Touch
OK
.
• To save the scanned document with a specific file format, touch the attachment file format,
then select the required format.
• To change the subject line, touch
Subject
, then use the keypad and enter a new subject line.
Touch
OK
.
• To change the email body message, touch
Message
, enter a new message, then touch
OK
.
• If necessary, set the
From
and
Reply To
addresses.
8. Touch the
Back Arrow
icon.
9. To start the scan, press the
Start
button.
66
Xerox
®
B1025 Multifunction Printer
User Guide


