Setup & Operation
Replacing The Blade
Setup & Operation
HDdoc012020
2-12
2
2.5
Replacing The Blade
DANGER!
Always disengage the blade and shut off the sawmill engine
before changing the blade. Failure to do so will result in serious injury.
WARNING!
Always wear gloves and eye protection when handling bandsaw
blades. Changing blades is safest when done by one person! Keep all other
persons away from area when coiling, carrying or changing a blade. Failure to
do so may result in serious injury.
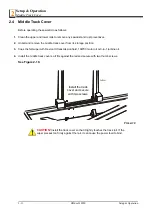
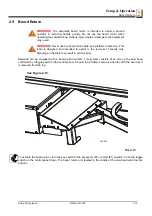
Remove the two main blade housing covers that cover the blade wheels. Lower the hinged middle blade hous-
ing cover. Turn the blade tension handle to release the blade tension until the wheel is pulled in and the blade
is lying loose in the blade housing. Lift the blade out of the blade housing.
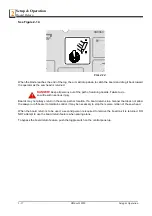
When installing a blade, make sure the teeth are pointing the correct direction. The teeth should be pointing
toward the operator side of the mill when you are looking at the blade below the blade guides. Install the blade
so it is lying around the wheels.
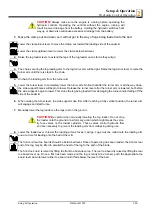
Position 1 1/4” wide blades on the wheels so the gullet is 1/8" (3.0 mm) out from the edge of the wheel. Posi-
tion 1 1/2” wide blades on the wheels so the gullet is 3/16” (4.5 mm) out from the edge of the wheel.
Close the middle blade housing cover.
Next, turn the tension handle until the blade is tensioned correctly.
CAUTION!
Should you need to adjust the blade position, never grab
the wheel arms to spin the idle-side blade wheel as your fingers can
get pinched.
2.6
Tensioning The Blade
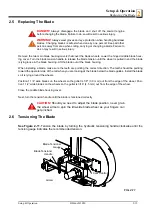
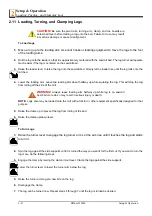
See Figure 2-11.
Tension the blade by turning the hydraulic tensioning handle clockwise until the
tension gauge indicates the recommended tension.
FIG. 2-11
SM0243
Blade Tensioner
Gauge
Cant Control
Blade Tensioner
Handle
Blade Tensioner
Gauge
Blade Tensioner
Handle
Cant Control

