VIPER user manual V1.0
33
7) KHz: Only support 8KHz (this is audio sampling rate). If the IP camera does not support 8KHz, then
it will display as OFF
8) Motion: Default is OFF. If you select ON, it will allow the NVR to receive motion events from the IP
camera. Also the NVR will allow the user to use event recording only when it is enabled.
NOTE: If you would like to use MOTION recording, the EVENT must be set to ON. The NVR will
automatically set the motion area (whole screen) but if the user wants to set their own motion area,
they will need to set the area from the IP camera. To learn how to setup own personal motion area;
please refer to camera user manual.
9) Sensor: Default is OFF. If you select ON, it will allow the NVR to receive sensor events from the IP
camera. There are 2 different types of sensor positions: (N.O = NORMAL OPEN and N.C. = NORMAL
CLOSE). Depending on the IP camera, Sensor 1 and Sensor 2 can be enabled if the IP camera can
support two sensors.
Secondary
Secondary: The purpose of secondary is to send low bandwidth stream to remote client software such
as Smartphone, tablets, etc. It will also display in real-time to multi view mode. You can also setup
different settings in secondary such as:
1) Profile: Select a profile that’s desired. Main is recommended.
2) Resolution: Max resolution is 704 x 480 depending on IP camera’s resolution support.
3) FPS: Maximum FPS is 30.
4) Quality: By using the keyboard, enter the desired quality setting. Keep in mind that maximum Kbps
is 6000.
5) GOP: Maximum GOP is 30 and a half of FPS is recommended as a GOP size.
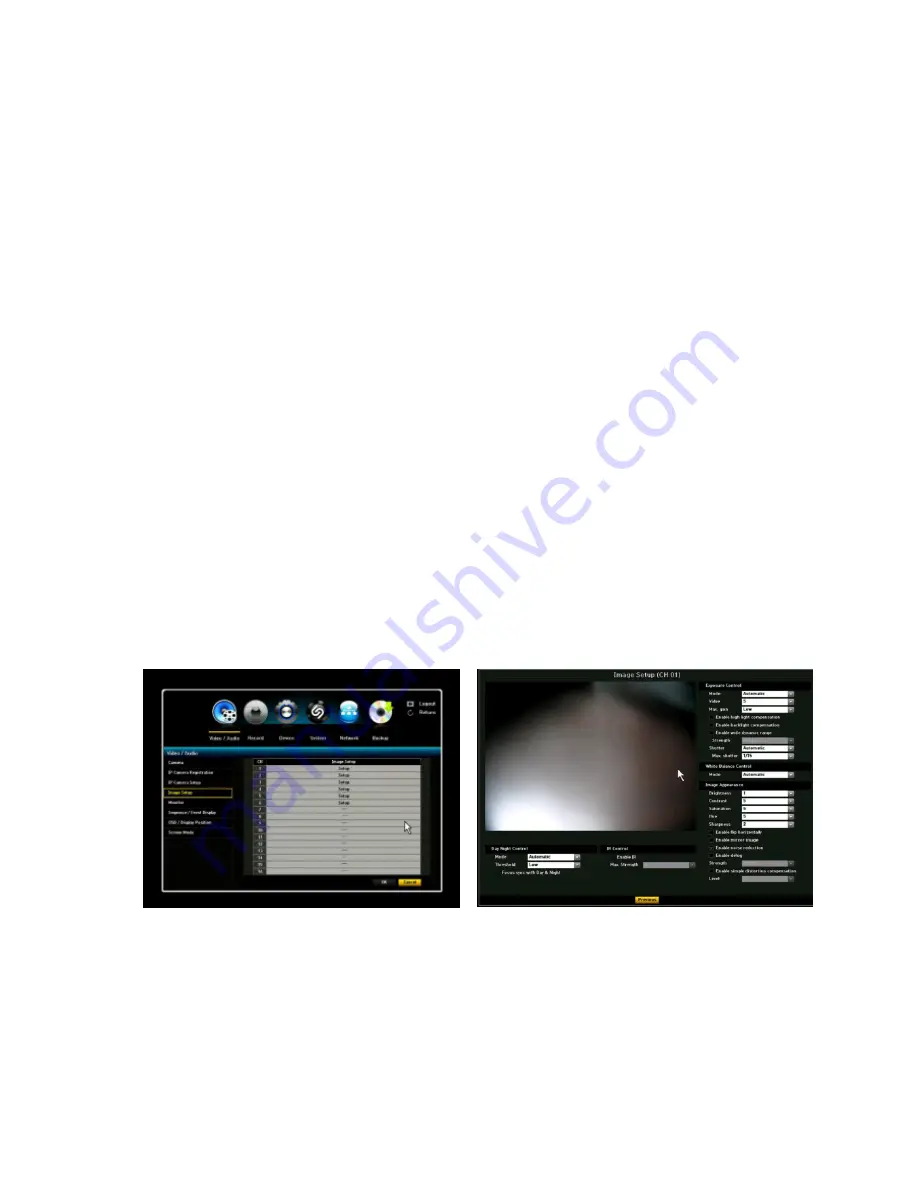
3.1.4. Image Setup ( Vista VK2 cameras only)
In this menu, the user can set the camera image setup in the NVR; brightness, contrast, hue,
saturation, DWDR, etc. When clicking the desired camera channel setup button, a setup window will
appear. Depending on the camera manufacturer, this setup function can be limited or not available.


