


VIPER user manual V1.0
32
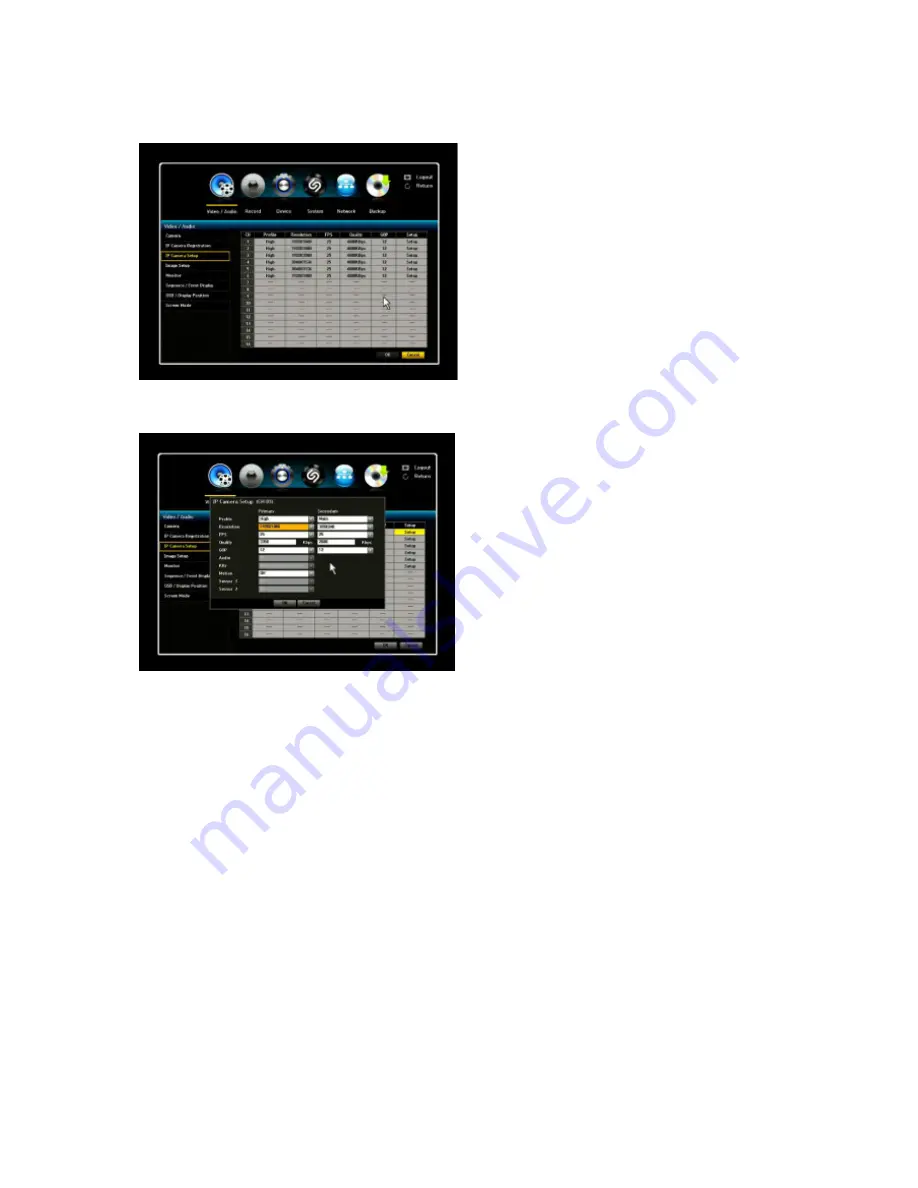
3.1.3. IP Camera Setup
In this menu, you will be able to setup your IP
camera to desired setting. By clicking the Setup
tab, you will have five (5) different settings to
work with.
-PROFILE
-RESOLTUION
-FPS
-QUALITY
-GOP (Group of Pictures)
Click on the Setup tap of desired channel, then IP camera setup page will appear.
Primary
1) Profile: “Main” profile is recommended for the most efficient coding of video. It reduces the required
network bandwidth for video. The only profiles that can be enabled are ones supported by the camera.
If you cannot enable it, then the camera does not support that particular profile.
2) Resolution: It will display resolution options supported by the camera. Once the Resolution tab is
clicked, a window will appear in the middle of the page. Scroll down on the Resolution bar and select
desired resolution setting.
3) FPS: To select desired FPS, click on the FPS bar and scroll down. Maximum FPS allowed is 30.
The NVR does not support FPS 60.
4) Quality: For desired quality setting, click on the bar next to Quality. Once the bar has been clicked, a
virtual keyboard will appear in the middle of the screen. By using the keyboard, enter the desired
quality setting. Keep in mind that maximum Kbps is 6000.
5) GOP: Once you have clicked the GOP tab, click the GOP bar and scroll down to desired GOP
setting. Keep in mind the maximum GOP is 30 and the recommendation GOP size is a half of FPS.
(Example; if the FPS is 30, then the GOP of 15 is recommended)
6) Audio: Only support G.711. If the IP camera does not support G.711, then it will display as OFF.


