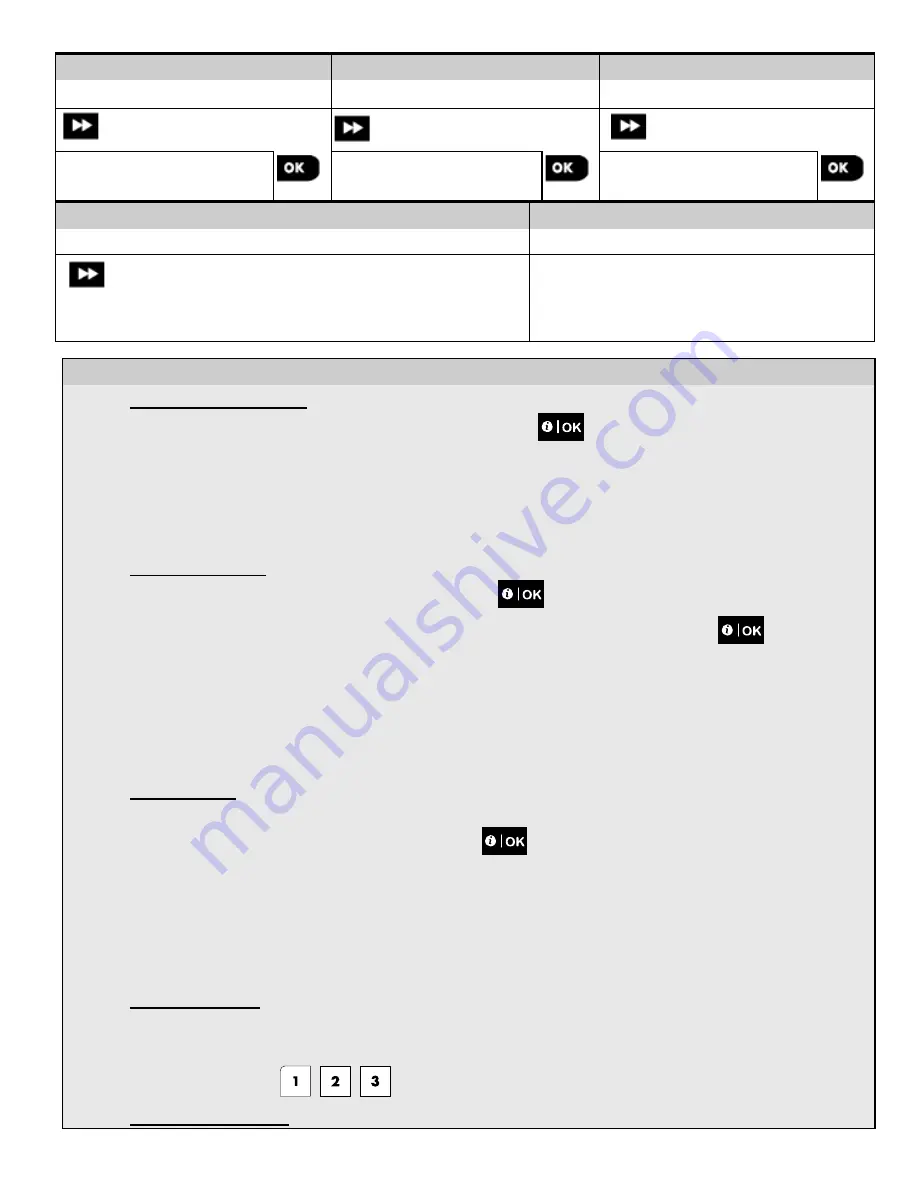
Step 7
Step 8
Step 9
Enter Partitions Menu
[7]
Select Partition options
[8]
Enter Device Settings Menu [9]
➯
➯
Z10:PARTITIONS
Z10:PARTITIONS
1
2
3
Z10:DEV SETTINGS
Step 10
Step 11
Configure Device Parameters
[10] Continue or End
Refer to device datasheet in the device Installation
Instructions for specific configuration instructions.
To continue – See
[11]
- Configuring New Devices
Location (name) setting:
[1]
To review or change the
Location
(name) setting, press the
button, otherwise scroll to the next
option.
Note:
The Location default appears on the second row of the keypad display.
[2]
To change the Location name, enter the menu and select the name from the "
Location List
" below. You can
assign additional custom names using the "
06.CUSTOM NAMES
"
option in the Installer menu. See section
3.8.
Zone Type setting:
[3]
To review or change the
Zone Type
setting, press the
button, otherwise scroll to the next option.
[4]
The zone type determines how the system handles signals sent from the device. Press
and select a
suitable zone type. The list of available
Zone Types
and the explanation for each zone type is provided
below.
Notes:
1) As a shortcut, press the 2 digit serial No. of the
Zone Type
which takes you directly to its menu.
2) The Zone Type default appears on the second row of the keypad display.
Chime setting:
[5]
All zones are set to
Chime OFF
by default. To configure the device to cause the panel to sound (when
disarmed) a
Chime
melody when tripped, press the
button, otherwise scroll to the next option.
[6]
Select between "
Chime OFF
",
"
melody-chime
" and
“zone name chime”
. In "melody chime" the control
panel sounds a chime melody when the sensor is tripped. The chime operates during the Disarm mode only.
In "zone name-chime" the control panel sounds the zone name when the sensor is tripped. The chime
operates during the Disarm mode only.
Note:
The Chime default appears on the second row of the keypad display.
Partitions setting:
Note:
The "PARTITIONS" menu appears only if Partitions is enabled in the KP-250 PG2 (see section 3.13).
[7]
When entering the menu, the display shows the default Partition selection (marked with
).
[8]
Use the keypad keys
,
,
to assign partitions to the device.
Device Configuration:
16
D-306919 KP-250 PG2 Installer’s Guide


