SurfBeam® 2 Pro Portable Terminal Operations Guide
© 2014 ViaSat, Inc.
Page 3-8
All Rights Reserved
ViaSat Proprietary Information
Step
Action
Image
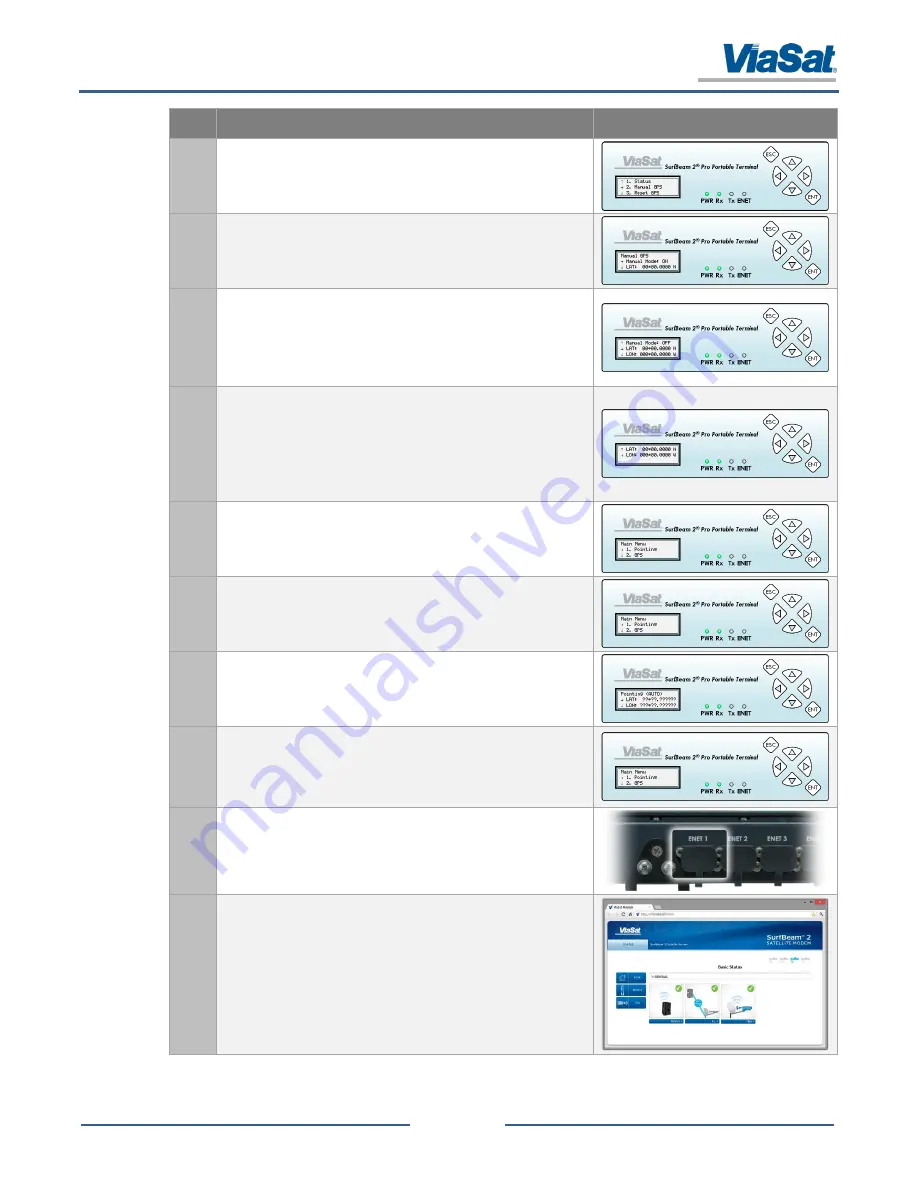
9.
On the
GPS
screen, use arrow keys to scroll to “
→ 2. Manual
GPS
” menu item and press
ENT
button.
10.
On the
Manual GPS
screen, use arrow keys to scroll to “
→
Manual Mode
” menu item and press
right arrow
button once to
turn ON (pressing the arrow twice will turn it OFF).
11.
On the
Manual GPS
screen, use arrow keys to scroll to “
→ LAT
”
menu item. Press
right arrow
button once to access the first “0”
field and use the
up/down arrows
to set the first number.
NOTE
: After entering the first number, continue the same process
to set the remaining fields.
12.
After entering all required fields, press
ENT
to return to the “
→
LAT
” menu item and then use arrow keys to scroll to “
→ LON
”
menu item. Press
right arrow
button once to access the first “0”
field and use the
up/down arrows
to set the first number.
NOTE
: After entering the first number, continue the same process
to set the remaining fields.
13.
After entering all required fields, press the
ESC
button twice.
NOTE
: Pressing the
ESC
button will save the change.
14.
On the
Main Menu
screen, use arrow keys to scroll to “→ 1.
Pointing” menu item and press
ENT
button to access the Location
screen.
15.
When the
Location
screen opens, the values entered in the
previous steps will display in the
LAT
and
LON
fields.
16.
After verifying the
LAT
and
LON
fields, press the
ENT
button
twice.
NOTE
: There is no reason to continue in the Pointing/Peaking
process, since those required steps were previously performed.
17.
On the front of the modem assembly, connect the CAT5 cable to
the
ENT1
port and the other end to a computer.
18.
Open a web browser window and type
192.168.100.1
into the
address bar and verify you can access the modem’s web interface
by selecting “Modem” in the menu tree on the left.


