CHAPTER 3: USING PROGRAMMING FUNCTIONS
HF25 DC RESISTANCE WELDING SYSTEM
990-333
3-9
4
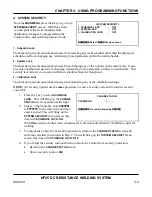
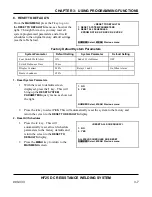
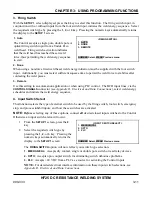
Use the
(Up/Down) keys on the
front panel to scroll vertically through
the schedules to
highlight
the weld
count for the schedule you want to
chain.
CHAIN SCHEDULE SETUP
SCHEDULE NUMBER WELD COUNT
NEXT
Ø4
ØØØ1
Ø4
Ø5
ØØØ1
Ø5
Ø6
ØØØ1
Ø6
Ø7
ØØØ1
Ø7
VW
scroll, SCHEDULE select, MENU menu
5
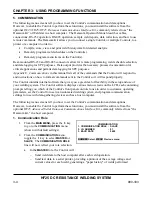
Use the numeric keypad to enter the
number of times you want this schedule
to weld before going to the next
schedule.
6
Use the
SCHEDULE
key to move the
highlight horizontally to select
NEXT
.
CHAIN SCHEDULE SETUP
SCHEDULE NUMBER WELD COUNT
NEXT
Ø4
ØØØ1
Ø4
Ø5
ØØØ2
Ø5
Ø6
ØØØ1
Ø6
Ø7
ØØØ1
Ø7
VW
scroll, SCHEDULE select, MENU menu
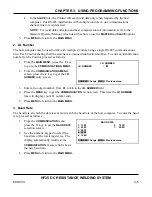
7
Use the numeric keypad to enter the
number of the next schedule in the chain.
8
Use the
SCHEDULE
key to move the
highlight horizontally back to the
WELD
COUNT
column. Repeat Steps 4 through
8 to program the rest of the chain.
CHAIN SCHEDULE SETUP
SCHEDULE NUMBER WELD COUNT
NEXT
Ø4
ØØØ1
Ø4
Ø5
ØØØ2
Ø5
Ø6
ØØØ1
Ø6
Ø7
ØØØ1
Ø7
VW
scroll, SCHEDULE select, MENU menu
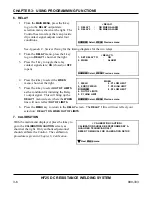
9
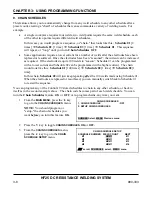
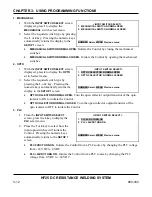
When you finish programming the chain, press the
MENU
key to return to the
CHAIN
SCHEDULES
menu.
10
Press the
1
key to toggle between
ON
or
OFF
.
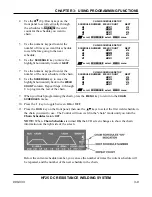
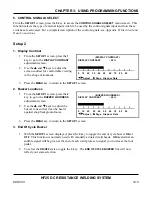
11
Press the
RUN
key on the front panel, then use the
keys to select the first weld schedule in
the chain you want to use. The Control will now weld in the "chain" mode until you turn the
Chain Schedules
feature
OFF
.
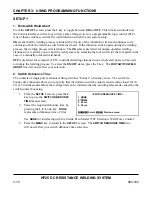
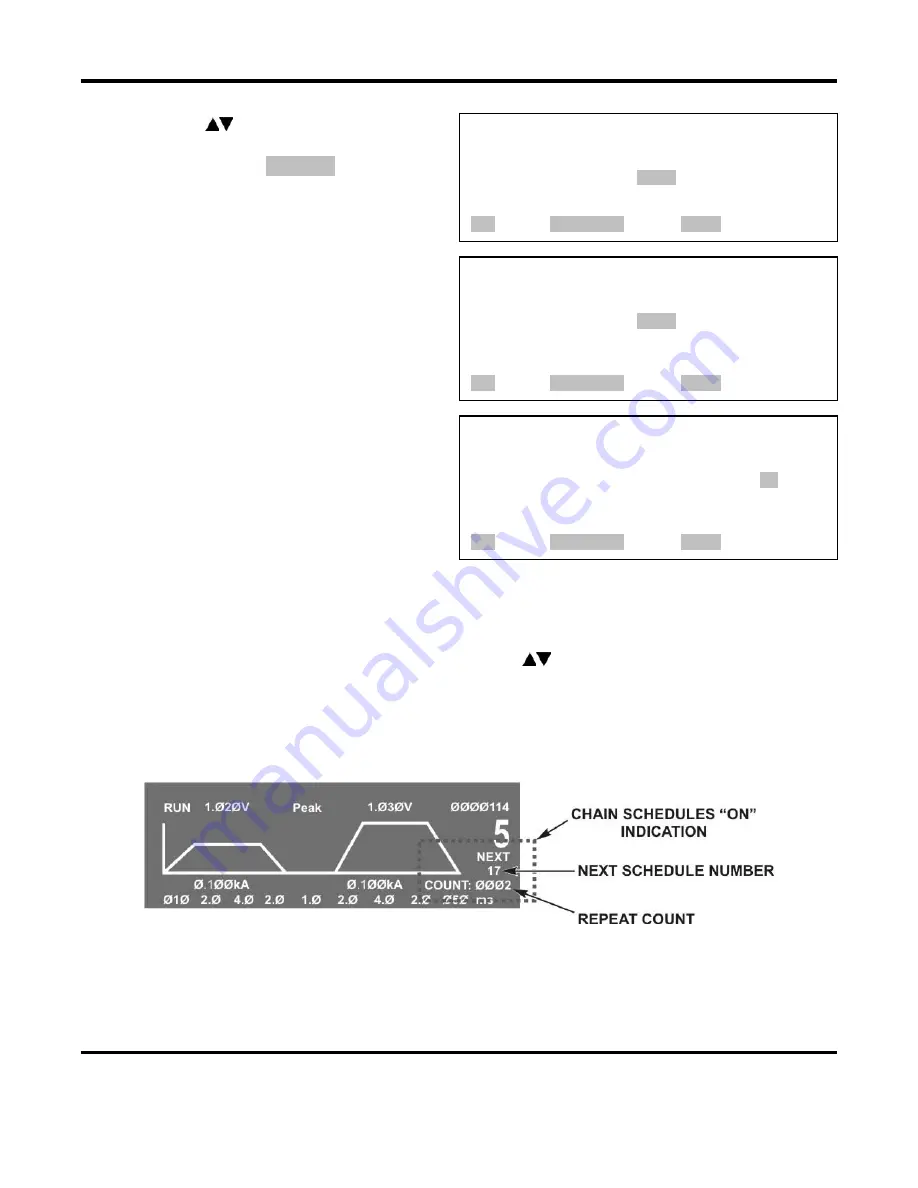
NOTE:
When
Chain Schedules
is turned
ON
, the LCD screen changes to show the chain
information on the right side of the screen.
Below the current schedule number, you can see the number of times the current schedule will
be repeated, and the number of the next schedule in the chain.
Summary of Contents for HF25A
Page 9: ...HF25D DC RESISTANCE WELDING SYSTEM 990 333 ix ...
Page 10: ......
Page 20: ......
Page 84: ...CHAPTER 6 CALIBRATION HF25D DC RESISTANCE WELDING SYSTEM 990 333 6 4 Final Calibration Setup ...
Page 113: ......
Page 129: ......
Page 153: ......
Page 171: ......

