Operation Panel
4-38
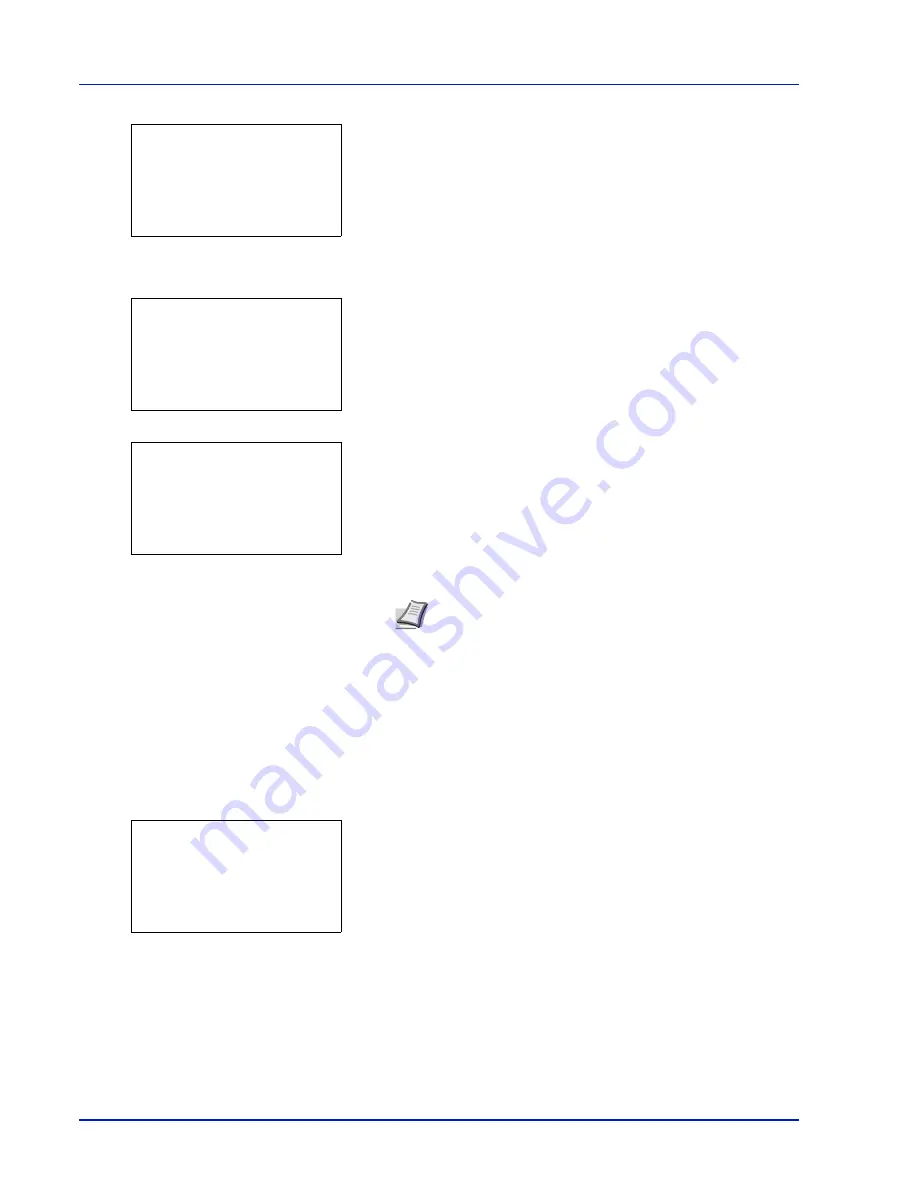
2
Press
[OK]
. The
Media Type Set.
screen appears listing the
media types that can used with the printer.
3
Press
or
to select the custom paper (CUSTOM 1 to 8) for which
you want to register a name to display.
4
Press
[OK]
. A menu for the selected media is displayed.
5
Press
or
to select
Name Entry
.
6
Press
[OK]
. The
Name Entry
screen appears.
7
Use the numeric keys to enter the name to display for the custom
paper.
8
Press
[OK]
. Register the name to display and the renamed custom
paper screen reappears.
Reset Type Adj. (Resets customized settings)
This resets all the settings specified in
Media Type Set. (Paper type settings) on page 4-34
.
1
In the
Paper Settings
menu, press
or
to select
Reset Type
Adj.
.
2
Press
[OK]
. A confirmation screen appears.
3
Press
[Yes]
(
[Left Select]
). The message
Completed.
appears
and the
Paper Settings
menu reappears.
Pressing
[No]
(
[Right Select]
) returns to the
Paper Settings
menu without resetting the customized settings.
Media Type Set.:
a
b
********************-
2
Transparency
3
Preprinted
[ Exit
]
1
Plain
Note
Up to 16 characters can be entered. For details on
entering characters, refer to
Character Entry Method on page
A-2
.
CUSTOM 1:
a
b
********************-
2
Duplex
3
Name Entry
[ Exit
]
1
Paper Weight
Name Entry:
a
b
*
S
ABC
[ Text
]
Reset Type Adjust.
Are you sure?
[
Yes
] [
No ]
Summary of Contents for P-4030D
Page 22: ...Machine Parts 1 6 ...
Page 60: ...Printing 3 8 ...
Page 71: ...4 11 Operation Panel Menu Map Sample Menu Map Printer Firmware version ...
Page 163: ...4 103 Operation Panel 5 Press or to select whether Thin Print is enabled ...
Page 194: ...Operation Panel 4 134 ...
Page 232: ...Document Box 5 38 ...
Page 238: ...Status Menu 6 6 ...
Page 272: ...Troubleshooting 8 24 ...
Page 311: ......


