


THOR-SSM
130
Rev. : 02/09/2012
16.
Select the first command icon:
Automatic detection of number
of pixels per line and the best phase
.
17.
Assess the desktop test pattern. If the vertical stripes are sharp and without jitter or
smearing, the adjustment has been successful. Go to step 9.
18.
If the picture quality is not acceptable after the automatic adjustment, you will have to
manually adjust the pixel clock and pixel phase (in this order).
19.
With a poorly adjusted pixel clock you may see one or more vertical areas, where the
lines are smeared (see picture a on next page):
8.1
Return to the OSD utility and select the menu command:
Manually adjust the number of pixels per line (Pixel clock)
from the Image menu.
8.2
Adjust the pixel clock value until all stripes have disappeared.
8.3
Confirm the setting.
20.
Problems with the pixel phase will cause horizontal noise, horizontal wave-formed lines,
flicker or smearing with zebra-pattern (see picture b below):
8.4
From the OSD’s Image menu, select the menu command:
Manually adjust the best phase (best point for A/D conversion ).
8.5
Modify the phase until all distortions have disappeared.
8.6
Confirm the setting.
21.
If necessary adjust the size of the visible part of the picture.
(The horizontal and vertical size is displayed in numeric values
for exact adjustment)
22.
If necessary adjust the position of the visible part of the screen.
It may be necessary to adjust the picture size (step 9) again
23.
If appropriate, re-attach your TFT monitor and adjust its image according to the
manufacturer’s instructions.
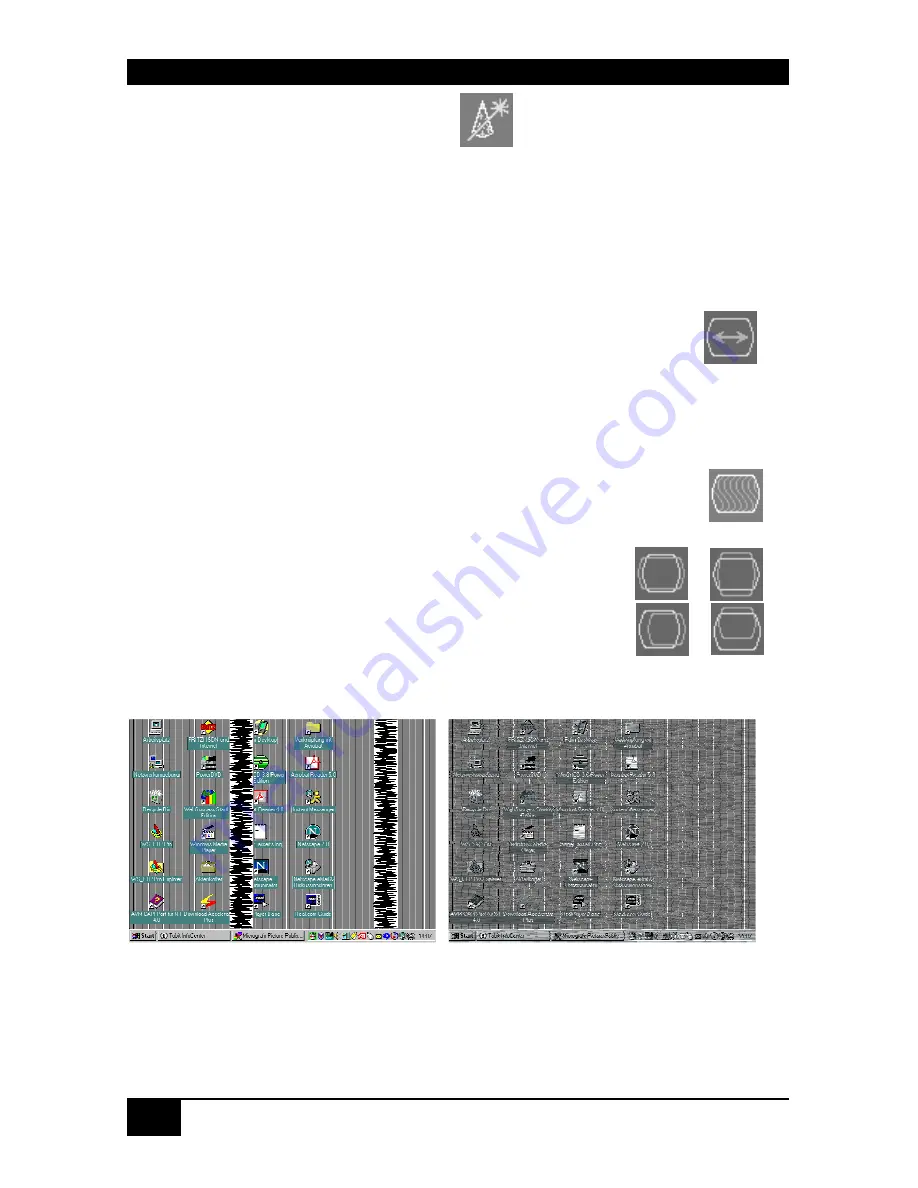
Burst test pattern applied to desktop showing problems with
(a) pixel clock setting, (b) pixel phase setting.
(a)
(b)


