Maintenance
6- 20
1705A Spectrum Monitor
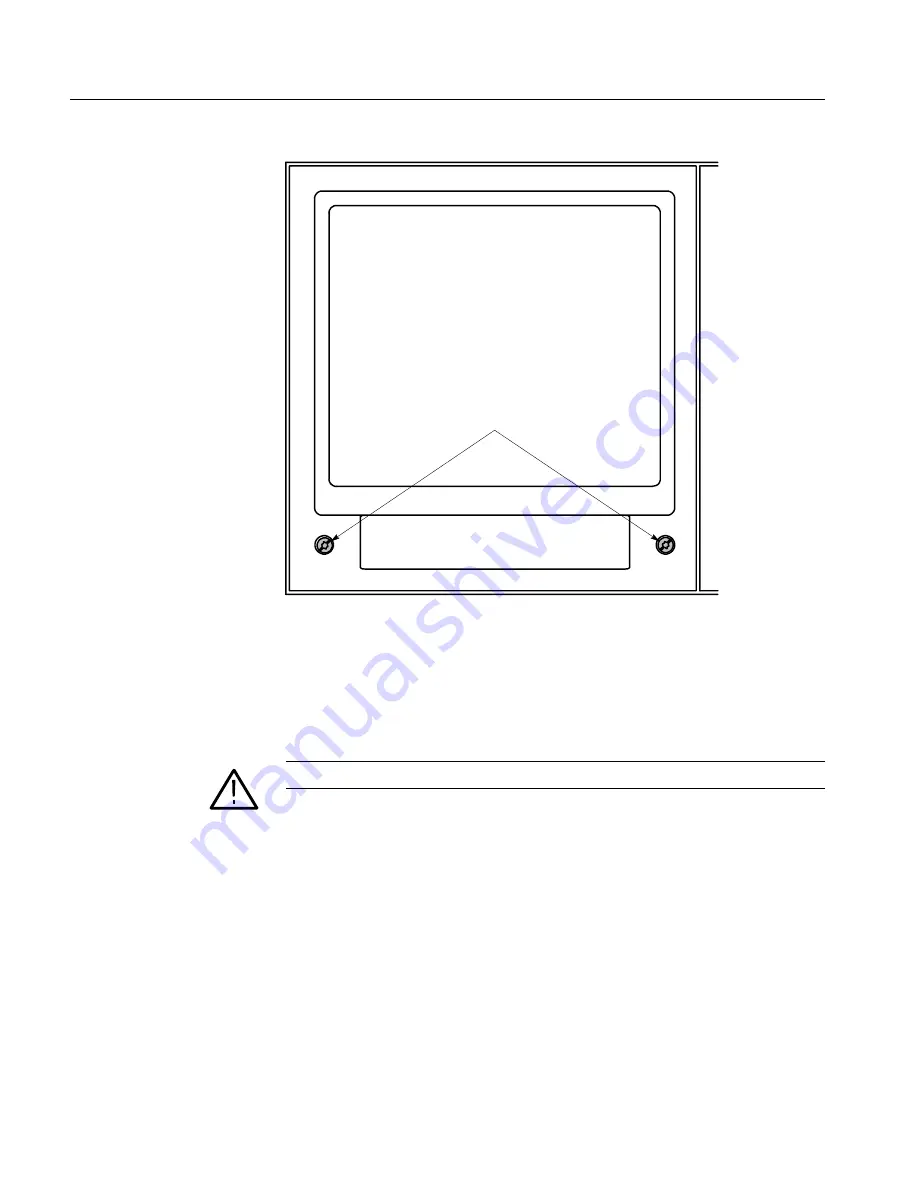
Remove these screws in order
to remove the bezel
Figure 6-8: Bezel securing screws
For graticule light removal and replacement, tweezers with curved, serrated tips
are recommended. For example: Miltex PL312, 6--100 (equivalent to PL312) or
PL317 (longer than PL312).
CAUTION.
Needle-nosed pliers are not recommended.
Replacement bulbs are supplied with this instrument as Standard Accessories.
Additional bulbs can be purchased from Tektronix (see Replaceable Electrical
Parts list) or from local electronics distribution sources.
Procedure
1.
Remove the bezel according to the preceding instructions.
2.
To remove a bulb, position the tweezer tips on the thin, flat portion of the
bulb (close to the plastic socket). Carefully pull the bulb straight out.
3.
To install a bulb, hold it with the tweezers as described in step 2, position it
in front of the socket, and push the bulb with your finger until it snaps into
place.
Graticule Light Removal
and Replacement
Summary of Contents for 1705A
Page 13: ...Service Safety Summary xii 1705A Spectrum Monitor ...
Page 17: ...Preface xvi 1705A Spectrum Monitor ...
Page 18: ...Introduction ...
Page 19: ......
Page 38: ...Operating Instructions ...
Page 39: ......
Page 61: ......
Page 62: ...Installation ...
Page 63: ......
Page 72: ...Theory of Operation ...
Page 73: ......
Page 93: ...Theory of Operation 4 20 1705A Spectrum Monitor ...
Page 94: ...Checks and Adjustments ...
Page 95: ......
Page 123: ...Checks and Adjustments 5 28 1705A Spectrum Monitor ...
Page 124: ...Maintenance ...
Page 154: ...Options ...
Page 155: ......
Page 158: ...Replaceable Electrical Parts ...
Page 159: ......
Page 189: ...Replaceable Electrical Parts 8 30 1705A Spectrum Monitor ...
Page 190: ...Diagrams Circuit Board Illustrations ...
Page 191: ......
Page 193: ......
Page 213: ......
Page 214: ...Replaceable Mechanical Parts ...
Page 215: ......
Page 223: ......


