


95
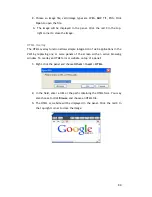
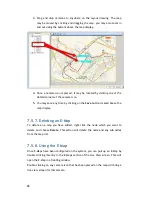
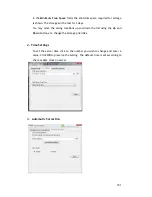
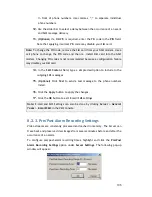
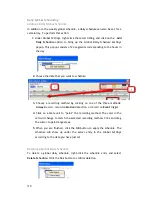
3.
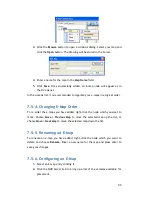
Click the
Browse
button to open a windows dialog. Select your map and
click the
Open
button. The drawing will be stored in the Server.
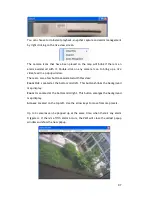
4.
Enter a name for the map in the
Map
Name
field.
5.
Click
Save
. Once successfully added, an E-map node will appear as in
the tree panel.
In the e-maps list, it is recommended to organize your e-maps in a logical order.
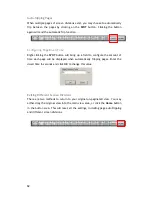
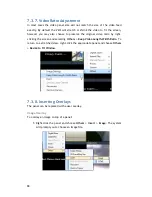
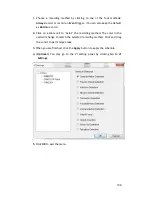
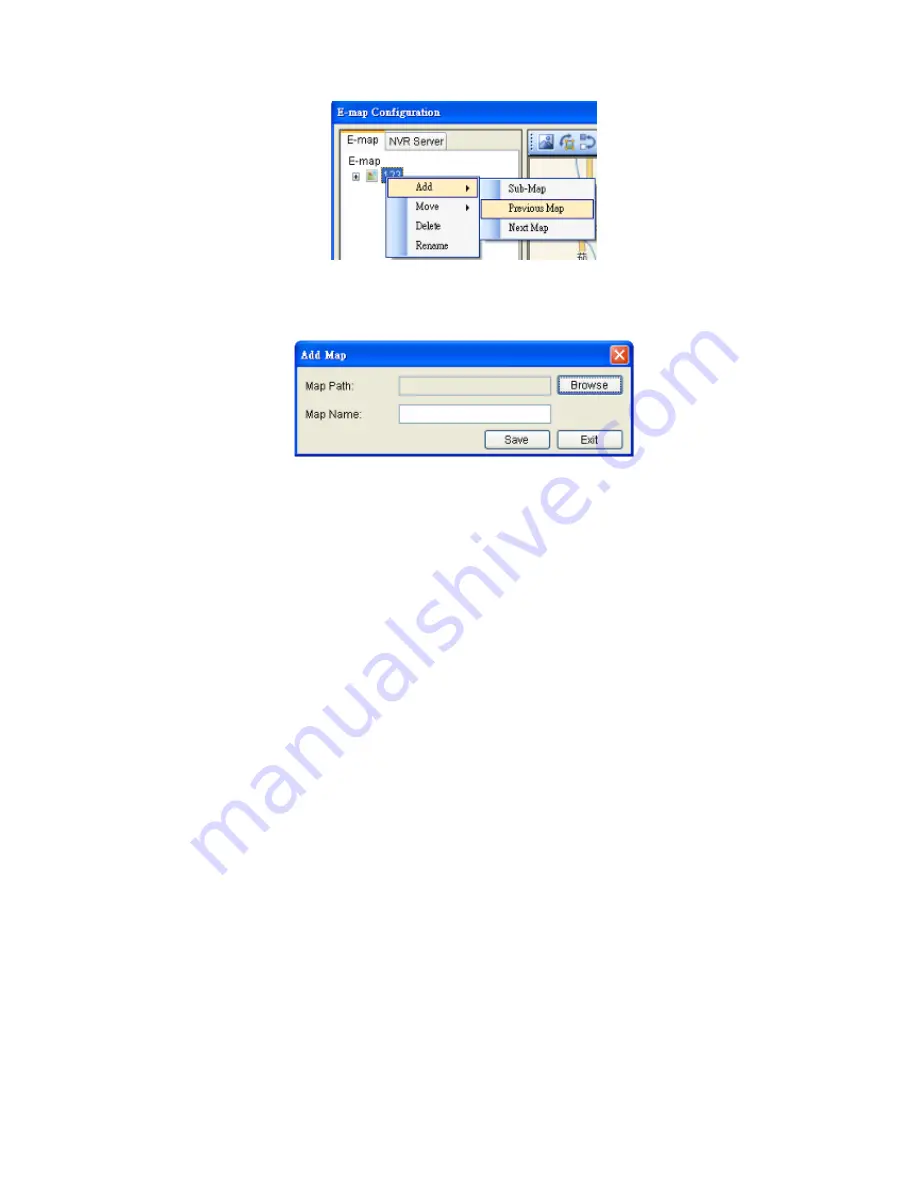
7.5.4.
Changing E-Map Order
To re-order the e-maps you have added, right-click the node which you want to
move. Choose
Move > Previous Map
to move the selected map up the list, or
choose
Move > Next Map
to move the selected map down the list.
7.5.5.
Renaming an E-Map
To rename an e-map you have added, right-click the node which you want to
delete and choose
Rename
. Enter a new name for the map and press enter to
save your changes.
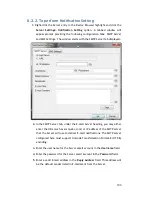
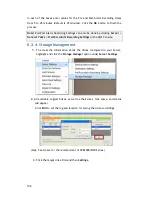
7.5.6.
Configuring an E-Map
1.
Select an E-map entry clicking it.
2.
Click the
NVR Server
tab to bring up a list of the cameras available for
placement.