


61
6.2.
Adding Cameras to the Server
Cameras can be added to the Server in two ways: via an automatic scan or by
manually inputting the camera information.
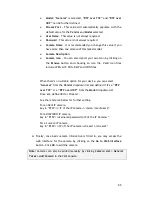
6.2.1.
Automatic Scan for Cameras
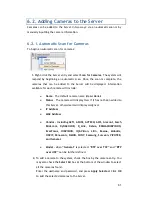
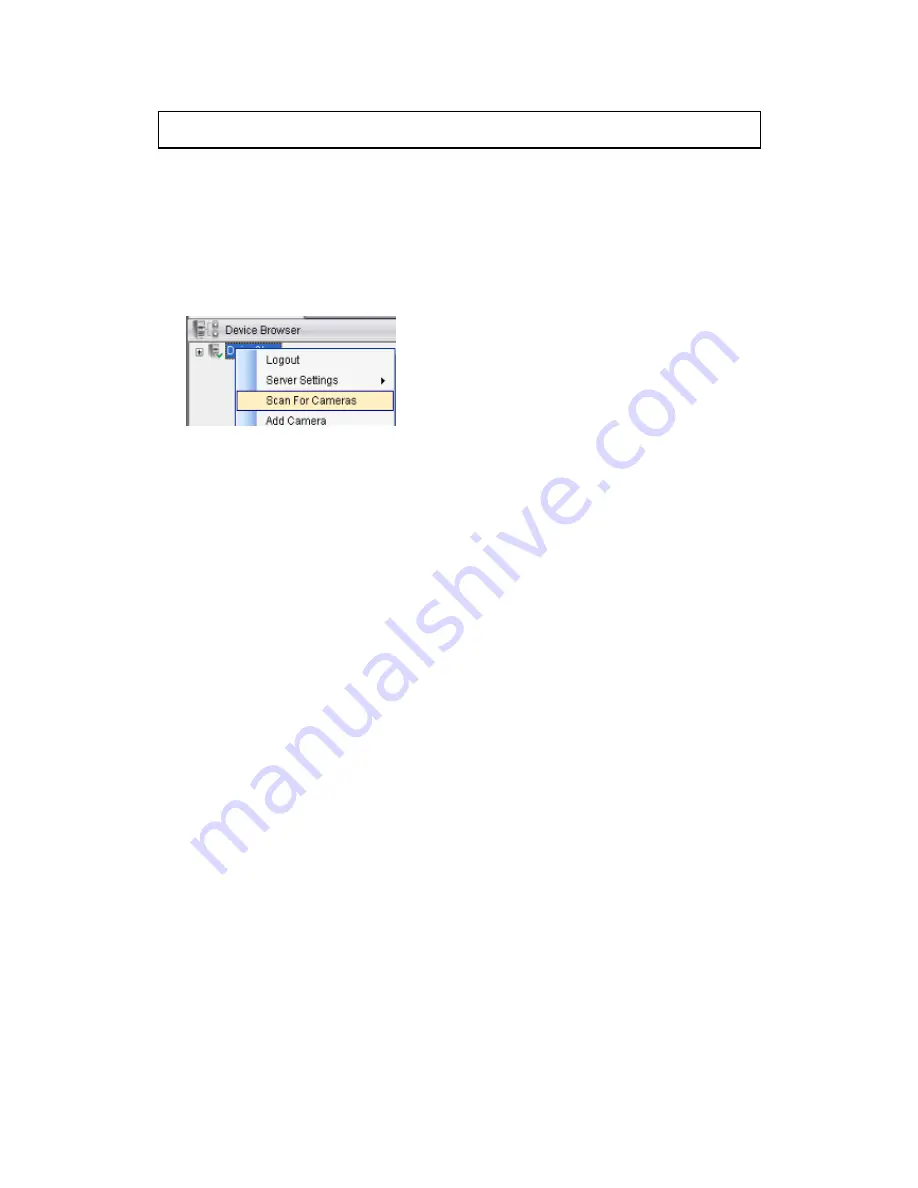
To begin an automatic scan for cameras:
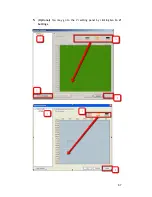
1.
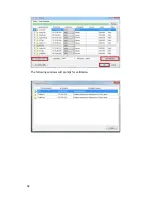
Right-click the Server entry and select
Scan for Cameras
. The system will
respond by beginning an automatic scan. Once the scan is complete, the
cameras that can be added to the Server will be displayed. Information
available for each camera will include:
Name
– The default camera name (Make/Model)
Status
– The camera will display
New
if it has not been added to
this Server, otherwise it will display
Assigned.
IP Address
MAC Address
Vendor - Including ACTI, ASONI, AVTECH, AXIS, Arecont, Sosch,
Brickcom, DyNACOLOR, D_Link, Dahua, EDIMAXHIKVISION,
EverFocus, HIKVISION, IQinVision, Lilin, Eessoa, Mobotix,
ONVIF, Panasonic, SIMON, SONY, Samsung, Surveon, VIVOTEK,
and General.
Model -
when
“
General
”
is selected,
“
RTP over TCP
”
and
“
RTP
over UDP
”
can be further defined.
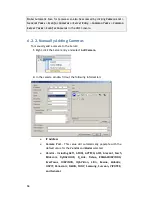
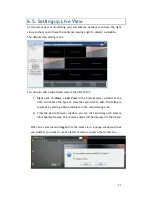
2.
To add a camera to the system, check the box by the camera entry. You
may also check the
Select All
box at the bottom of the window to select
all the cameras found.
Enter the username and password, and press
Apply Selected
. Click
OK
to add the selected cameras to the Server.