77
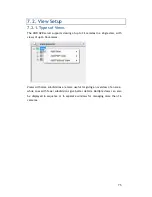
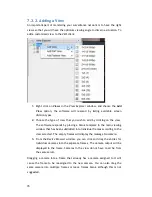
The
View Explorer
will be updated as you add cameras to your view. The root
will list the camera numbers that have been added to the view starting from the
top left frame and going from left to right and top to bottom.
Note:
Depending on your connection and computer speed, it may take a
moment for the image to refresh after dragging the camera into the view
window. During this time the frame may still display
No Camera
or
Failed to
connect.
If this problem persists, however, there may be a problem with your
connection or hardware.
7.2.3.
Add PAP View
PAP (Picture and Picture) View allows you to select multiple regions from one
image to zoom.
1.
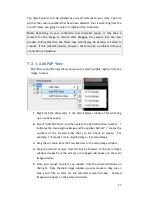
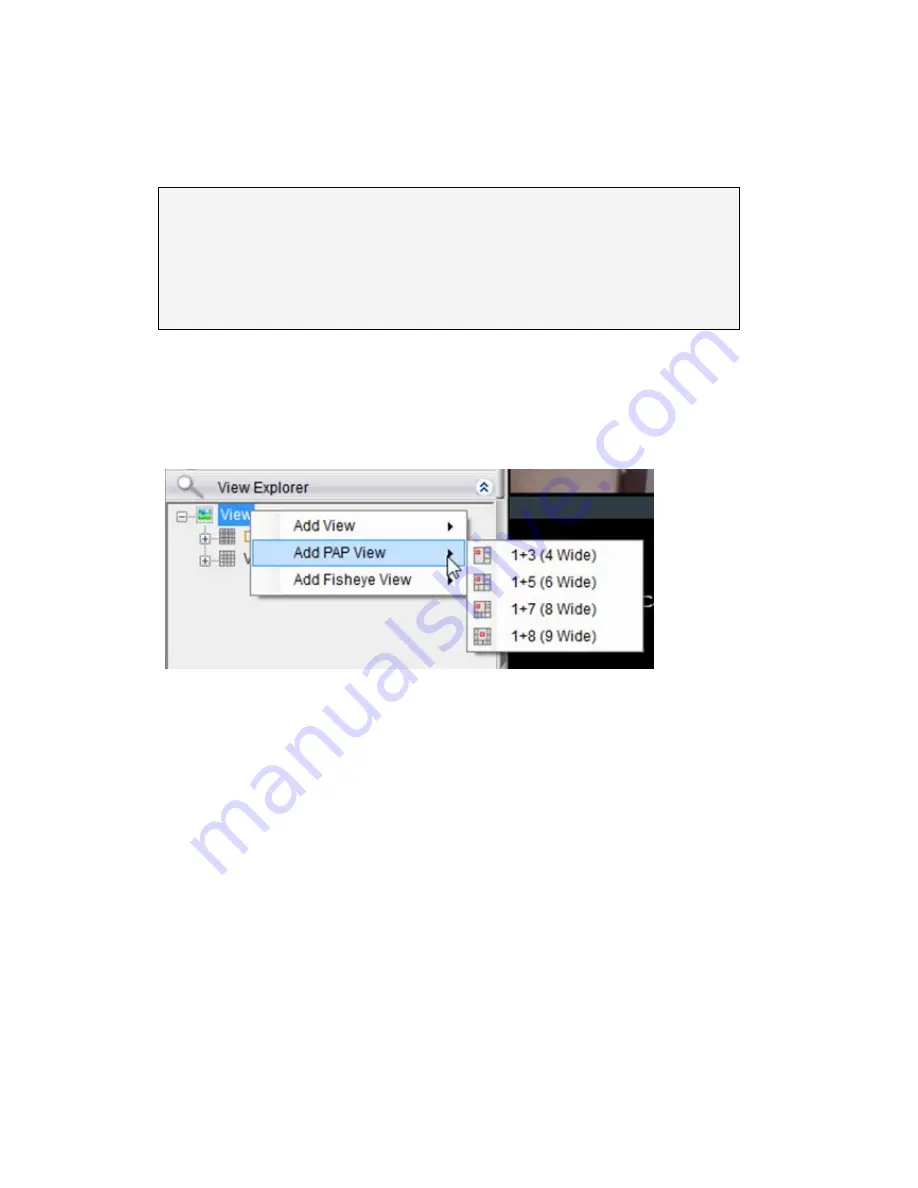
Right-click the V
iew
entry in the View Explorer window. This will bring
up an options popup.
2.
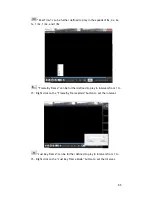
Select “Add PAP View” and then select the desired window number. 1
indicates the main original image and the number behind “+” means the
numbers of the zoomed areas that you are about to create. For
example, 1+8 means 1 main original image + 8 zoomed areas.
3.
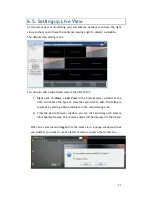
Drag the set value from the View Explorer to the main image window.
4.
Drag the desired camera from the Device Browser to the main image
window. Images from the camera you dragged will appear on the main
image window.
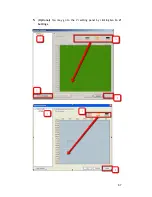
5.
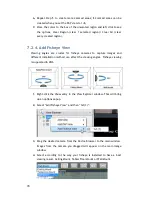
Move your mouse to select one window from the zoomed windows on
the right. From the main image window use your mouse to drag out an
area you’d like to zoom for the selected zoomed window. Zoomed
images will appear on the zoomed windows.


