- 18 -
NOTE:
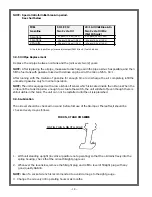
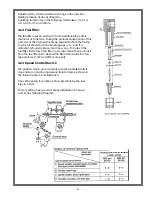
Special ratio for initial break-in period.
See chart below
3.3.5 Oil Pipe Replacement
Replace the oil pipe between oil tank and the joint every two (2) years.
NOTE:
After replacing the oil pipe, make sure to discharge air in the pipe as much as possible, and then
fill the fuel tank with gasoline mixed with 2-stroke engine oil at the ratio of 25 to 50 : 1.
After running with the mixture of gasoline for enough time to discharge the air completely, refill the
unleaded gasoline only for normal operation.
NOTE:
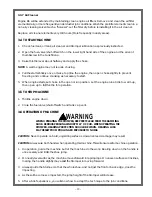
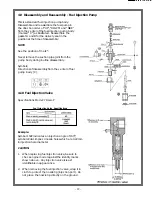
The unit is equipped with a low oil shut-off sensor which is located inside the oil tank. When the
oil level in the tank drops low enough to actuate the switch, the unit will shut off, even though there is
still oil visible in the tank. The unit can not be restarted until the oil is replenished.
3.3.6 Lubrication
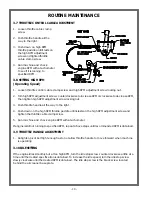
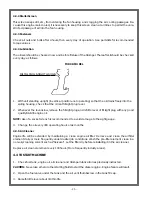
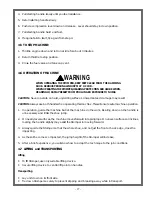
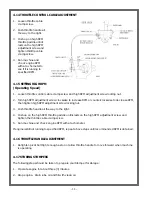
The oil level should be checked now and before first use of the Stomper. Thereafter, it should be
checked every day as follows.
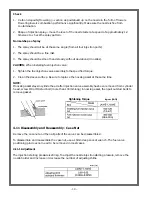
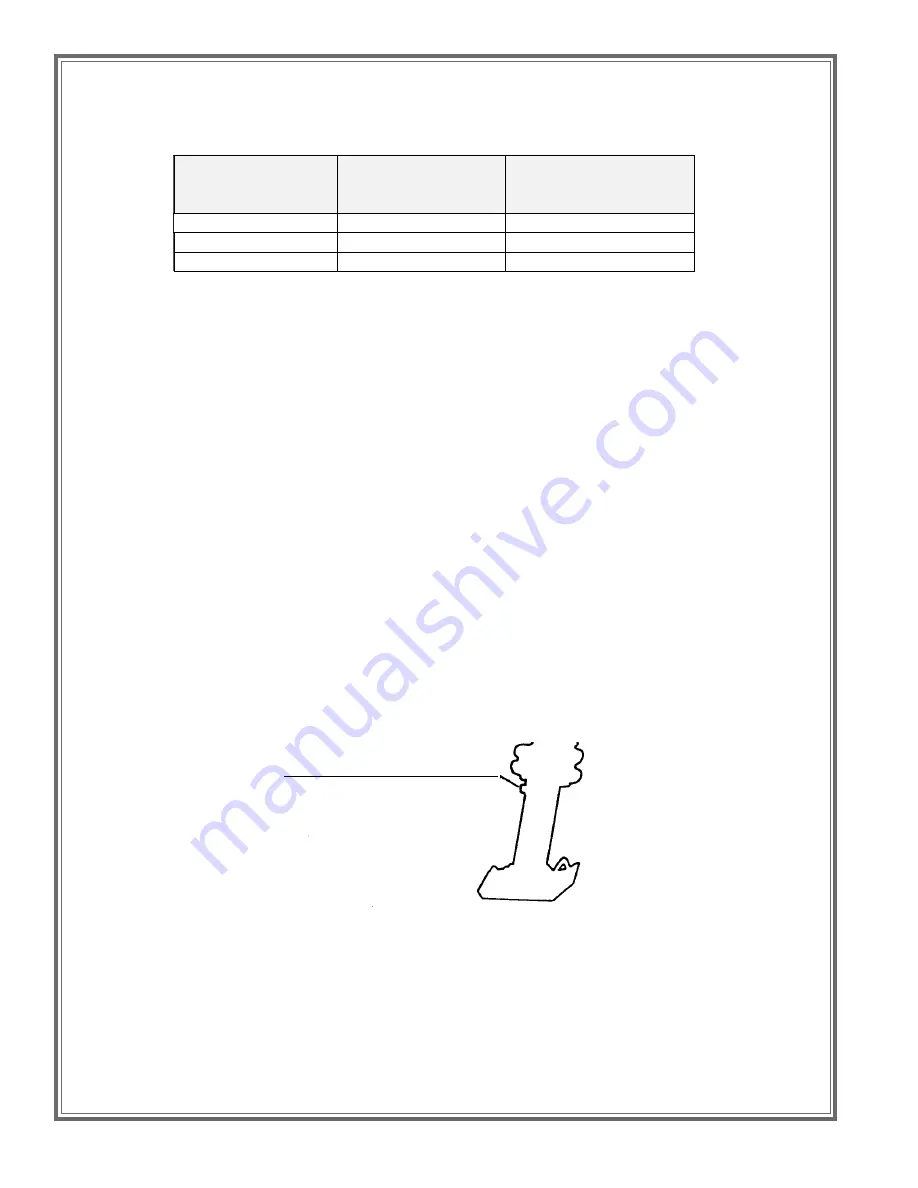
FOR XN, XT AND XM SERIES
1.
With unit standing upright (in vertical position--not operating) so that the oil drains freely into the
spring housing, check that the oil is at fill sight plug level.
2.
Whenever the level is low, remove the fill sight plug and refill to level of fill sight plug with any
good quality SAE-30.
NOTE:
Use of a socket wrench is recommended to avoid damage to the sight gauge.
3. Change the oil every 300 operating hours or six months.
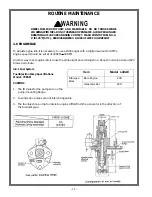
FUEL
Gasoline
50:1 EC12
Two Cycle Oil
20:1 All Units Break-In
Two Cycle Oil Mix
(first 10 hours)
5 Gallons
.80 pints (12.8 oz) (.38 L)
2.00 pints (32 oz) (.94 L)
1 Gallons
.16 pints (2.56 oz) (..08 L)
.40 pints (6.4 oz) (.19 L)
2 Quarts
.08 pints (1.28 oz) (..04 L)
.20 pints (3.2 oz) (.09 L)
h:\netaldus\pm5\engr\manuals\stomper\56318\rev d\fuel chart.doc
OIL FILL PLUG & SIGHT GAUGE
Summary of Contents for XD836Y
Page 2: ......
Page 8: ......
Page 9: ... 9 1 TECHNICAL DATA ...
Page 11: ... 11 2 HEALTH SAFETY ...
Page 15: ... 15 3 OPERATIONS 2 CYCLE OIL INJECTED ...
Page 22: ......
Page 23: ... 23 4 OPERATIONS DIESEL ...
Page 34: ......
Page 35: ... 35 5 OPERATIONS 2 CYCLE PRE MIX ...
Page 42: ......
Page 43: ... 43 6 OPERATIONS 4 CYCLE GASOLINE ...
Page 50: ......
Page 51: ... 51 7 MAINTENANCE ...
Page 55: ... 55 8 EXPLODED VIEWS WITH PARTS ...
Page 56: ......
Page 60: ... 60 8 3 Gearcase for XN Oil Injected and Pre Mix ...
Page 62: ... 62 8 4 Gearcase for XT Oil Injected and Pre Mix ...
Page 64: ... 64 8 5 Gearcase XM Oil Injected and Pre Mix ...
Page 66: ... 66 8 6 Gearcase XD Diesel ...
Page 68: ... 68 8 7 Gearcase XJ 4 Cycle ...
Page 70: ... 70 8 8 Lower Unit XN Oil Injected and Pre Mix ...
Page 72: ... 72 8 9 Lower Unit XT Oil Injected and Pre Mix ...
Page 74: ... 74 8 10 Lower Unit for XM Oil Injected and Pre Mix ...
Page 76: ... 76 8 11 Lower Unit XD Diesel XJ 4 Cycle ...
Page 78: ... 78 8 12 Engine XN XT XM Oil Injected and Pre Mix ...
Page 80: ... 80 8 13 Engine XD Diesel ...
Page 82: ... 82 8 14 Engine XJ 4 Cycle ...
Page 84: ... 84 8 15 Handle and Fuel Tank XN Oil Injected and Pre Mix ...
Page 86: ... 86 8 16 Handle and Fuel Tank XT XM Oil Injected and Pre Mix ...
Page 88: ... 88 8 17 Handle and Fuel Tank XD Diesel ...
Page 90: ... 90 8 18 Handle and Fuel Tank XJ 4 Cycle ...
Page 92: ... 92 8 19 Shoes for XT XN Oil Injected and Pre Mix ...
Page 94: ... 94 8 20 Decal Identification 55379 Robin 55322 55378 Diesel ...
Page 95: ... 95 8 20 Decal Identification PN 55325 Diesel PN55324 Diesel PN 55053 55156 55377 ...
Page 96: ......


