Sitex SP38 Installation and Operation
Basic Operation
Document PN
29010101
V2r0
- 10
5
-
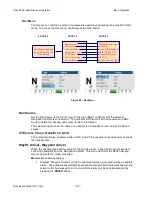
If desired, you can also bring the rudder back to centre (Dead Ahead) part-way through a
Dodge. For example, you might want to center the rudder in order to maintain a temporary
but specific Heading that the vessel has reached during the dodge.
•
Press the other ARROW button (PORT if you are dodging to Starboard, and vice-versa),
without releasing the button already being pressed.
•
Maintain both the ARROW buttons simultaneously for as long as you wish to keep the
rudder centred.
The course that the vessel follows while both buttons are pressed will typically be a straight
Track, at approximately the Heading that was current at the time the second button was
pressed.
However, this can be affected by weather and waves, by the vessel’s rudder speed and
steering response time, and any directional offset that the vessel exhibits when the rudder is
centred.
•
Releasing one button will re-start a Dodge in the other direction.
•
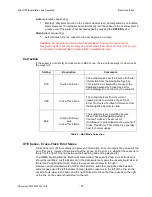
Releasing both buttons will end the dodge completely, with the same mode-dependant
behaviour with respect to “Resuming the Track” as noted previously.
Jog Lever Turns
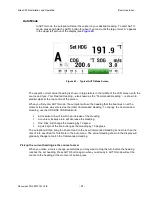
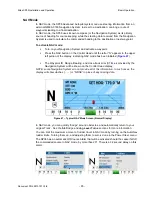
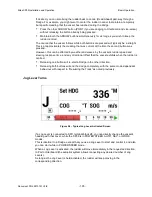
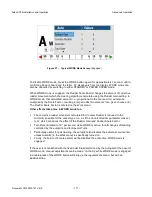
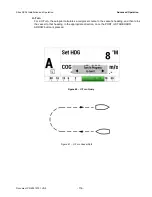
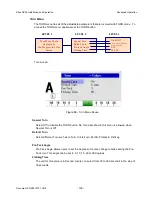
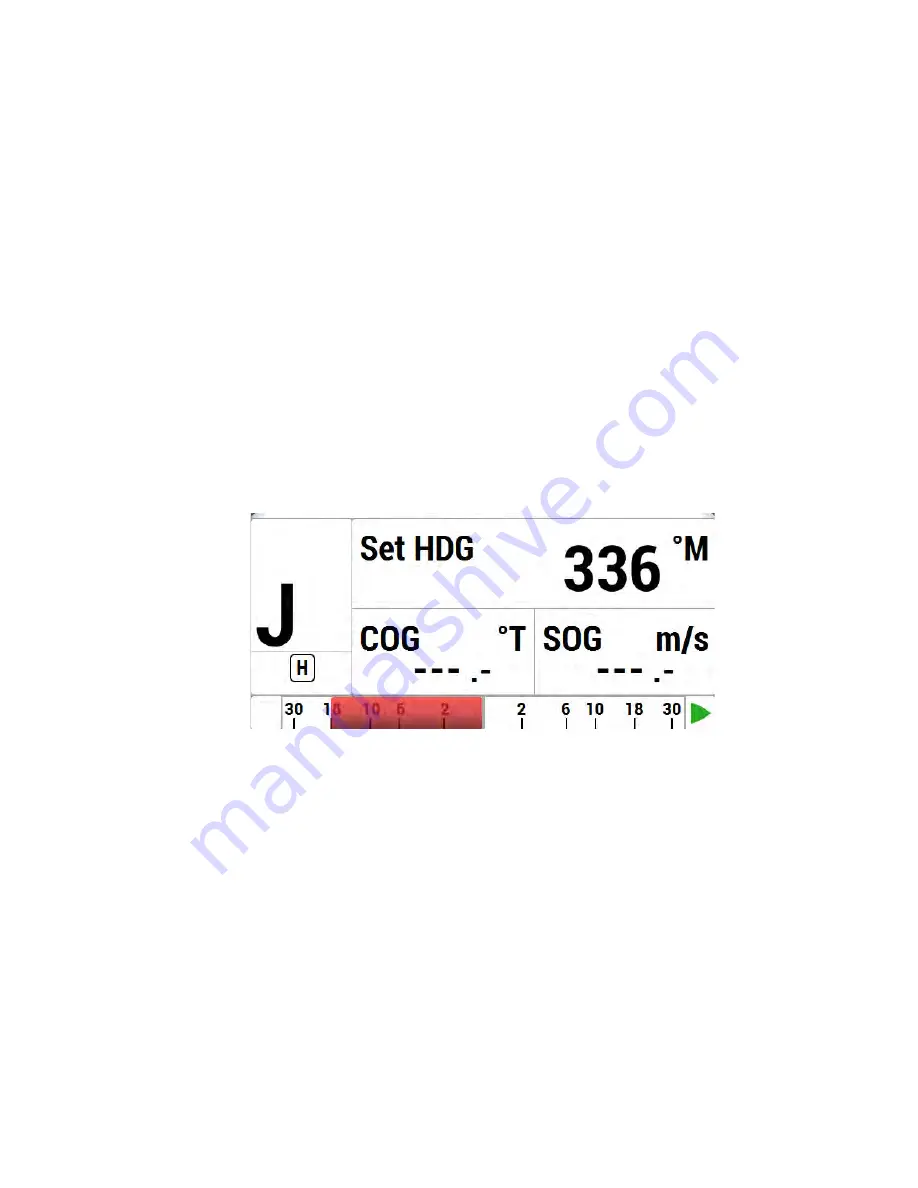
Figure 56 – Typical Jog Lever Activated Screen
If a Jog Lever is connected to SPU terminal block
J3
, you can directly change the vessel’s
heading with that Lever, while the
SP38
is in POWER STEER, AUTO, NAV, or WORK
modes.
This is identical to a Dodge, except that you use a Jog Lever to start and control it, and also
you can do it while in POWER STEER mode.
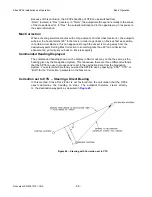
When a Jog Lever is activated, the rudder will move immediately in the requested direction,
to Port or Starboard (the autopilot system allows connecting any desired number of Jog
Levers).
As long as the Jog Lever is held activated, the rudder will keep moving in the
corresponding direction.
Summary of Contents for SP38 Autopilot
Page 2: ......
Page 14: ...Sitex SP38 Installation and Operation Document PN 29010101 V2r0 13 ...
Page 15: ...Sitex SP38 Installation and Operation Document PN 29010101 V2r0 14 Introduction ...
Page 16: ...Sitex SP38 Installation and Operation Document PN 29010101 V2r0 15 ...
Page 26: ...Sitex SP38 Installation and Operation Document PN 29010101 V2r0 25 ...
Page 35: ...Sitex SP38 Installation and Operation Document PN 29010101 V2r0 34 Installation ...
Page 36: ...Sitex SP38 Installation and Operation Document PN 29010101 V2r0 35 ...
Page 74: ...Sitex SP38 Installation and Operation Document PN 29010101 V2r0 73 ...
Page 108: ...Sitex SP38 Installation and Operation Document PN 29010101 V2r0 107 ...
Page 109: ...Sitex SP38 Installation and Operation Document PN 29010101 V2r0 108 Advanced Operations ...
Page 110: ...Sitex SP38 Installation and Operation Document PN 29010101 V2r0 109 ...
Page 123: ...Sitex SP38 Installation and Operation Document PN 29010101 V2r0 122 Care and Maintenance ...
Page 124: ...Sitex SP38 Installation and Operation Document PN 29010101 V2r0 123 ...
Page 127: ...Sitex SP38 Installation and Operation Document PN 29010101 V2r0 126 Appendices ...
Page 128: ...Sitex SP38 Installation and Operation Document PN 29010101 V2r0 127 ...
Page 156: ...Sitex SP38 Installation and Operation Document PN 29010101 V2r0 155 Warranty ...
Page 157: ...Sitex SP38 Installation and Operation Document PN 29010101 V2r0 156 User Notes and Settings ...
Page 158: ...Sitex SP38 Installation and Operation Document PN 29010101 V2r0 157 ...

