


2-91
2
Change settings as needed.
3
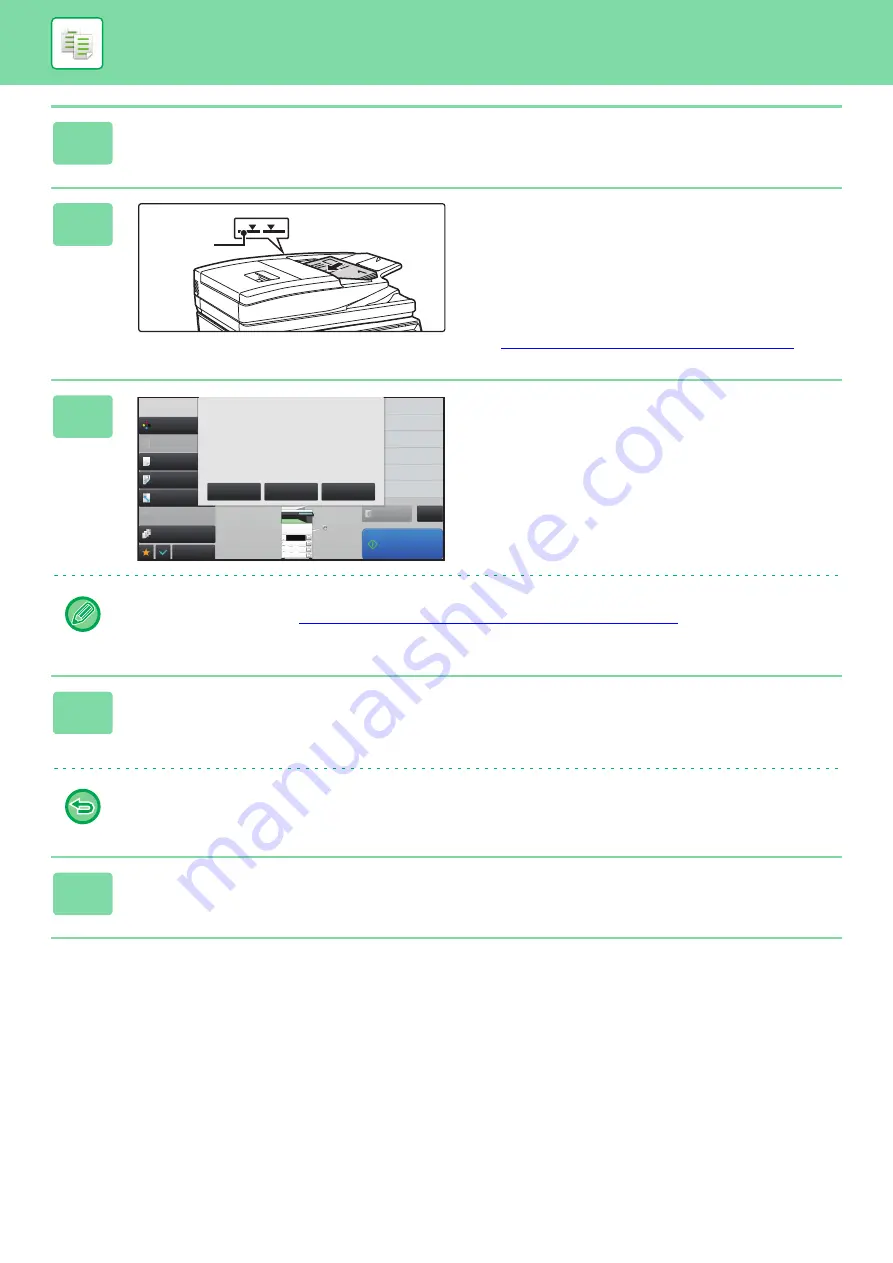
Place the original in the document
feeder tray of the automatic document
feeder, and tap the [Start] key to scan
the first original.
Insert the originals all the way into the document feeder tray.
Originals can be stacked up to the indicator line.
►
AUTOMATIC DOCUMENT FEEDER (page 1-67)
4
Place the next set of originals and tap
the [Start] key.
Repeat this step until all originals have been scanned.
• To change copy settings before each set (copy exposure, paper size/type, etc.), tap the [Change Setting] key.
For more information, see "
Changing the copy settings for each set of originals (page 2-92)
.
• When the [Preview] key is tapped, the next original cannot be scanned.
5
Repeat until all pages have been scanned and check the preview image in the
preview screen.
Check whether or not settings produce the required results.
To cancel all settings:
Tap the [CA] key.
6
Tap the [Read-End] key to start copying.
Indicator
line
Start Print
Color Mode
Full Color
Paper Select
Auto
Exposure
Auto
Original
2-Sided Copy
1 → 1
Sort/Group
Auto
Copy Ratio
100%
Others
Change Setting of
Following Original
Change to B/W
Send and Print
Register Current Settings
Program Registration
Store Data in Folder
File
Store Data Temporarily
Quick File
Copies
CA
Preview
Plain
2
1
3
4
8½x11
8½x14
11x17
8½x11R
8½x11
Change Setting
Preview
Place next original.
Press [Start].
Press [Preview] to finish
scan and display preview.
Read-End


