


eCopy ShareScan OP Configuration Guide
|
99
Under
ShareScan OP User
, specify the account information. (It is recommended that you
create a generic Microsoft Exchange account for ShareScan OP and that you enter that account
information in these user fields.)
>
User Name
— Enter the user name for logging on to the Exchange server. The user name
specified in this field must match the name of the associated Exchange mailbox.
>
Password
— Enter the account password.
>
Domain
— Enter the domain to which this user belongs (for Windows authentication).
>
Exchange Server
— Enter the name of the Exchange server.
If you want users to send messages from their personal Exchange account, rather than from
the ShareScan OP User account, select the
Send messages from personal mail account
check
box. Users will be prompted to log on to Exchange.
To save sent messages in the sender’s Sent Items folder, select the
Add messages to Sent Items
folder
check box.
Click
Test
to verify the logon information. If the test fails, click
Show Details
and resolve the
connection issue before proceeding. For example, make sure that the user name matches the
name of the associated Exchange mailbox, and that the domain and Exchange server names are
accurate.
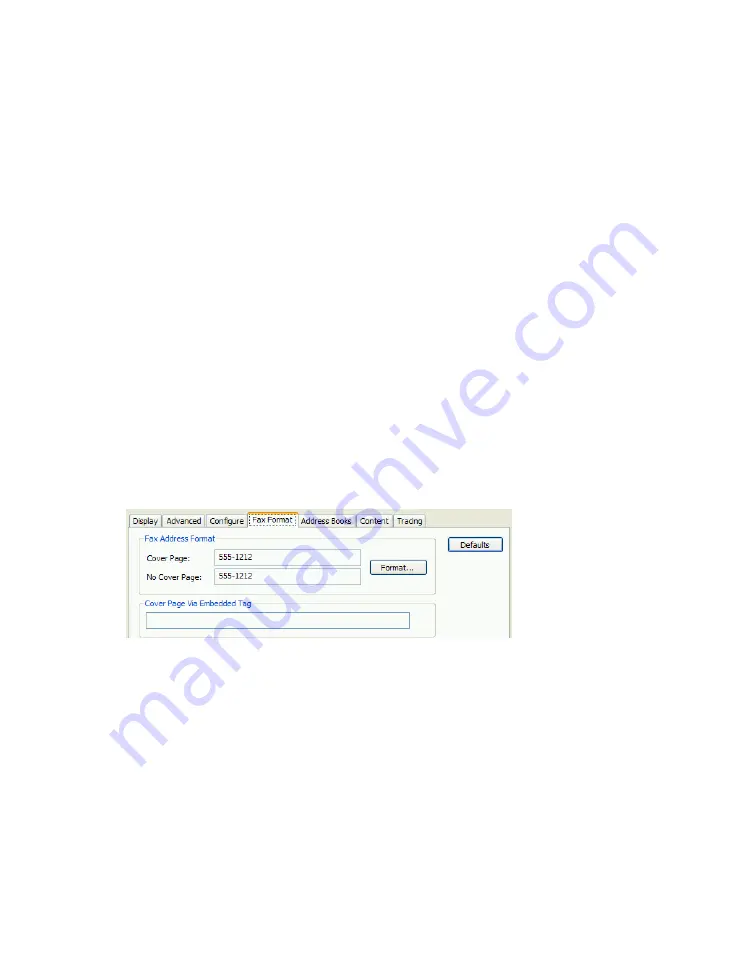
6
Click the
Fax Format
tab, which displays samples of the current fax address format.
To configure the format, click
Format
(see “Configuring the fax address format” on page 123
for details).
If your fax server uses an embedded tag, enter the tag in the
Cover Page Via Embedded Tag
field. (Some fax servers, including Captaris RightFax, use an embedded tag to indicate that a
cover page is required.) Whenever the user requests a cover page, ShareScan OP adds the
embedded tag string to the body of the e-mail message.


