


SCANNER AND FAX FUNCTIONS
122
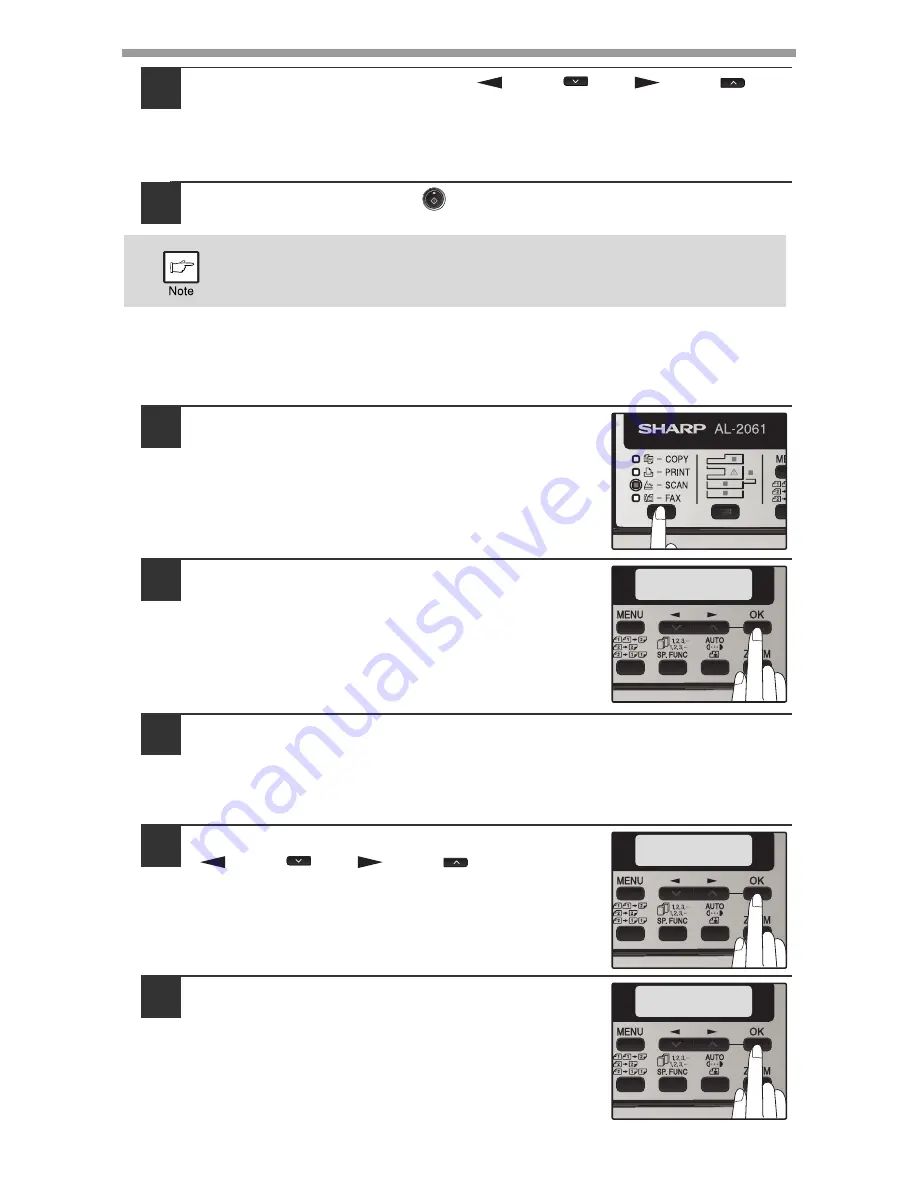
7
Press the [OK] key and then [
] key (
) or [
] key (
) to
select the color mode (COLOR, GRAY and B/W) and exposure
level.
(For the setting, see page 118.)
8
Press the [START] key (
) to begin scanning.
Sending an image by entering an e-mail address in an
LDAP server
1
Press the [MODE SELECT] key to select
scanner mode.
The "SCAN" indicator lights up to indicate that
scanner mode is selected.
2
Make sure that the "SCAN USING: USB/
NETWORK" is shown on the display. Then
press [OK] to enter Scan to USB and
Network Scan mode.
(The initial display will be "SCAN USING: SCAN
TO USB".)
3
Place the original in the document feeder tray or on the
document glass.
For information on how to place the original, see "Image orientation and
standard original loading orientation" (p.124).
4
Select "GLOBAL ADDRESS" using the
[
] key (
) or [
] key (
) and then
press the [OK] key.
5
Enter search characters and press the
[OK] key.
Destinations matching the search characters will
appear.
To enter characters, see "How to enter characters"
(p.125).
The original is scanned using the settings of the scan mode that has the
"Default Scan Mode" checkbox selected.
SCAN USING:
USB/NETWORK
SCAN USING:
GLOBAL ADDRESS
GLOBAL ADD. SEARCH:
S
Summary of Contents for AL-2061
Page 1: ...DIGITAL MULTIFUNCTIONAL SYSTEM OPERATION GUIDE for general information AL 2061 MODEL ...
Page 15: ...13 PREPARATIONS 6 Press the OK key 7 Press the MENU key Press the MENU key to exit ...
Page 177: ...SHARP ELECTRONICS Europe GmbH Sonninstraße 3 D 20097 Hamburg ...
Page 178: ...EN 1 AL 2061 OPERATION GUIDE ...