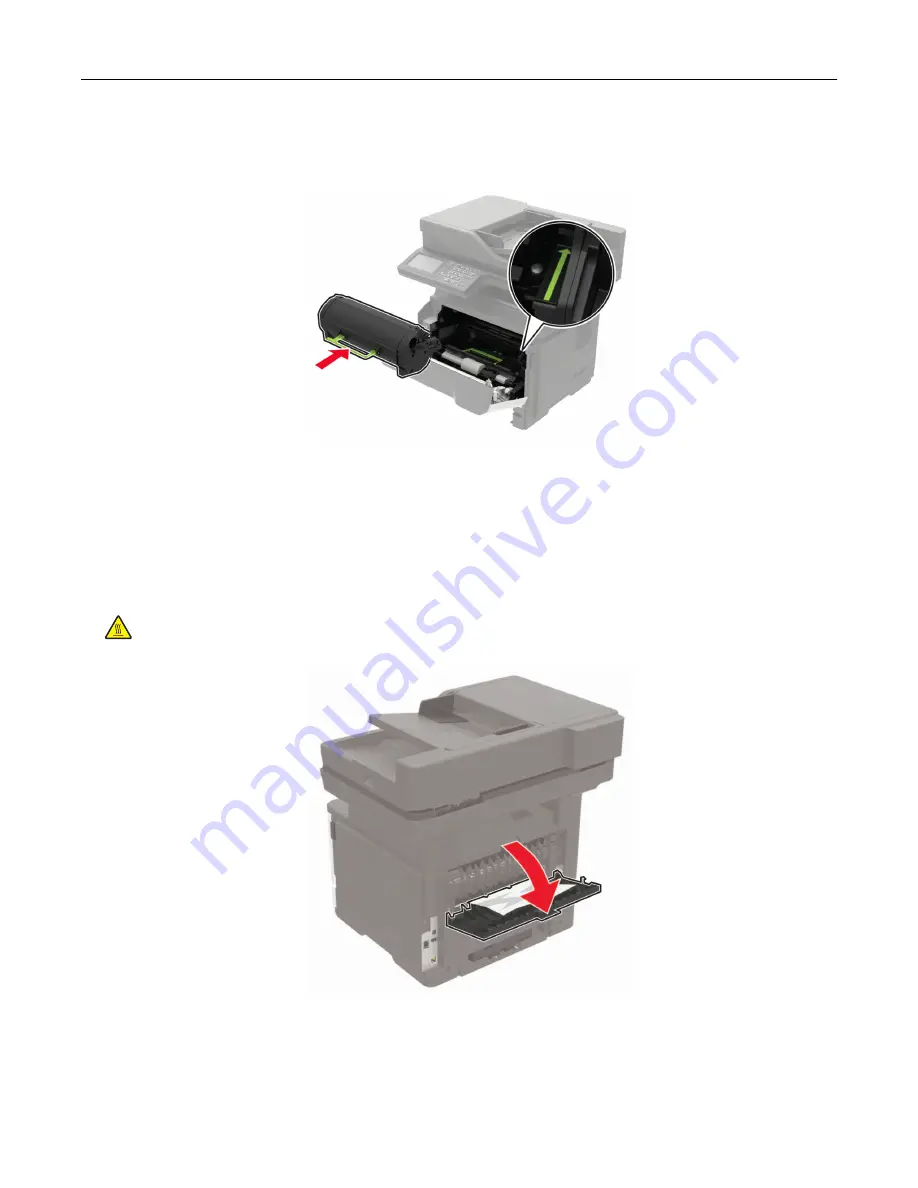
7
Insert the toner cartridge.
Note:
Use the arrows inside the printer as guides.
8
Close door A.
9
Insert the tray.
Paper jam in the rear door
1
Open the rear door.
CAUTION—HOT SURFACE:
The inside of the printer might be hot. To reduce the risk of injury from a
hot component, allow the surface to cool before touching it.
2
Remove the jammed paper.
Note:
Make sure that all paper fragments are removed.
Clearing jams
148
Summary of Contents for 679
Page 48: ...Scanning 48 ...
Page 136: ...Maintaining the printer 136 ...
Page 144: ...Paper jam in door A 1 Remove the tray 2 Open door A Clearing jams 144 ...
Page 147: ...6 Insert the imaging unit Note Use the arrows inside the printer as guides Clearing jams 147 ...
Page 153: ...4 Close the ADF cover Clearing jams 153 ...
Page 197: ...b Connect the ISP extended cable to the ISP connector Upgrading and migrating 197 ...
Page 198: ...c Install the hard disk Upgrading and migrating 198 ...


